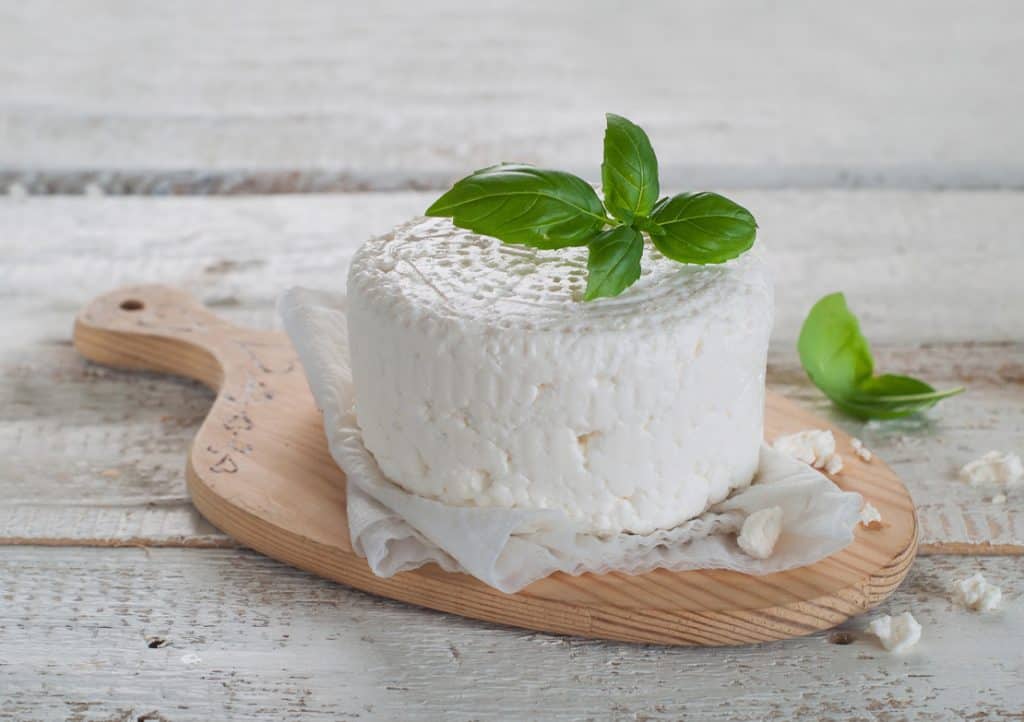
How to make cheese
How to make cheese
How to Make Cheese: Step-By-Step Guide
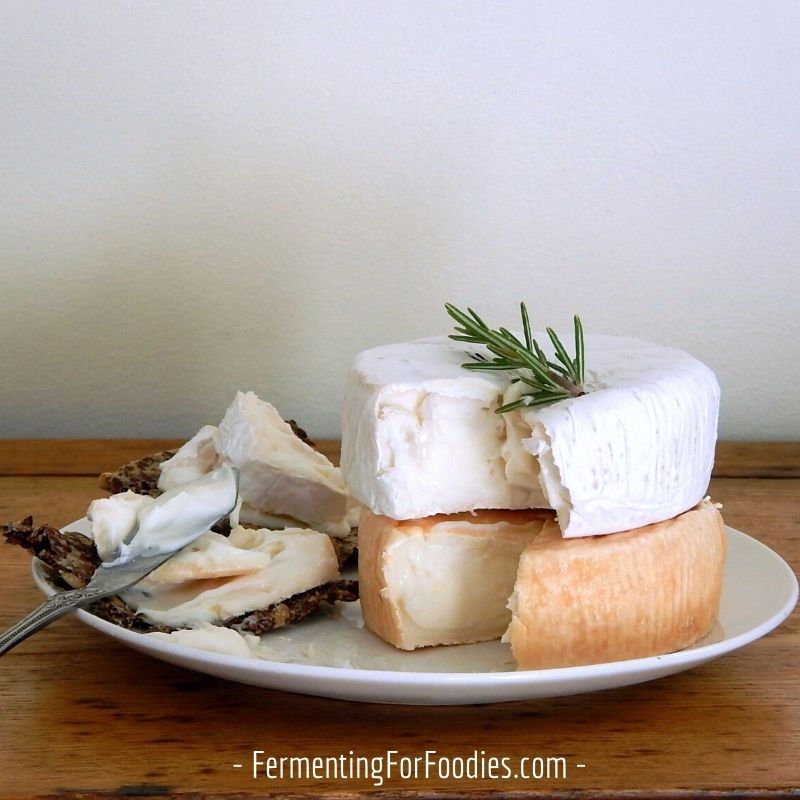
Cheesemaking is one of those things that feels complicated but is actually a whole lot easier than you expect. I like to think of it this way; if a medieval farmer could make cheese in an unsophisticated kitchen… then we can too! Here is an overview of everything you need to know about how to make cheese.
Cheesemaking 101 – Basic Information
Cheesemaking can be as simple or as complicated as you want.
If you’re an absolute beginner I recommend starting with labneh or queso blanco, which don’t require any specialized equipment or ingredients.
However, if you’re interested in trying something more complicated, then I recommend making sure you have the right supplies.
Here’s what you need to know:
How to Make Cheese
This step-by-step guide is for more advanced cheeses. As I mentioned above, there are several super-simple kinds of cheese that don’t require any specialized skills or equipment.
Here are the 9 basic steps involved in cheesemaking. If you are uncertain about any of the steps I recommend reading the related posts, linked in each of the steps. They go into depth providing a lot more detail.
1. Sanitize
Start by sanitizing all the equipment and your kitchen counters. This is particularly important for making hard cheese or mold-ripened cheese.
2. Inoculate
Many kinds of cheese are cultured with bacteria prior to setting the curd. This reduces lactose and acidifies the milk. It also gives the cheese a lot of its flavor.
Acidification is a necessary part of cheesemaking, and non-cultured cheeses are acidified with vinegar, lemon juice, or citric acid instead.
Inoculate milk by mixing it with a bacterial culture. Keep the milk at the temperature necessary for culturing while the milk acidifies (usually around 30 minutes, but can vary based on the type of cheese).
However, it’s always best to work from a recipe and use their temperature guidelines.
Want more details, check out this post on how to inoculate milk.
3. Set the curds
Once the milk has reached the desired acidity, rennet is added. After that, it usually takes about 30 minutes for the curd to set.
4. Cut the curds
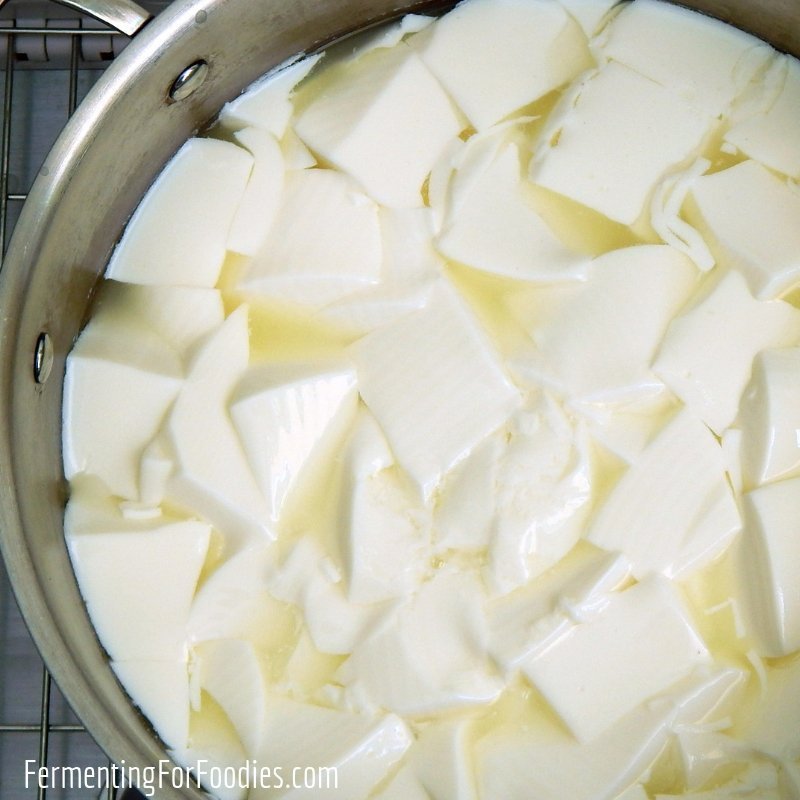
Check for a clean break. Using a long knife or curd knife, cut the curds.
5. Heating the curds
There are a number of different types of cheese that require the curds to be heated. This helps to remove extra whey and firm up the curds.
Want more information? Here is a detailed post on the different ways to prepare curds.
6. Drain the whey
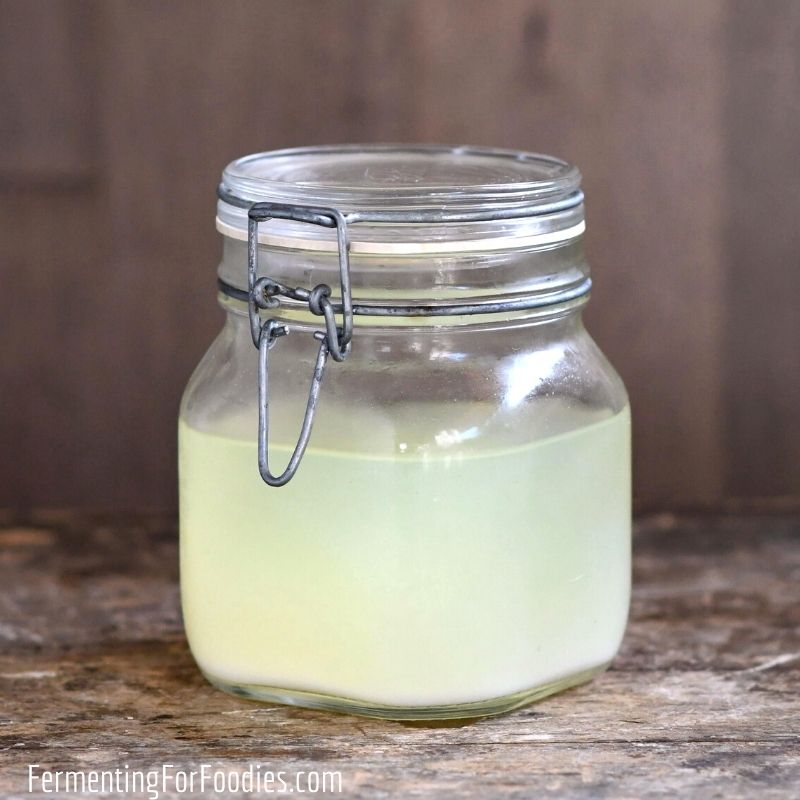
Line a colander with several layers of butter muslin (not cheesecloth. It isn’t fine enough). Then drain the whey from the curds. I recommend saving the whey because it is packed with protein and nutritious.
Here’s how I use my leftover whey.
7. Salt the curds
Salt is usually added prior to packing the curds into a cheese mold. Flavors, like herbs and spices, can be added at this point as well.
The salt will help draw out more whey. It also acts as a preservative for aged cheese.
8. Press the cheese
There are a few different ways to fully drain the whey from cheese.
9. Age the cheese
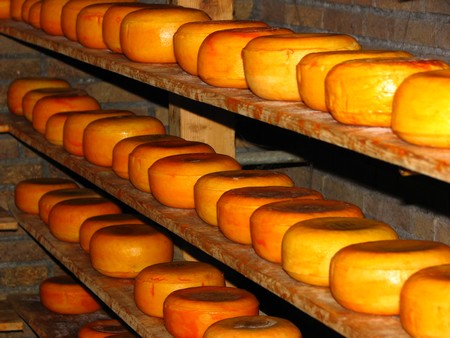
Fresh cheeses are usually finished as soon as they are removed from the mold. However, hard cheeses need to develop a rind as part of the aging process.
There are three methods for aging hard cheese:
If you are planning on making aged cheese, I recommend reading the full post on aging hard cheese.
Recipes and More
Ready to try cheesemaking?
Filed Under: Cheese Tagged With: Ingredients
How to Make Cheese in 7 Basic Steps
How to make cheese in 7 basic steps with equipment that you can find in your kitchen at home. Cheese making is very satisfying. Just make sure that all cheese making equipment has been thoroughly sterilized before you use it as rogue bacteria will spoil your final product.
The 6 Main Types of Cheese
When you first start making cheese you will probably start off with a simple cottage cheese, as this is one of the easiest cheeses to make. However, despite using the same ingredients, there are 6 different main types of cheese.
1. Hard : Parmesan
2. Semi-Soft Smooth : Port du Salut, Taleggio, Munster
3. Semi-Soft Crumbly : Blue veined Roquefort
4. Firm: Swiss, Cheddar
5. Soft and Ripened: Brie, Camembert,
6. Fresh and Soft: Cottage cheese, Cream Cheese, Mozzarella
How to Make Cheese and What Milk to Use
Raw milk these days is almost impossible to get hold of for cheese making, unless of course you have Daisy in the backyard that you milk twice a day. But for many of us who want to make cheese, we have to rely on making cheese from store bought milk. Where you can, buy whole milk that has been pasteurized as it has a higher butterfat content than low-fat milk, and you need this property in the milk, but don’t buy homogenized milk.
If you are buying store-bought milk to make your cheese you will need to add calcium chloride back into the milk as the pasteurization process removes this from the milk. Adding calcium chloride into the milk will help firm up the curd. Having said that, I have made cheese quite successfully with store bought non-homogenized milk without adding any calcium chloride back.
Using UHT milk for cheese making is also never successful as the high heating process it goes through affects the whey proteins and your milk will not form curds.
When purchasing your milk for making homemade cheese, just make sure that it is fresh.
Rennet and Cultures for Making Cheese
Rennet is important for you milk to coagulate. You can get animal rennet that comes from the lining of livestock’s stomachs, or you get vegetarian rennet that is made from certain plants.
Either one will work well and comes in either tablet of liquid form from cheese suppliers. 3 drops of liquid rennet or 1/2 tablet rennet are usually diluted in a 1/4 cup of cool water.
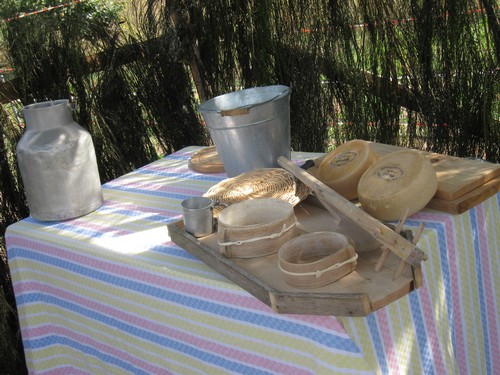
Traditional Cheese Making Equipment
You will need a large, heavy-based pot for warming the milk in and a colander to assist in draining the whey. You will also need a ladle that has holes in the bottom to allow the curds to drain off the whey. Cheesecloth or butter muslin is required to further help in draining the excess whey.
You will also need a long-handled knife to cut the curds and a thermometer that can clamp onto the edge of the pot. This is important, because if you don’t you will be measuring the heat of the pot itself, not the contents.
Finally, if you want your cheese to look fancy you can buy a cheese mold. However, I have made do with round stainless steel cutlery holders, which work just as well, or plastic bowls that have holes to allow the whey to drain off.
Your starters are those additives that react with the milk, further aiding the process of converting the sugars to lactic acid.
These starters may be lemon juice, vinegar, buttermilk, yogurt, or dried cultures from cheese suppliers in the form of mesophilic or thermophilic cultures, each of which when added, will result in a different type of cheese.
Make your own Natural Cheese Starter
You can make your own homemade cheese starter for cheese making. Although not difficult to do, and although the recipe below is an old, traditional recipe, many people stopped using it because a homemade cheese starter didn’t give standardized results. As a result commercial starters were then favored. However, for those of you you looking for a homemade cheese stater recipe, here it is.
Method:
A fresh lot of separated milk is inoculated each day with a little of the starter, and you now have a continuous supply of homemade starter for making cheese.
Sufficient starter should be added to each lot of separated milk to ensure its souring in from 20 to 24 hours. After being in use for some time a starter will need renewing, the length of time it will take to renew will depend on what sort of conditions it has been kept in.
If the homemade stater has been kept in clean conditions, the separated milk properly pasteurized, and the top always skimmed off and thrown away before using, it will last for a considerable time.
However, if the homemade stater is kept under less favourable conditions it will need to be replaced more regularly.
Always keep your starter covered with a piece of thin muslin to keep out dust, etc., without excluding the air.
A fresh lot of separated milk is inoculated each day with a little of the starter, and a continuous supply thus maintained for use.
Dilute your rennet as above, and when you add it to the milk, stir it thoroughly for even distribution. After the rennet has been added, the milk is again left undisturbed so that the curds can form.
Any excess whey can be fed to chickens and pigs on the homestead. More importantly, as a baker it is like manna from heaven. Substituting milk or water for whey in muffins, homemade bread, pancakes and cakes will result in an excellent finished product, light and moist; you will surprised at the results.
Place your butter muslin, or cheesecloth in a colander and with your slotted spoon, scoop the curds out of the pot and into the colander. Collect the whey at the bottom by placing your colander in another bowl. Leave it to drain like this until all excess whey has been removed.
So you can see, that by making sure that your equipment has been sterilized, and that you have the right type of milk, rennet and cultures, in 7 easy steps, you too could me making homemade cheese. We have a number of Cheese Making Recipes, from the simple to the more complicated if you are ready to start.
RECOMMENDED BOOKS ON HOW TO MAKE CHEESE
You can Add your Own Comments and Pages About Making Cheese!
We have lots of pages where you can contribute to throughout this homesteading website. We love hearing from our readers, and hope you will be one of those we hear from too. Look around our homesteading website. If you have any comments, recipes of your own, or questions, please add them by using this submission page below. We would love to have your contributions!
Leave a Comment
Other Comments
Click below to see comments from other visitors to this page.
Clear Directions at Last! Not rated yet
Thank you for clear, easy directions. I was confused about starter vs rennet. Luckily I buy raw cow’s or goat milks for my cheeses! ** You …
What is the ratio of buttermilk mes. starter and milk? Not rated yet
Does anyone know how much mesophylic starter I would use if I made frozen buttermilk mes. starter that are 1 oz. cubes? I am using a recipe that calls …
raw milk, low pastuerized milk for cheese making Not rated yet
Finding raw milk isn’t as hard as you might think. You can find raw milk by going online and putting in something like ‘where can I find raw milk’ or …
Learn How to Make Cheese
Get Free Recipes
Sign up for Recipes + Specials
Learn
Along The Whey
How to Store and Age Cheese in Brine
Get the best results when storing and aging Feta, Mozzarella, or other Mediterranean style cheese at home, we’ll show you how.
Learn About Cultures for Cheese Making
Some of the top questions we receive about cheese making have to do with cheese making cultures. Why are there so many cheese making cultures to choose from? Where do.
shogun-title-probe
Finding Good Milk For Cheese Making
When trying to find good milk for cheese making there are a few things to consider and sometimes it can be tricky to know where to begin. That’s why we’re.
The Evolution of Milk For Cheese Making
Most milk comes from cows and we’d like to think they are all out on pastures eating grass. But are they? And if not how can this affect milk? Raising.
Ways to Use Whey
You try to buy the best milk you can for cheese making and when you’re done you have a couple of pounds of great cheese, but what about all of.
How to Select Cheese Wrap
This guide will help you select the the right type of cheese wrap and figure out which size wrap will fit your cheese. We carry a nice variety of wraps.
How to Make a Cheese Cave
Learn how to make a cheese cave right at home. If you want your cheese to ripen properly you have to make them a good home and take care of.
The Cheese Making Process
Learn how to make cheese at home and have fun from milk to yum. This guide will teach you about the cheese making process with simple techniques to help you.
Equipment for Cheese Making
Learn about the basic equipment for cheese making. You may even have some items in your kitchen, including a colander and measuring spoons. A few other items, including a dairy.
Ingredients for Cheese Making
Learn about the ingredients used to make cheese at home. Most types of cheese only need two or three ingredients, milk, cultures and rennet. These simple ingredients will ripen the milk, form.
How to Wax Cheese
Waxing cheese will help prepare it for the aging process. This guide will walk you through the waxing process and provide helpful tips for what to do when things do not.
Using Large Culture Packs
Large packets of starter culture offer a broader choice in cultures, than small culture packs, but are intended for large batches of cheese. General guidelines, for large culture packs, provide.
Testing Acidity Development
When converting the lactose in milk to lactic acid, using starter cultures, there is no visible way to determine the rate of culture activity within the milk. Tracking acidity development.
Making and Using Salt Brine
The primary reason for salting cheese, is to slow down, or stop, the bacteria process converting lactose to lactic acid. During the brining process, most of the lactose is removed.
How to Bandage Wrap Cheddar
This easy to follow guide will walk you through the process of bandage wrapping cheddar cheese. The result will be a beautiful, bandaged cheddar, that is ready to be aged.
Wood Aging Boards
The wood shelves we use for aging cheese, are a combination of tight pine boards and ash. We generally use pine boards for drying cheese, because pine will absorb excess.
Aging Cheese FAQ
This article will guid you through common questions on aging cheese at home. From humidity and temperature of a cheese cave to preparation of the cheese before aging. Proper aging.
Cheese Molds and Pressing FAQ
Great tips and suggestions for using cheese molds and pressing cheese along with making and using a saturated brine solution. Forming and pressing cheese is an important step before it.
Curds and Whey FAQ
Learn about different techniques and ways to work with curds, for both hard and soft cheese. After adding rennet, milk forms into a solid curd. Depending on the specific cheese making.
How to Make Cheese at Home [Simple Recipe]
Disclosure: This post may contain affiliate links. I receive a small commission at no cost to you when you make a purchase using my link.
Fresh milk and rennet is all you need to make a white, soft and delicious cheese at home.
You probably never thought is that easy, right? And trust me – once you make your first homemade cheese you will never go back to buying cheese in a tub from your supermarket.
Cheese is one of the most popular fermented milk products. Cheese is commonly classified as soft and hard. There are hundreds of different cheeses around the world developed by artisans over time. And now it’s time for you try make it yourself.
Why make cheese at home?
It’s easy, it’s healthy and it’s delicious. Cheese can be made using cow, goat, sheep and donkey milk with cow milk being the most common milk used for making cheese.
The main ingredient for making cheese is milk. The first step of making cheese is curdling the milk. The milk can be curdled with acids such as lemon juice or vinegar or with an enzyme such as rennet.
Rennet can be animal or plant based and it helps milk coagulate. The amount of rennet you will need to use depends on what type of cheese you’re making. For soft cheese you will use less rennet than for hard cheese.
You don’t need special equipment to make cheese at home. You will need a large pot, thermometer, cheesecloth, knife and a colander. I recommend using stainless steel pot or any other pot made of non-reactive material. Avoid using copper, aluminum or non-enameled cast iron pots.
Making cheese at home requires around one hour of your time and an additional 4-5 hours for whey to drain out.
I’m sharing my mum’s cheese making recipe which is easy, simple and delicious. It’s a soft white cheese made of cow’s milk. It’s most similar to queso blanco with difference being using rennet instead of cider vinegar.
I grew up with calling this cheese ‘young cheese’ as mum used to make two types of cheese – ‘young cheese’ which can be eaten as soon as whey is drained out and ‘aged cheese’ which is kept for over a month before it can be consumed.
The ‘young cheese’ can be served with fried eggs and bacon, added to various salads, and on a toast with avocado and other veggies. I also love making different pastries with this cheese with my favorite being spinach and ricotta pastry.
Is cheese fermented?
Yes, cheese is a fermented dairy product. There are more than 2,000 varieties of cheeses with some of the most popular being cheddar, goat, feta, cream, and blue cheese.
Both hard and soft cheese is made by culturing or fermenting milk for a period of time. Some types of cheeses are made by simply straining out the moisture from yogurt or sour cream. While other types of cheese undergo a few additional steps during the fermentation and culturing processes.
For example; cottage cheese that belongs to the class of unripened, natural, soft cheeses requires some additional steps during fermentation. It has a lower fat content than most other cheeses. It is also a good source of protein. This cheese is prepared from pasteurized skim milk, reconstituted non-fat dry milk, or concentrated non-fat milk.
Coagulation of skim milk is accomplished through fermentation. In some cases, a small amount of food-grade acid is used to set the milk. There are several other ways to ferment milk to prepare cheese of different types.
How long does it take to make cheese?
Time is the factor that restricts most of us from preparing food at home. However, fortunately, making cheese at home is not time-consuming as commonly believed.
It may take just one hour to ferment cheese at home. Sometimes, it may take you about 6 to 8 hours to ferment a batch of cheese. The time may even spread out to more than a day depending on the type of cheese you are making.
However, even when you need to spend an entire day in the kitchen making cheese, it is not as if your hands will be full with it throughout the process. There are frequent periods of thirty minutes to one hour when you will just have to wait for a particular process to complete.
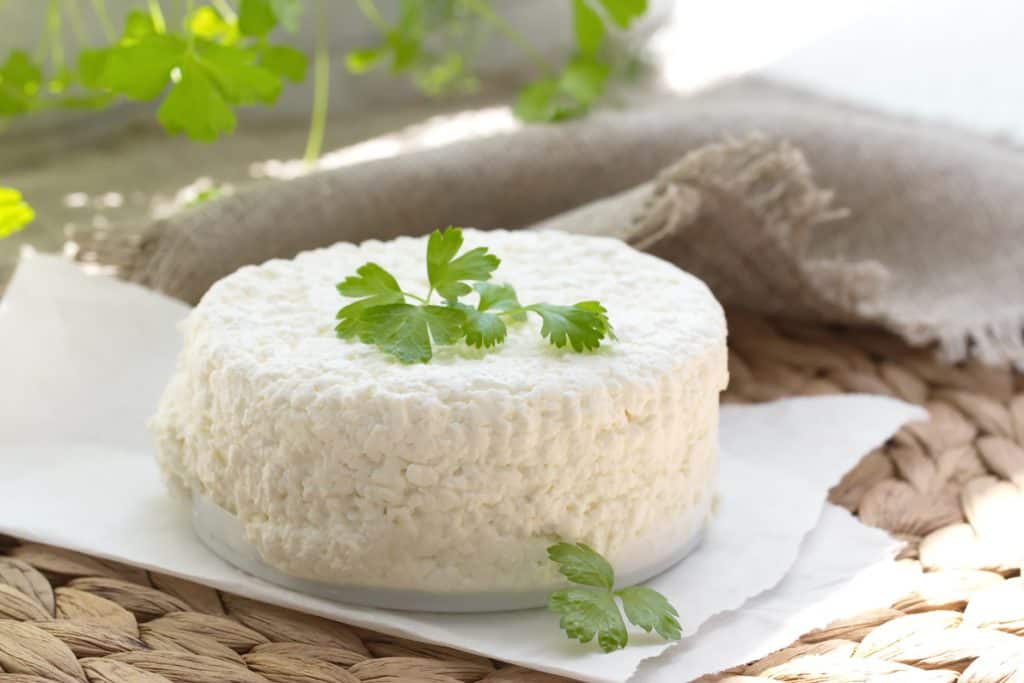
Usually, fresh cheese like cream cheese, paneer, chevre, mozzarella, and ricotta take a much shorter time to prepare. Aged cheese such as cheddar, blue cheese, and swiss take a much longer time to complete due to the aging process involved.
The aging of cheese may take anywhere from one or two weeks to nearly 12 months or longer depending on the style you plan to follow.
Monterey Jack is usually ready after one month of aging while a Parmesan style cheese requires aging for at least 9 to 12 months. Bries and Camemberts come out to be perfect after about 6 weeks of aging while Blue cheese may take from 3 to 5 months to age.
However, you do not have to wait for so long. You can stick to the simple process of making fresh cheese at home, particularly if you are keen to save time.
Cheesemaking equipment
So you are ready to make cheese at home! Before you start with the recipe and choose the milk, you need to gather the cheesemaking supplies.
Probably you will already have in your kitchen most of the tools and equipment you need for cheesemaking. Let’s take a closer look at what all you will need so that you can get what is missing.
A large stock pot
Most cheese recipes need 2 gallons or 8 quarts of milk and about 1 cup of other ingredients that you have to add to a vessel. So, the pot in which you plan to make cheese needs to be large enough to accommodate the contents.
It should be large enough not just to hold that amount, but also to allow you some extra room for stirring the ingredients comfortably.
The pot should preferably be made of unchipped enamel or stainless steel. I would not recommend pots made of aluminum or other reactive metals as these materials tend to seep into the contents, spoil it, or change its taste and texture.
Large bowl
While making cheese, you will need a large bowl for heating milk and catching the whey. You should choose a large, and sturdy bowl that will hold the contents.
Measuring cups and spoons
Measuring cups and spoons will allow you to measure the exact quantities of each ingredient you need to add to the recipe. Do not underestimate the importance of adding the exact quantities of ingredients using this equipment. Sometimes, a minor change in the amounts of ingredients can make a difference to how your cheese comes out to be.
Also, when you know the exact measures, you will gain the confidence to follow the same recipe, again and again, to get perfect results each time.
It is best to use glass or stainless-steel cups and spoons as they are non-reactive and quite easy to clean.
Sanitized nylon or plastic spoons are other alternatives you can choose. If you plan to be into cheesemaking on a regular basis, you can invest in a measuring spoon set that can be used to measure smaller amounts of ingredients.
Thermometer
Having a thermometer can make cheesemaking a more reliable and accurate process. Most brands of thermometers have a clip for attaching to the sides of the pot.
You can choose any basic thermometer used for cooking purposes. You may use a waterproof No products found. if you are looking for durability.
Long-handled spoon
A good quality spoon would be like a third hand for you while making cheese at home. It’s used for incorporating rennet, adding starter culture, stirring as well as scooping curds.
There are several varieties of nylon and plastic spoons, which you can use for cheesemaking. However, small holes in them may make it difficult for you to clean them thoroughly.
You can also choose bamboo spoons for stirring. It is non-reactive, comfortable to use, and easy to clean. A stainless-steel spoon is also a good option.
Colander
A colander is needed for separating cheese curd from the whey. Any non-reactive material such as plastic, enamel, and stainless steel will work.
Butter muslin and cheesecloth
Butter Muslin and cheesecloth are used for draining cheeses and other tasks during cheesemaking.
Once you have gathered the basic equipment, you are ready to start making cheese at home.
Let’s now look at the cheesemaking the ingredients and the best recipes for preparing cheese.

Ingredients
This is the most important step in making cheese at home. Before you begin with the actual recipe, check out the basic ingredients needed and also the various alternatives you can try.
Milk is undoubtedly the most important ingredient in cheese. Always choose milk that is fresh. If you have access to farm-fresh milk, it is best to get the fresh milk of that day if possible.
If you are using store-bought milk, do not open the container until you are ready to start with the recipe. Most importantly, in case the milk seems to be spoiled or tastes sour, do not use it. Trying to turn spoilt milk into cheese will not help it taste better.
Making cheese coagulates the protein content of milk solids turning them into curds. At first, this curd has a soft and gel-like texture due to all the water and solids present in it. As the curds are heated, liquids in the forms of whey are released gradually. The curds continue to condense more and more until cheese is formed.
Depending on the milk you choose, these processes alter the taste and texture of cheese. Hence, you should choose milk based on how you want your cheese to taste like.
Raw milk straight from the dairy animal, which is later filtered and cooled, can make some wonderful cheese, thanks to its rich flavor. However, if you plan to use raw milk, you need to be a little more careful as it is not pasteurized. Hence, there is a risk of bacteria populating and contaminating it. If you are not confident of the source of raw milk, it is best to pasteurize it before using it to make cheese.
Alternatively, you can use ultra-pasteurized, homogenized, or cream milk. You can also try using dry milk powder or choose non-dairy options such as almond, or coconut milk.
Cultures
You will need starter cultures that contain friendly bacteria to help “ripen” the milk. Cultures are added to the milk when it is heated to a specific temperature.
These cultures work by increasing the acidity levels, which results in the coagulation of milk to cause separation of whey.
Cultures also ferment the lactose in the milk and initiate the production of lactic acid. The process of fermentation determines the mineral and moisture content of the curds. It can play a big role in determining the texture, taste, and characteristics of the finished cheese.
Mold powders
Mold powders can be added to the mold or bacterial-ripened cheeses to improve their flavors and aroma. These molds are carried in the form of a freeze-dried powder and can be stored in a freezer for improving its shelf life.
Varieties of mold can be used to make cheese such as white mold, red mold (or red linens), or blue mold powder.
Rennet
Rennet is a type of enzyme that helps in the coagulation of milk. Adding rennet to milk causes the milk proteins to solidify, which helps the milk to separate into whey and curds.
We all know that milk has a tendency to solidify on its own when left out. However, adding rennet is still recommended as it can solidify the milk before its acid levels rise too high and create off-flavors. Adding rennet at the correct stage of “ripening” can keep the milk sweet by solidifying it faster.
Rennet is available in different forms including tablets, liquid, and powder. It is derived from animal as well as vegetable sources. Choosing the type of rennet you want to use for making cheese depends on your personal preferences.
Animal rennet has been used traditionally to prepare cheese. However, recent years have seen a growing usage of vegetable rennet for environmental reasons.
Flavors
Some additives may be added to milk while making cheese to enhance its flavors and improve its visual appeal. Once you feel comfortable and confident of your skills to make cheese, you can think out of the box or play around with different additives to modify flavors according to your preferences.
You can add cheese salt or herbs and spices such as cinnamon, ginger, and garlic to make it more flavorful.
Learn How to Make Cheese
Get Free Recipes
Sign up for Recipes + Specials
Learn
Along The Whey
How to Store and Age Cheese in Brine
Get the best results when storing and aging Feta, Mozzarella, or other Mediterranean style cheese at home, we’ll show you how.
Learn About Cultures for Cheese Making
Some of the top questions we receive about cheese making have to do with cheese making cultures. Why are there so many cheese making cultures to choose from? Where do.
Finding Good Milk For Cheese Making
When trying to find good milk for cheese making there are a few things to consider and sometimes it can be tricky to know where to begin. That’s why we’re.
The Evolution of Milk For Cheese Making
Most milk comes from cows and we’d like to think they are all out on pastures eating grass. But are they? And if not how can this affect milk? Raising.
Ways to Use Whey
You try to buy the best milk you can for cheese making and when you’re done you have a couple of pounds of great cheese, but what about all of.
How to Select Cheese Wrap
This guide will help you select the the right type of cheese wrap and figure out which size wrap will fit your cheese. We carry a nice variety of wraps.
How to Make a Cheese Cave
Learn how to make a cheese cave right at home. If you want your cheese to ripen properly you have to make them a good home and take care of.
How to Wax Cheese
Waxing cheese will help prepare it for the aging process. This guide will walk you through the waxing process and provide helpful tips for what to do when things do not.
Using Large Culture Packs
Large packets of starter culture offer a broader choice in cultures, than small culture packs, but are intended for large batches of cheese. General guidelines, for large culture packs, provide.
Testing Acidity Development
When converting the lactose in milk to lactic acid, using starter cultures, there is no visible way to determine the rate of culture activity within the milk. Tracking acidity development.
Making and Using Salt Brine
The primary reason for salting cheese, is to slow down, or stop, the bacteria process converting lactose to lactic acid. During the brining process, most of the lactose is removed.
How to Bandage Wrap Cheddar
This easy to follow guide will walk you through the process of bandage wrapping cheddar cheese. The result will be a beautiful, bandaged cheddar, that is ready to be aged.
Wood Aging Boards
The wood shelves we use for aging cheese, are a combination of tight pine boards and ash. We generally use pine boards for drying cheese, because pine will absorb excess.
