How to make nutcracker
How to make nutcracker
How to Make a Steampunk Nutcracker
Introduction: How to Make a Steampunk Nutcracker
With Christmas just around the corner, I wanted to make a nutcracker to go with my decorations. This is a very quick and easy project to make the base, which took approximately 15 minutes to make. But you could get carried away like me when it comes to decorating him.
Step 1: Materials Needed
I used mainly recycled materials that I found laying around at home. My first choice was to use some PVC pipe and postal tubes for the arms and legs. These are great if you want to make a larger nutcracker to sit on a porch. The total height on mine is 45Cm and below are the products I used.
Step 2: Making the Nutcracker Body
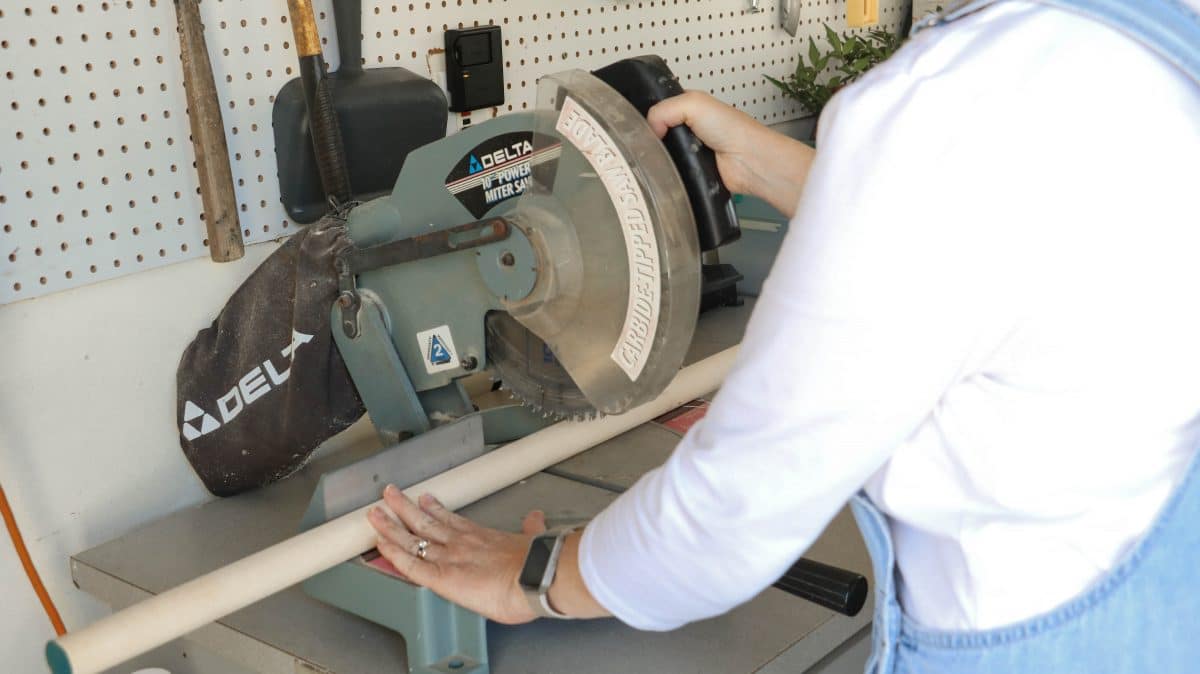
Start, by cutting the postal tube to the size you want. Because I used recycled materials I had to use what I had at home. The dowel pegs were from an old pegboard so I cut my postal tube to be in proportion with the dowel pegs. This was 26cm long. You can buy A4 pieces of felt from a budget store for about a dollar. I used 2 for this project. Next, using the hot glue gun, attach the felt to the tube at the top and bottom leaving a gap for the face. You can use some white acrylic paint to paint over the gap so you have a clean area for the face.
Step 3: Cover the Arms and Legs
An easy way to cover the dowels is to put a line of hot glue down the dowel and line it up with the edge of the felt. Then just roll the dowel in the felt until the edges meet, then cut away the excess.
Step 4:
You can cut small strips of felt to make some cuffs and a belt for your nutcracker.
Step 5: Making the Boots
I layered the felt so it was obvious that he was wearing boots. You can just paint them on if you so choose.
Step 6: Attaching the Arms and Legs
If you are using black felt I would recommend using black hot glue so the glue is not so obvious. The clear glue will stick out like a sure thumb.
The legs were a bit trickier to attach. Because of the height of the nutcracker, I did not think hot glue would be strong enough to hold him upright. To solve this problem I cut two small pieces of wood, one to go inside the tube lid and one for outside because the lid was hollow. I drilled a pilot hole and added a screw through both to hold them all together.
Next, I drilled a pilot hole at the end of each dowel. Using a screw long enough, screw through the wood and into the dowel. This will hold the legs firmly in place. The lid with the legs attached can now be glued back into the postal tube. I got so involved I did not take a picture of this.
Step 7: Attach Nutcracker to Stand
To attach the nutcracker to the block of wood, you can drill pilot holes at the end of the dowels. This is to prevent the dowels from splitting when you add the screws. Drill matching holes into the wood and add screws from the bottom into the dowels. This will make your nutcracker very secure.
Step 8: Decorating the Nutcracker
Because I chose a steampunk theme I was able to use bits and bobs from my craft supplies. As always I tend to go overboard to make my projects unique, you can decorate yours whichever way you chose. If you want to create one similar to mine I will briefly explain what is used. All the chains I used were from broken junk jewellery. The springs were from a broken battery toy, but you can make some by wrapping some wire around a pen. The shoelace holes were spacer beads from a beaded bracelet. The white pearls are trim you buy by the metre and they come in many designs.
Step 9: Making the Beard and Moustache
I am a very creative person but I can not draw to save my life. I had a few attempts at drawing on a face and they were all hideous. Safe to say drawing is not my thing. To get around not being able to draw the face, I decided to try and cover most of the face with accessories. I used some Mongolian fur to make him a moustache and beard.
For the beard, I cut a small triangle using an Exacto knife. Turn the fur over and cut the back lining only, this will prevent you from getting the straight cut in the fur.
Step 10: Shape the Fur
You can use a comb to part the beard and the moustache. Mine was a bit too bushy so I gave it a trim and used hairspray to hold the style in place.
Step 11: Making the Glasses
The steampunk glasses were made using washers and steampunk gears. I added some plastic film between the two layers so I could paint it black to hide the fact that my nutcracker had no eyes. He got a screw head as a nose.
Step 12: Making Feet
I used some air dry clay and made some shoes which were pretty naff too. To hide my failed attempt at shoes I covered them in felt which worked well. These were glued to the wooden base with hot glue.
I did not like the look of the white beaded trim so I painted them all black and added some bronze wax paste. The hands were wooded beads that I glued to the base of the dowels.
Step 13: Making the Drum
If you want the drum you can add some match sticks with beads on the ends as drumsticks. To make the drum, I repurposed a small paint tub and covered it with felt. I used some rhinestone wrap which I cut and glued to the drum. You can use some leather laces for the strap for the drum. Lastly, to decorate the base I used some stamperia moulds and resin to make the sign and embellishments.
Step 14: Finished Steampunk Nutcracker
I hope you enjoyed seeing how my steampunk nutcracker was made, here are some more images so you can see all the details.
Step 15: More Steampunk Decor
If you are a steampunk fan, I am sure you will love these super cute handmade steampunk gnomes.
Step 16: Steampunk Christmas Tree
This steampunk Christmas tree has been made from a cardboard box and bits and bobs I had laying around the house.
More unique Ideas can be found on my website Unique Creations by Anita.
Be the First to Share
Did you make this project? Share it with us!
EASY UPCYCLED DIY LIFE SIZE NUTCRACKER
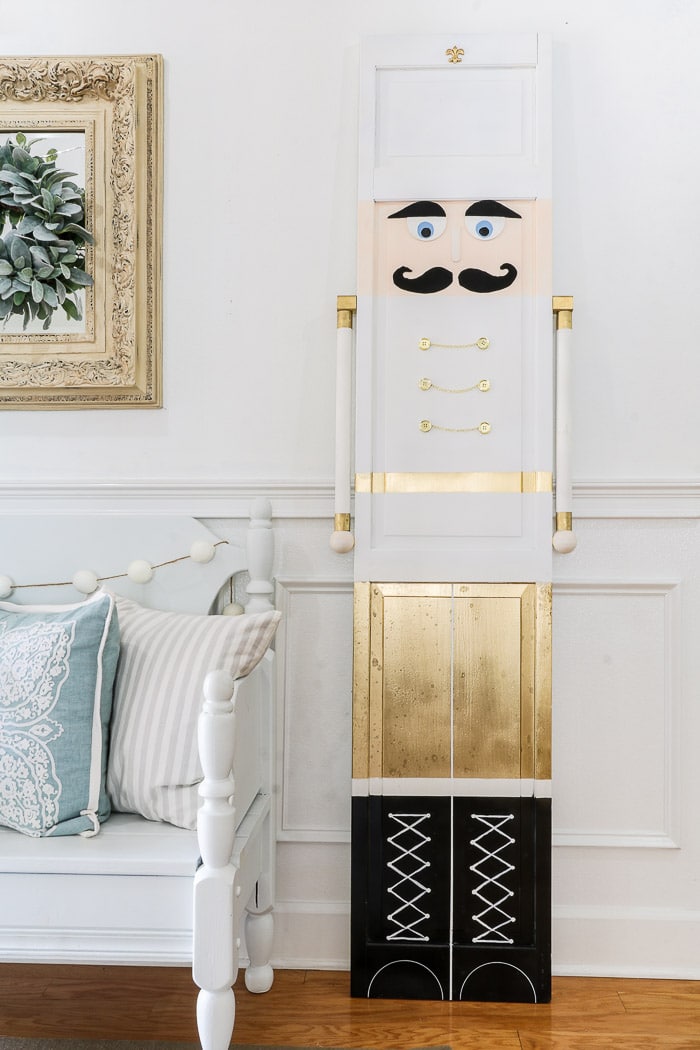
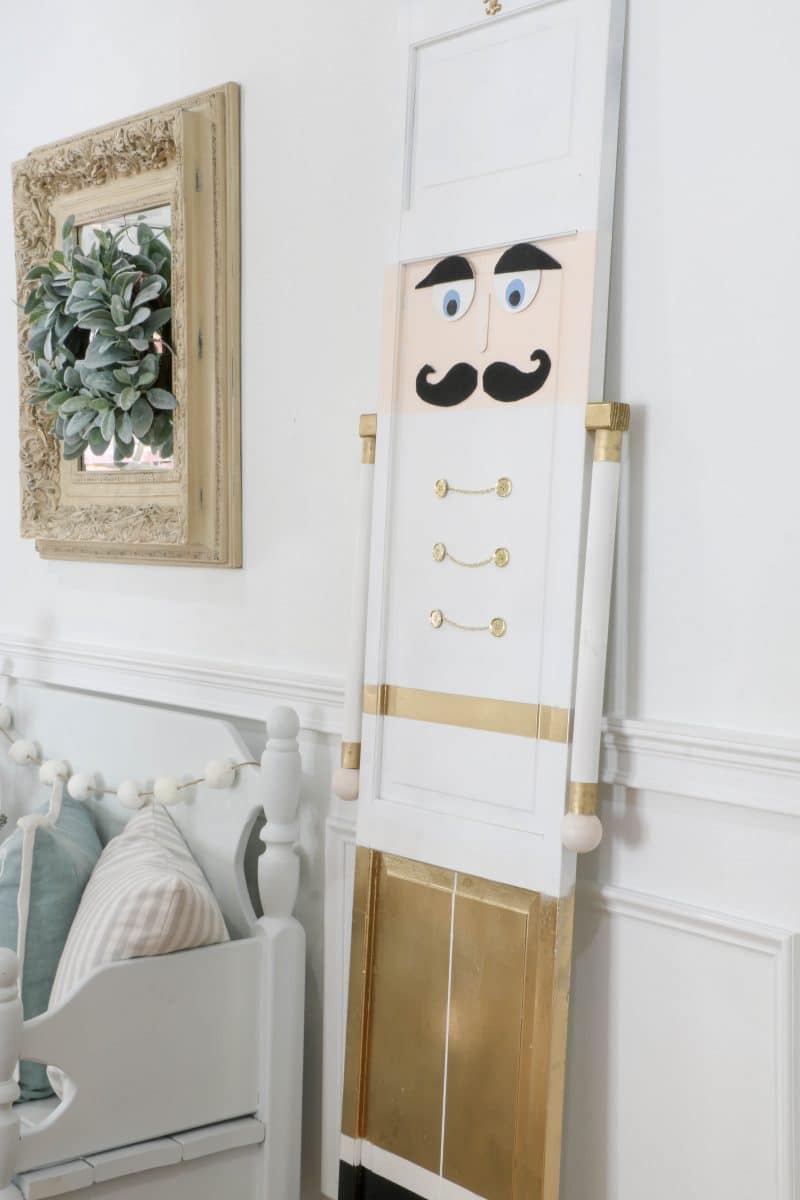
Here you will find an easy step by step instructions on how to make an upcycled DIY life size nutcracker from an old closet door. With a hand full of supplies you can decorate your home, porch, or yard with one of these charming Christmas toy soldiers.
These child-like life-size nutcrackers will bring so much joy to your Christmas decorations which is why I wanted to share this DIY life size nutcracker project so you can make one. Here is an easy way to add some simple festive decor to the most wonderful time of the year!
This post contains affiliate links, which means I receive a commission if you make a purchase using the links below. All opinions are all my own.
DIY Life Size Nutcracker
There is something about seeing a child’s face light up at Christmas time when they see a giant toy soldier standing by their beautifully decorated Christmas tree. This tall nutcracker can also be a great addition to your outdoor decoration.
How to Make a Wooden Nutcracker
To begin any project it is best to grab all your supplies. This what you will need to make a wooden nutcracker.
Products from Amazon.com
Prepare the Doors
Before you begin, clean the doors if they are used and sand any rough areas. Once they are clean it is time rock and roll except for painting them white if they need it
Okay so let’s assume you need to paint them white. Let me recommend you spray some Kilz primer first then spray paint a coat of white.
Now it is time to rock and roll!
Paint the Boots Black
If your door is 78″ tall you can follow these dimensions but if it is different then you will have to figure close to this.
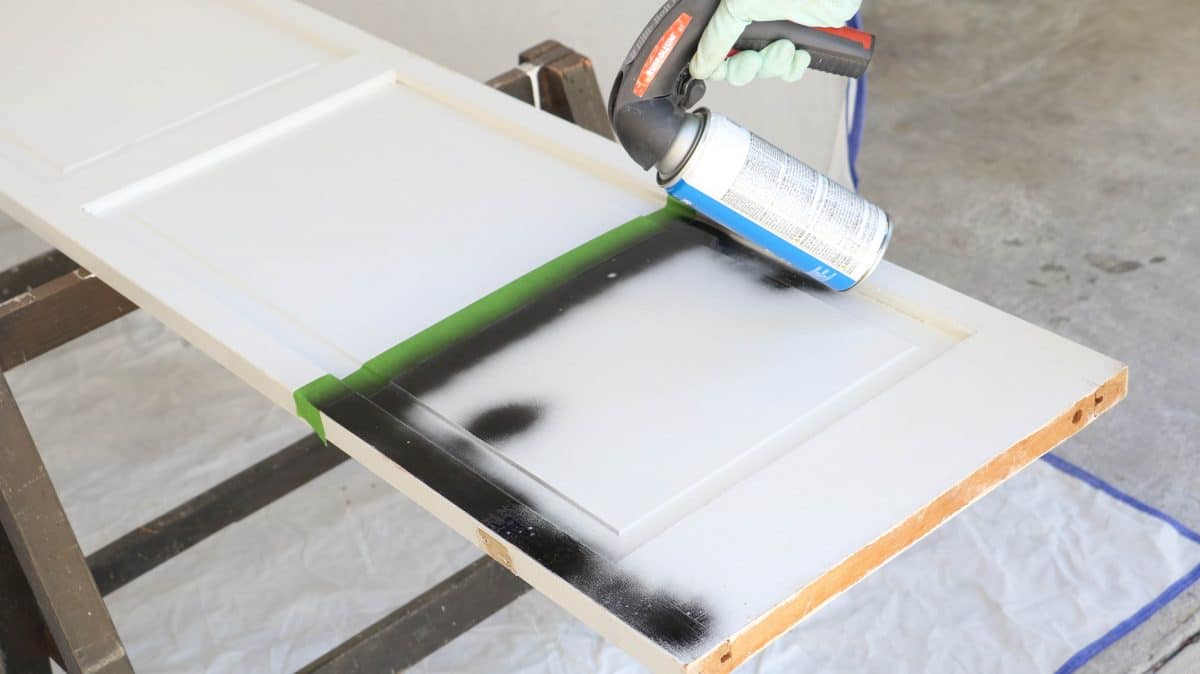
First, layout some craft paper to cover the top of the closet door. Then for the boots measure up from the bottom 16″ and tape the craft paper down as your tape edge sits on the 16″ line.
Make sure to score the edge of the painter’s tape so that paint doesn’t get under it.
Now spray paint with the black paint and apply several coats to get a good even finish. Before the paint is good and dry go ahead and remove the tape carefully.
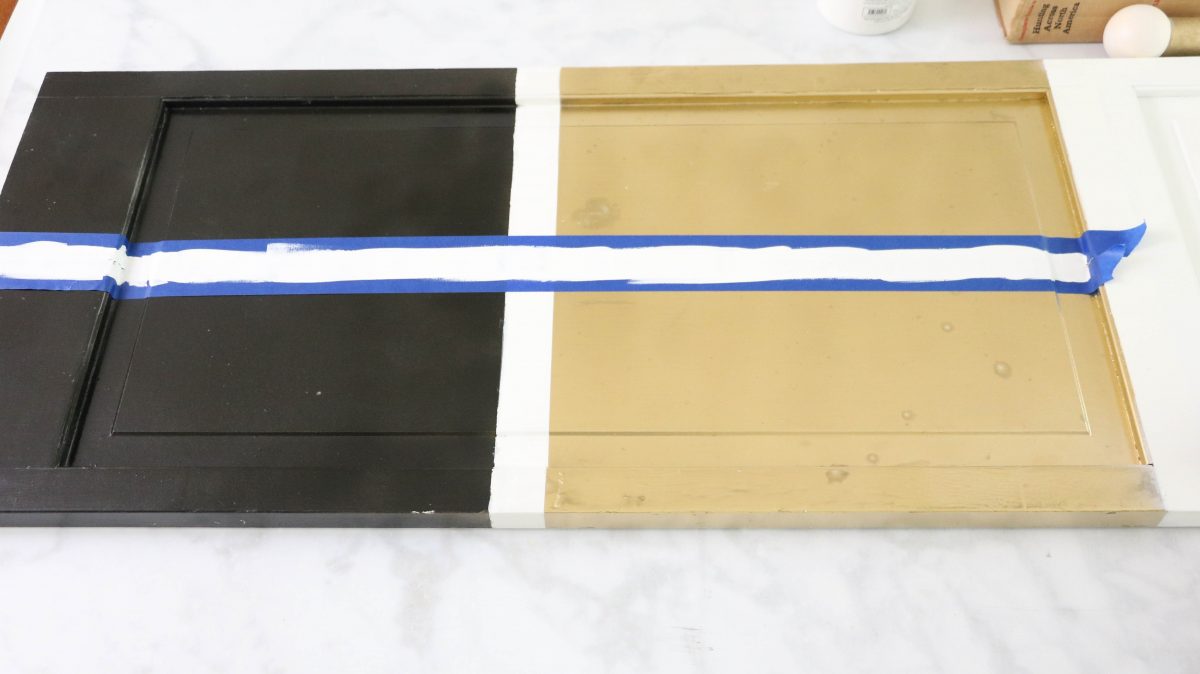
Paint the Pants Gold
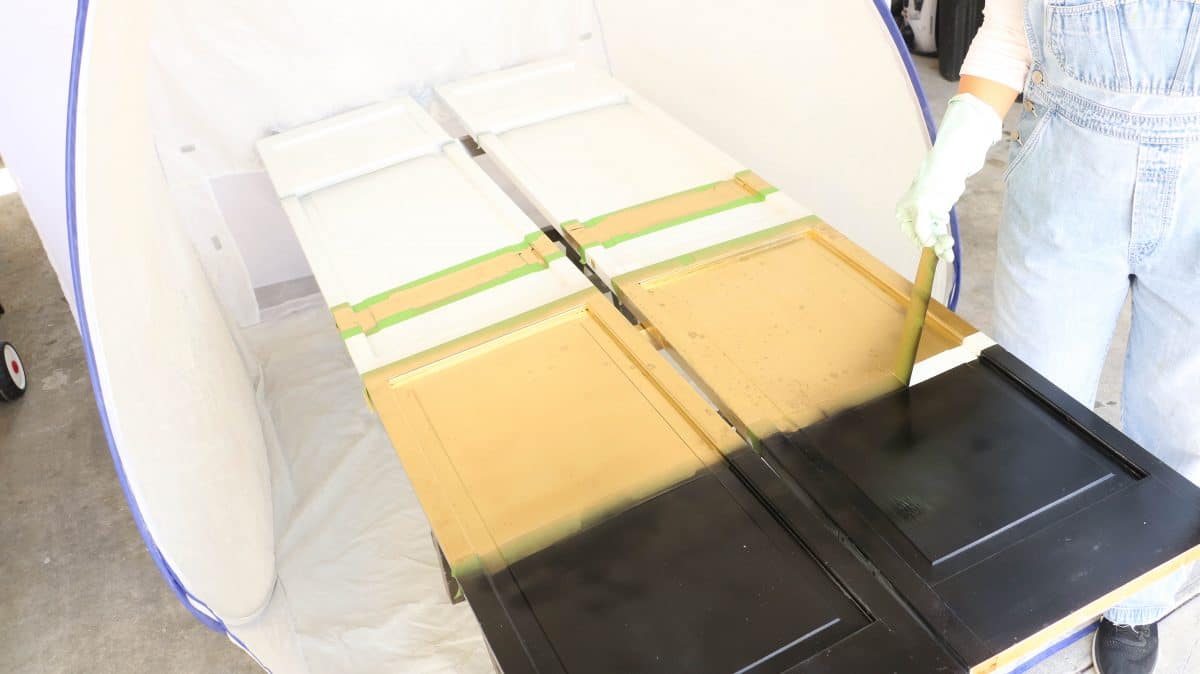
Next, measure up 17 1/2″ from the bottom and place a row of tape along with some craft paper to cover the boots. Trust me on this because I didn’t use craft paper in the beginning and I had to go back and fix things.
Then measure up 33″ from the bottom and place another row of tape along with craft paper covering the top. Now spray the gold for his paints doing several coats as needed. Before the paint is dry go ahead and remove the tape.
Now you should have a white band above the boots, gold pants and black boots.
Grab The Free Holiday DIY Book
Get the Monthly Holiday DIY Decorations eBook for Free ($19 Value)!
Thank you!
You have successfully joined our subscriber list.
Paint the Gold Belt
The following step is the gold belt. Measure up from the bottom 40 1/4″ and tape and craft paper the bottom. Then measure up from the bottom 42″ and tape and craft paper the top.
Don’t forget to score the tape so the paint doesn’t get under it. Now start spraying the gold again. Applying several coats as needed.
While the paint is still wet go ahead and remove the tape carefully.
Paint the Face, Nose, and Hands
Just under the first band of trim that is running horizontally, you will apply the skin colour paint. Measure down about 8″ below the band and put some painter’s tape.
You do not have to add the craft paper now because you will not be spraying on the doors anymore.
After you score the tape use a paintbrush and paint on the skin tone color between the band and the tape. Once you are finished go ahead and remove the tape.
Next paint the wood balls which are the hands. Make sure to paint two balls for each soldier. Then paint one of the large popsicle sticks.
Now move the doors out of the way because the next paint steps will be sprayed but not on the doors.
Cut the Dowel Arms, Shoulders and Nose
Before we start painting again let’s cut the dowel arms and shoulders. First, measure the arms 18″ each. You will need two arms. Go ahead and cut them and sand the edges.
Next cut the shoulder 1 5/8″ and sand the edges. You will need two of the shoulder for each nutcracker. And cut one popsicle stick in half which will make two noses.
Ready Set Paint: A step by step guide to all things paint.
Discover a strategy to pick a paint color you will love. Read my privacy policy here.
Thank you!
You have successfully joined our subscriber list.
Paint the Eye and Arms White
Now that everything is cut and the doors are out of the way, let’s spray paint white again. Simple lay the eyes out and arms and spray them like you did the doors.
If your dowels are unfinished you can use the Kilz primer first and then paint them. I found it to be easier to hold the dowels while I painted them.
After you are finished lean them up somewhere to dry. Spray paint doesn’t take long which is good because our next step is to paint the gold on the shoulders and the arms.
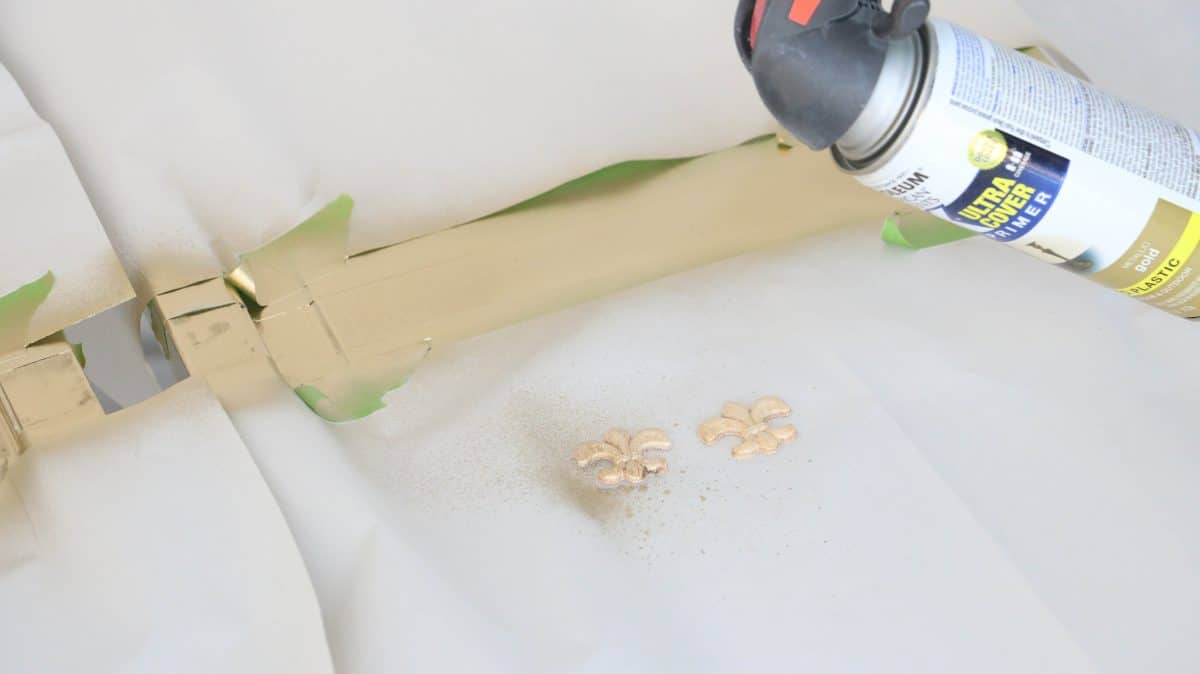
Paint Gold on Arms, Shoulder and Fleur de lie
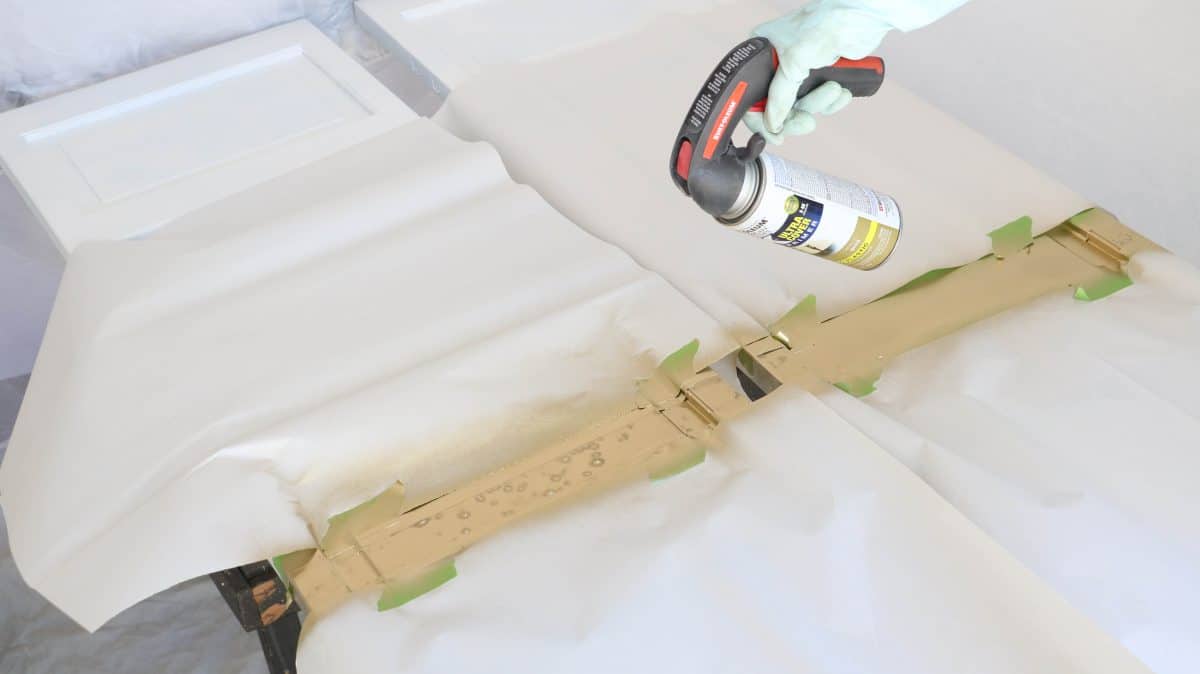
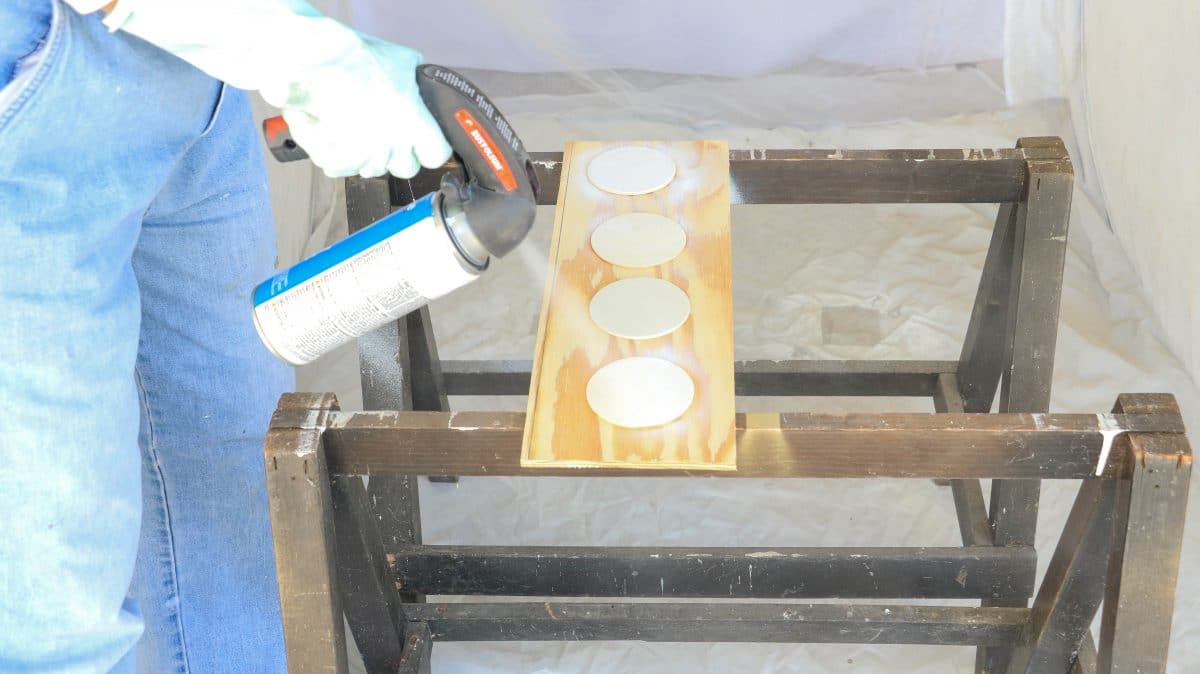
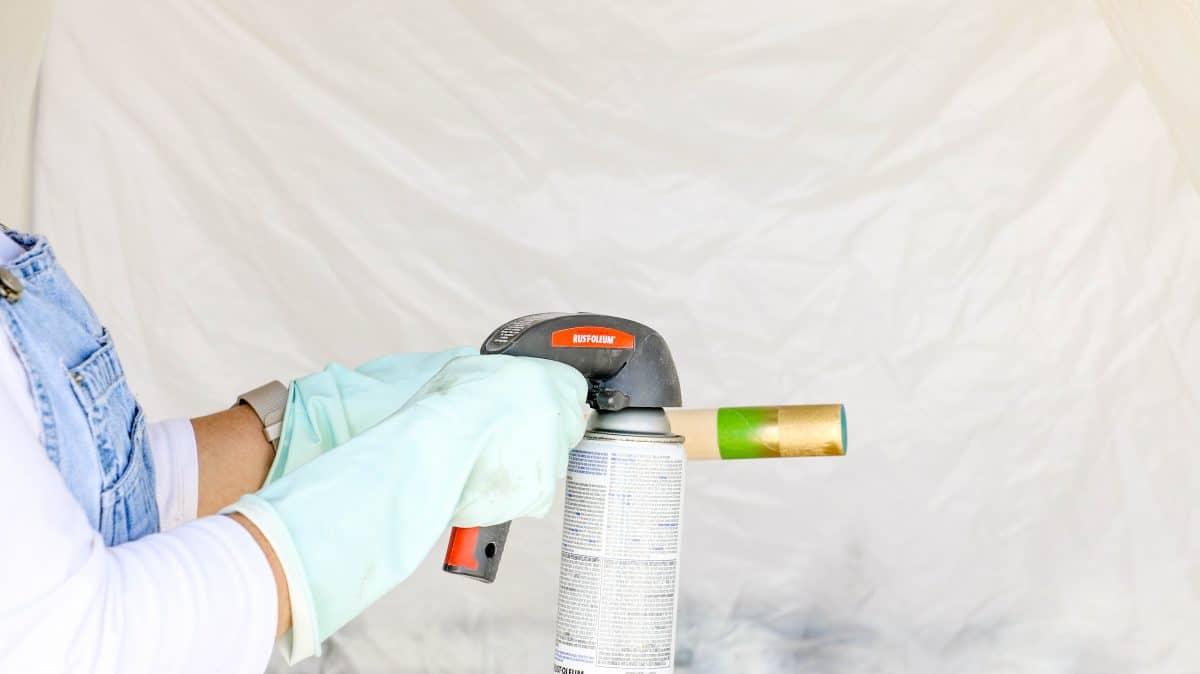
Next, lay the shoulders out and the fleur de lie and spray paint them gold which will add some festive colors to your finished piece. Then the arms should be dry so measure down 2″ and run a band of tape around the arm on both ends.
Make sure to score the edges so the paint doesn’t bleed under. Now you can spray paint carefully away from the rest of the arm, or craft paper the rest of the arm if you are experienced.
Either way, go ahead and spray gold paint to the top and bottom band like in the photo.
Paint the Eyes
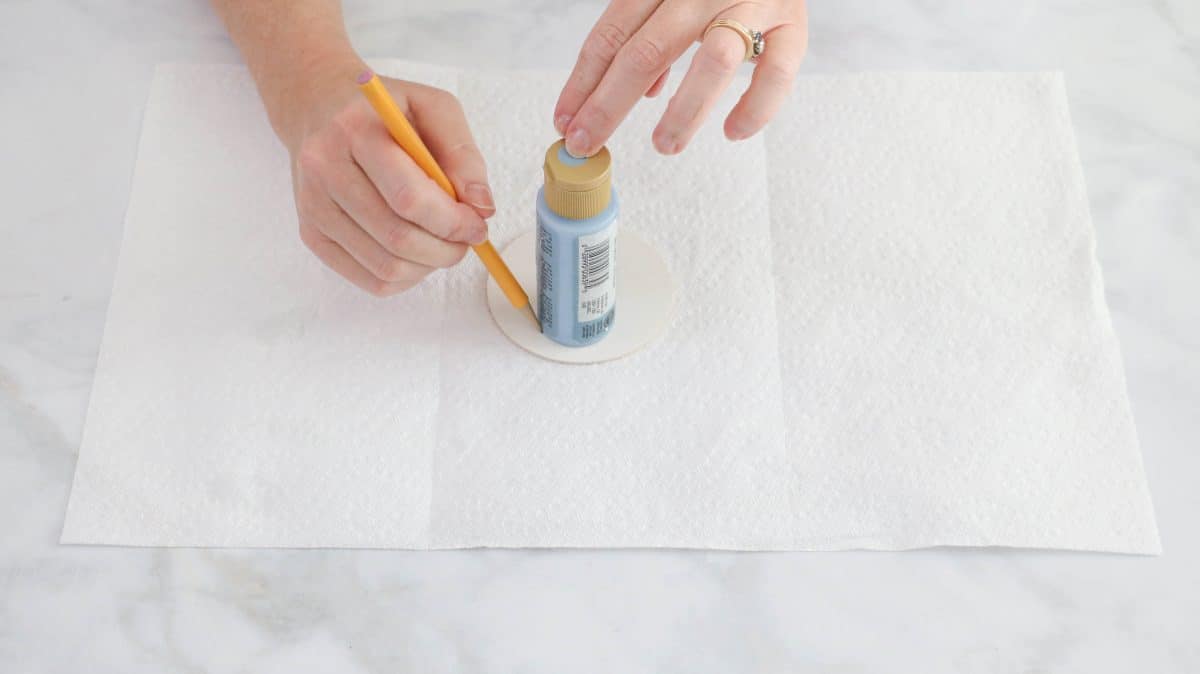
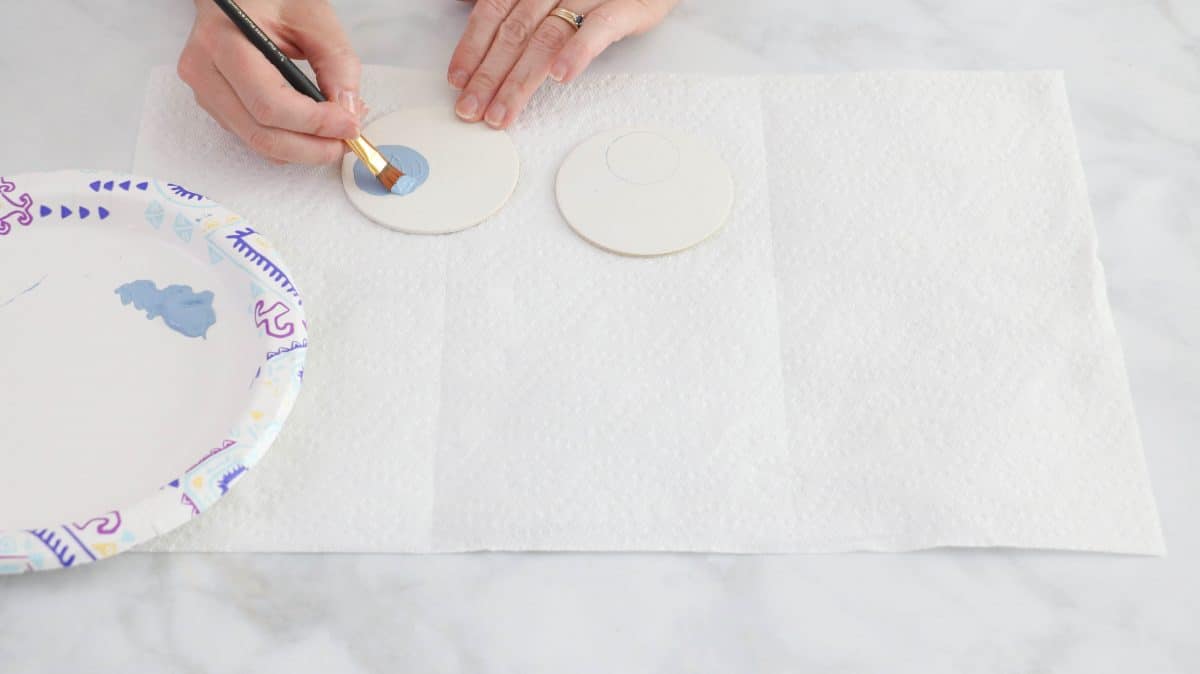
Now that the eyes are painted let’s add the pupils. Grab a paper plate and drop a little bit of black and blue paint. Then take the acrylic paint bottle and trace it around base onto the bottom of one of the eyes.
Next paint inside the circle with the blue paint.
Repeat this step on the other eye and now let’s do the black. For this, I used a small 1/2″ sponge brush. I simply dabbed the brush into some paint and dabbed it on the bottom of the blue eye.
Attach the Face
Now the fun part is happening and the DIY nutcracker soldier project is starting to take shape.
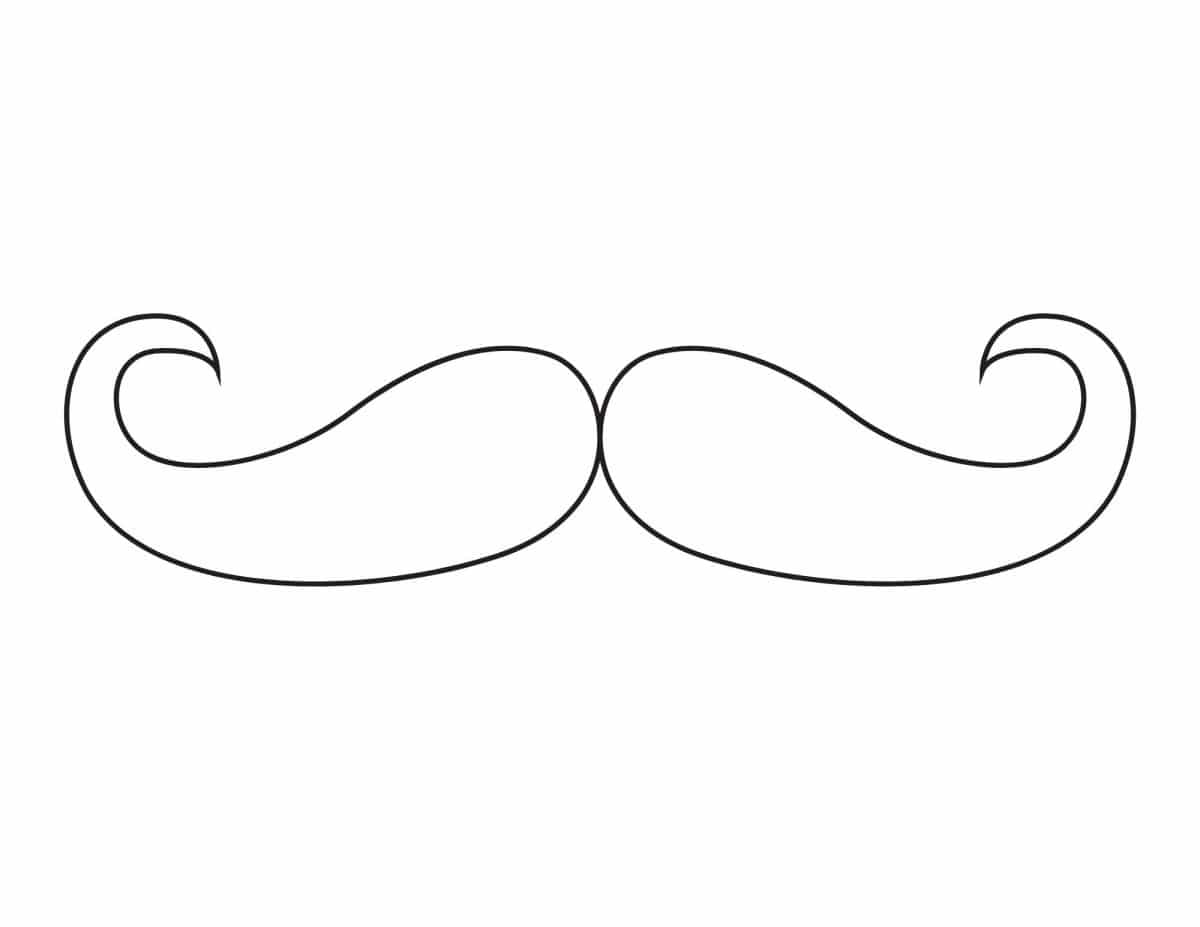
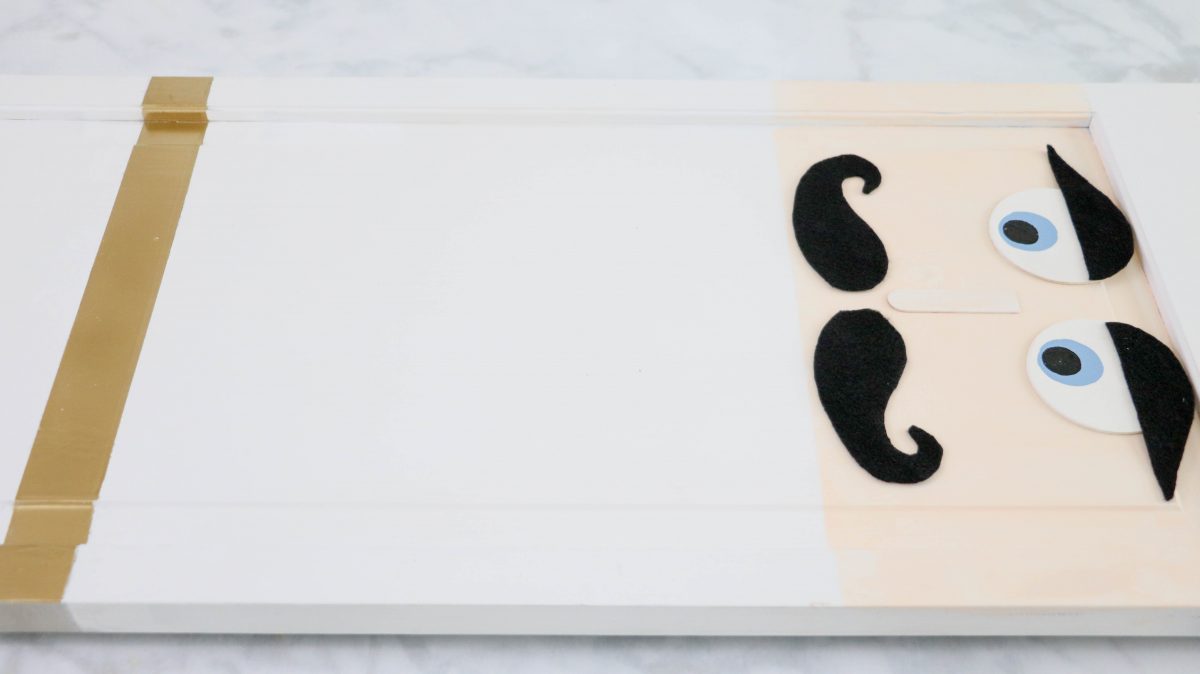
Download this mustache and print it on regular size paper. Make sure it fits the whole sheet of paper
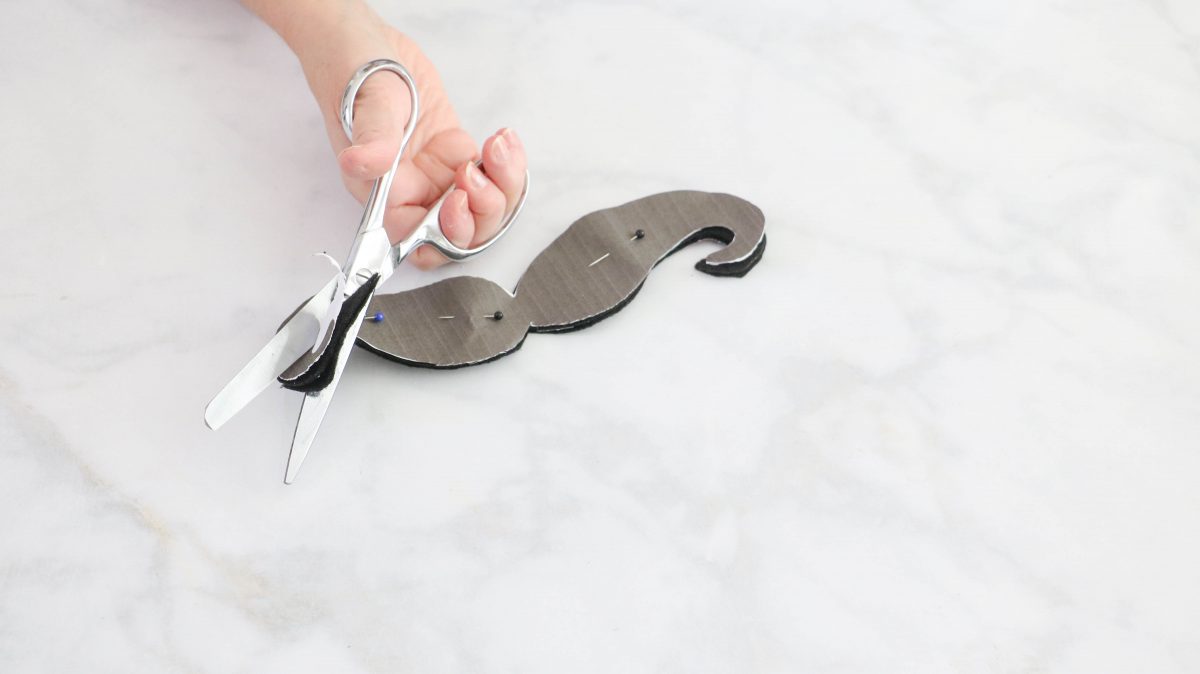
Next, sit the pattern down on the black felt pin it down and cut it out into two pieces.
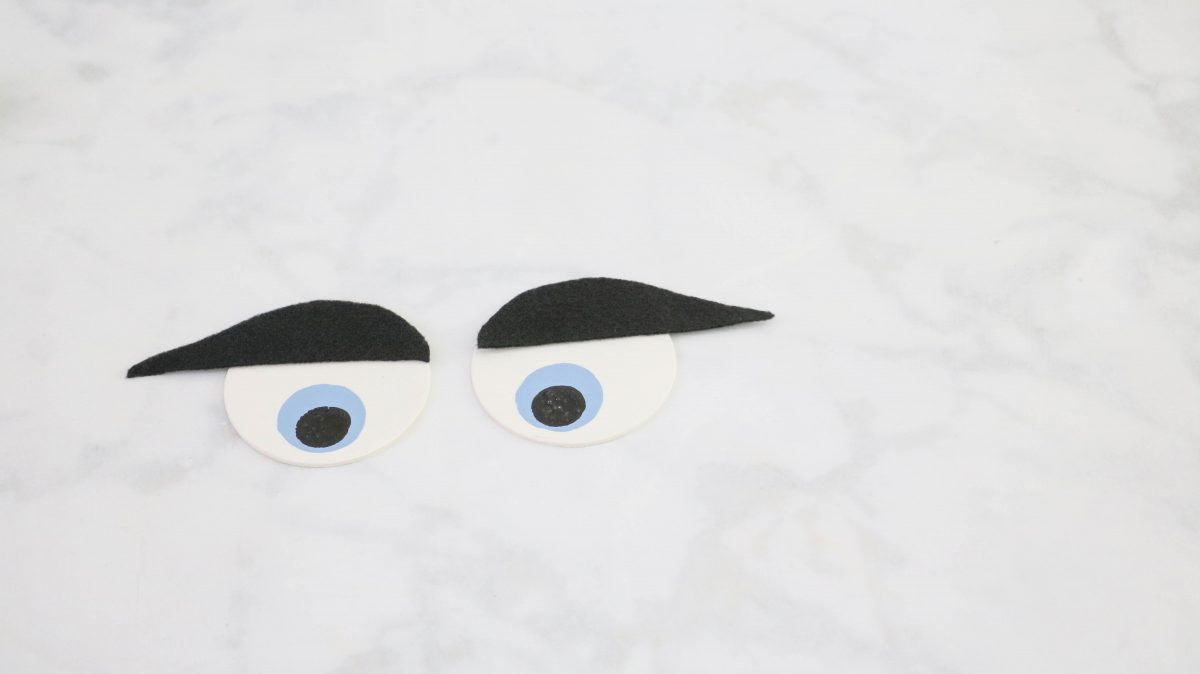
For the next step, you will freehand the eyebrows. They are basically straight across on the bottom and then round at the top then come down to a point on the side. I would make one eyebrow and then use it as a template to cut the other eyebrow.
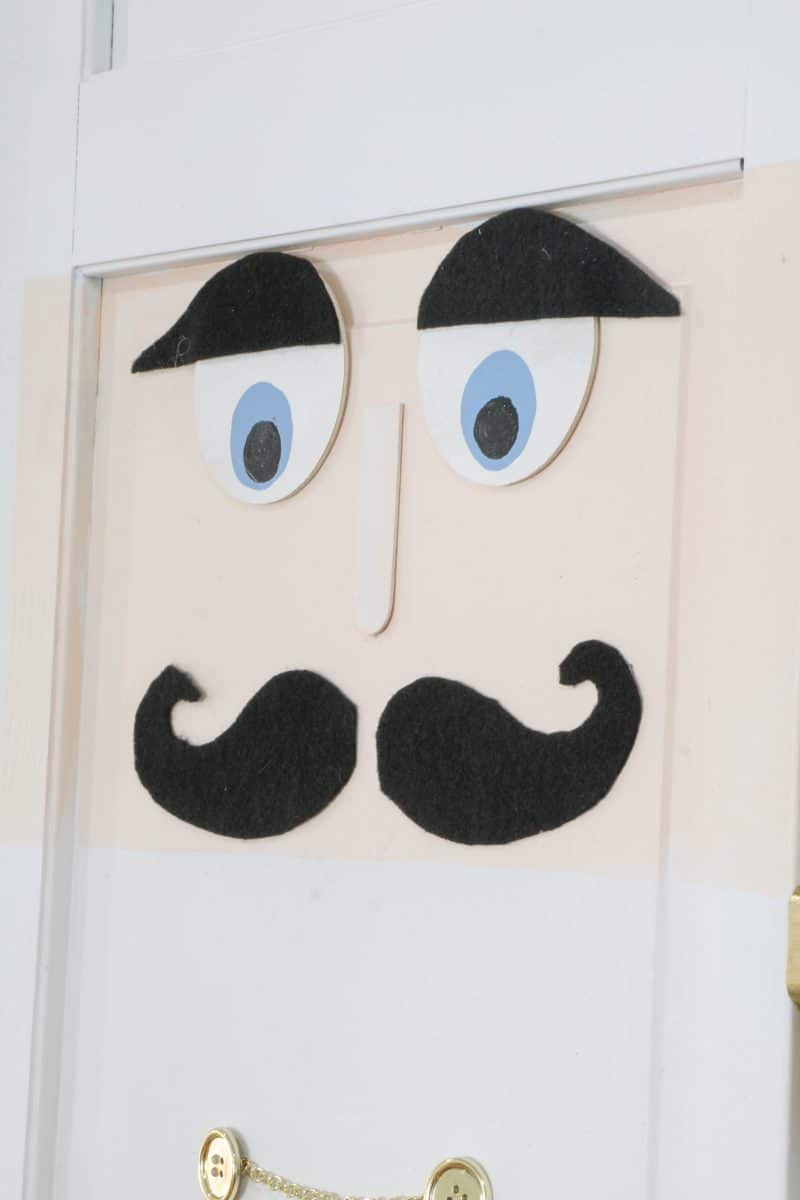
Then start sitting the eyes, mustache, nose, and brows on the face.
Warm up the glue gun and start applying the eyes, nose, eyebrows, and mustache to the face.
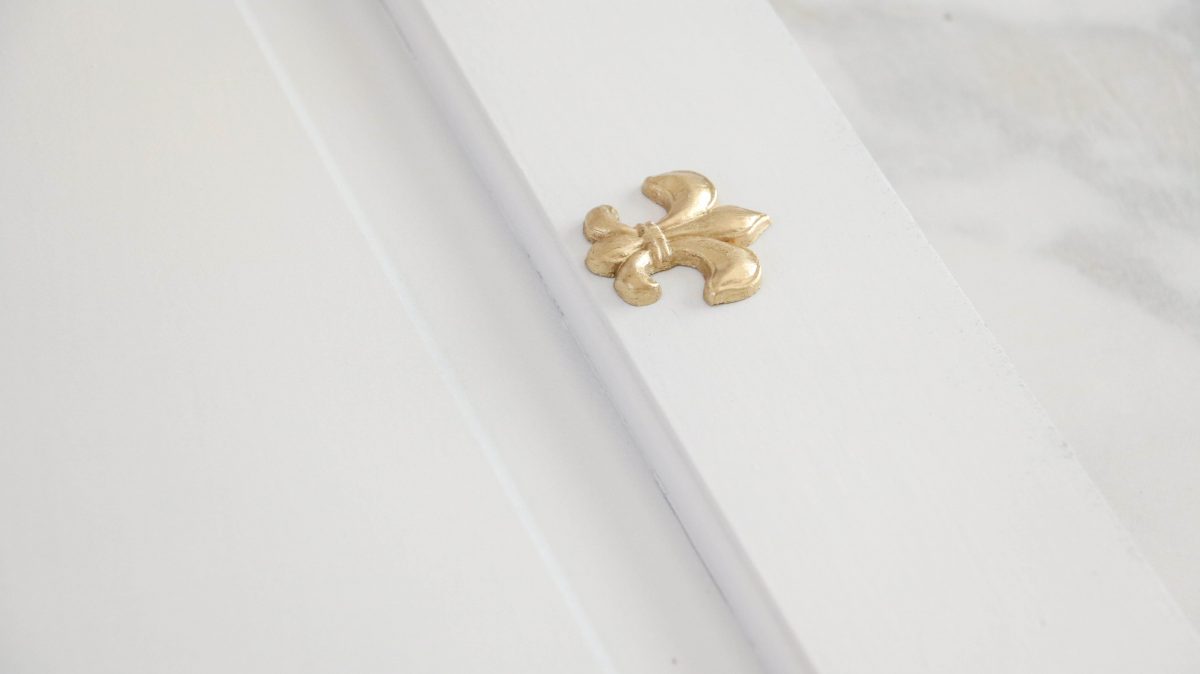
And while you are at it go ahead and apply the fleur de lie at the very top of the hat in the center.
Attach the Buttons and Chains
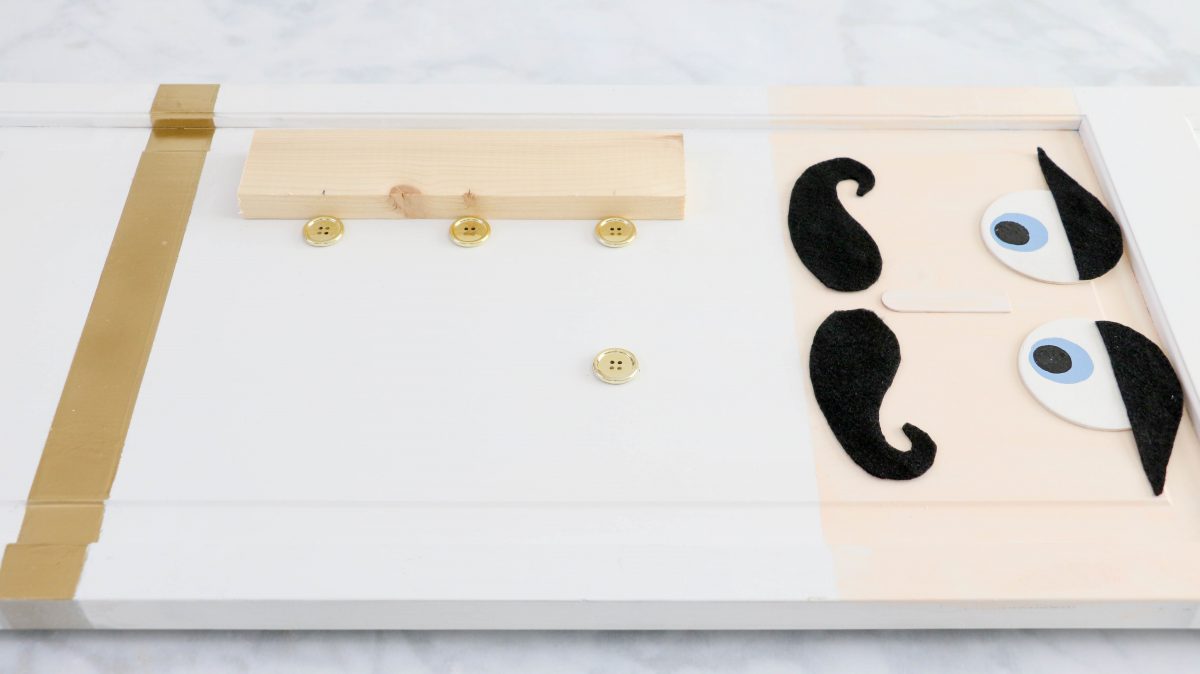
Next, follow these measures and place the buttons on the bodice. Measure from the outside in on each side 5″ and make a faint pencil mark then measure 3 1/2″ from the face down and place the first buttons.
Do not glue them down yet. We are going to place all of them first.
Next, measure down 2 1/2″ for the second row of buttons and then another 2 1/2″ for the third row of buttons.
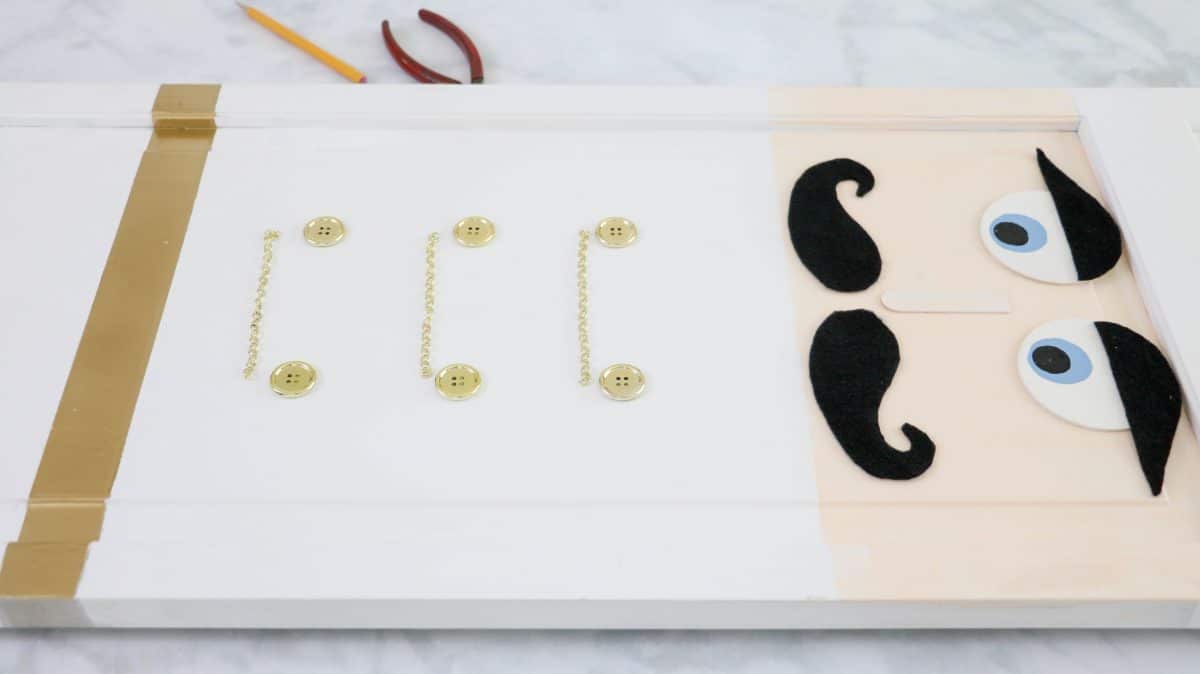
Now that all the buttons are in place grab your gold chain and place it flat across along the bottom of the buttons and cut it.
Make sure the chain is long enough to go under each button.
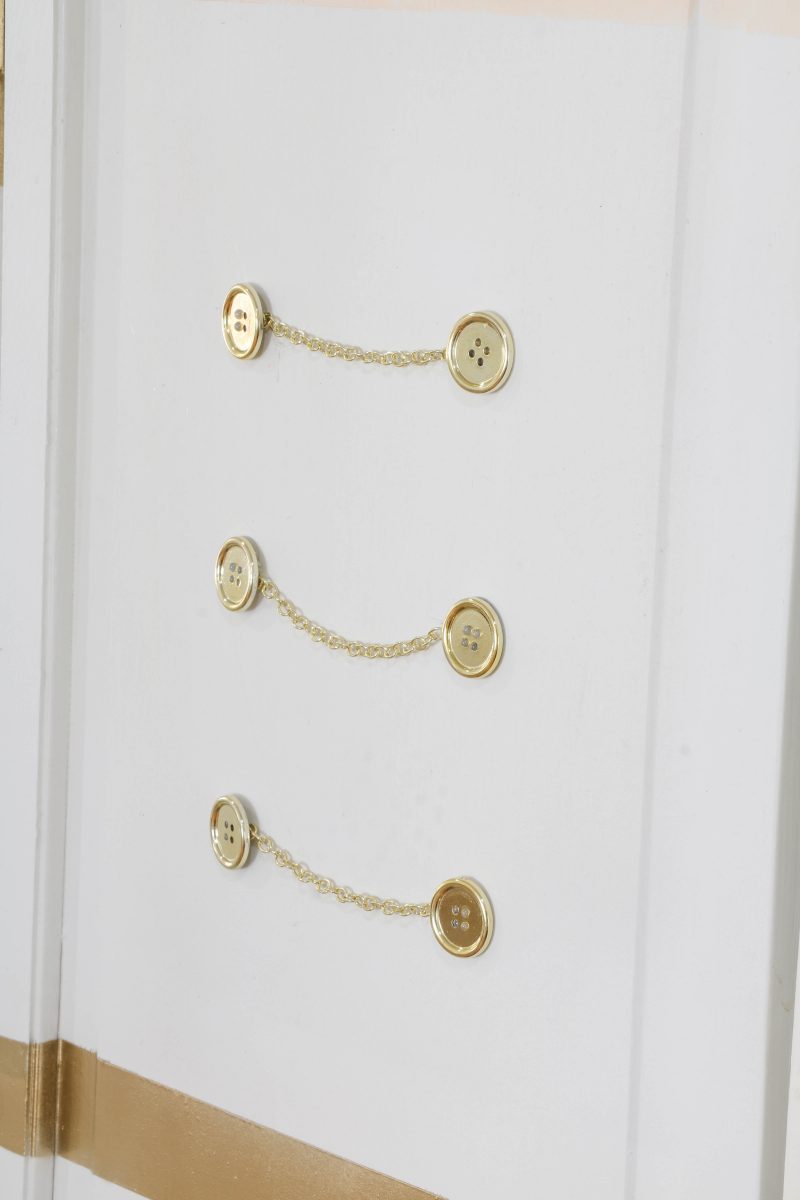
Once you have all the chains measured and cut place a dab of glue under a button then site one end of the chain in the glue and then place a button over the glue and chain.
The button will not lay flat but that is okay.
Follow by gluing down all the chains and buttons.
This DIY life size nutcracker soldier is really coming together!
Attach the Arms
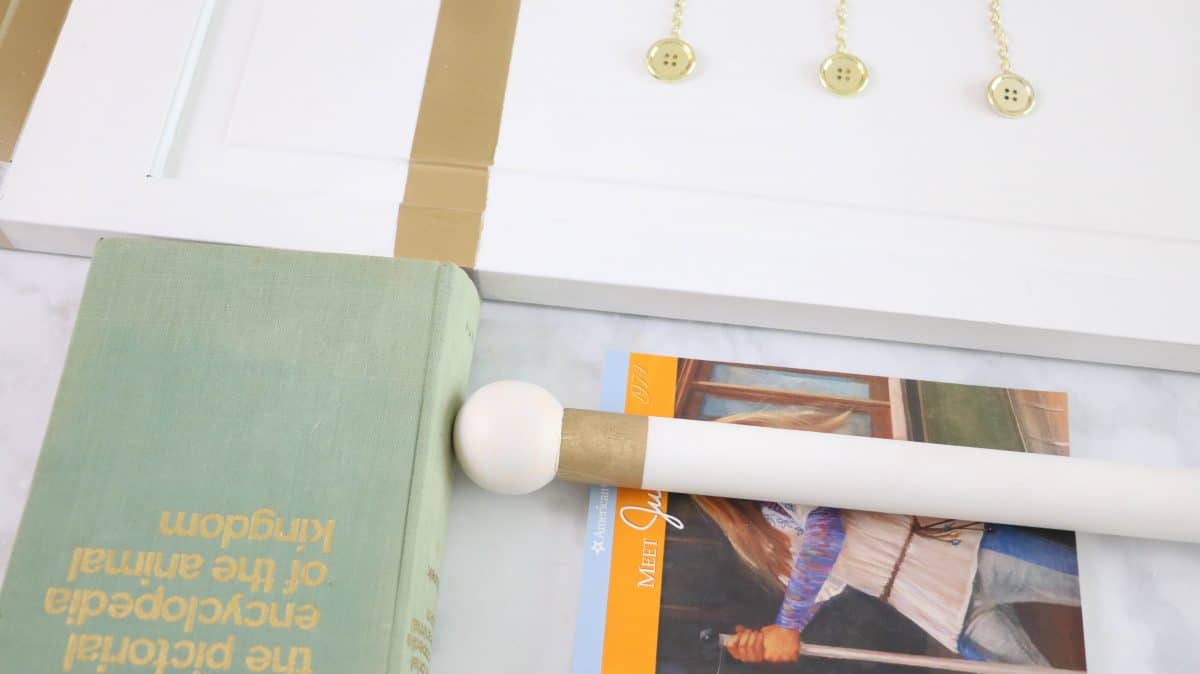
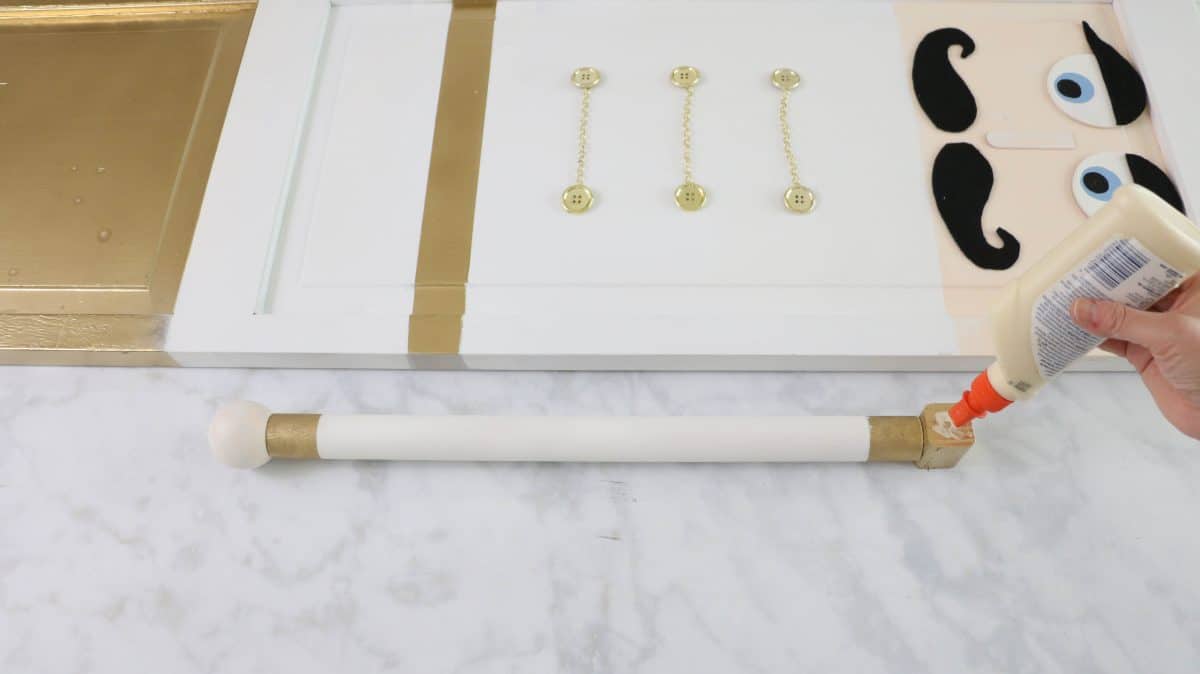
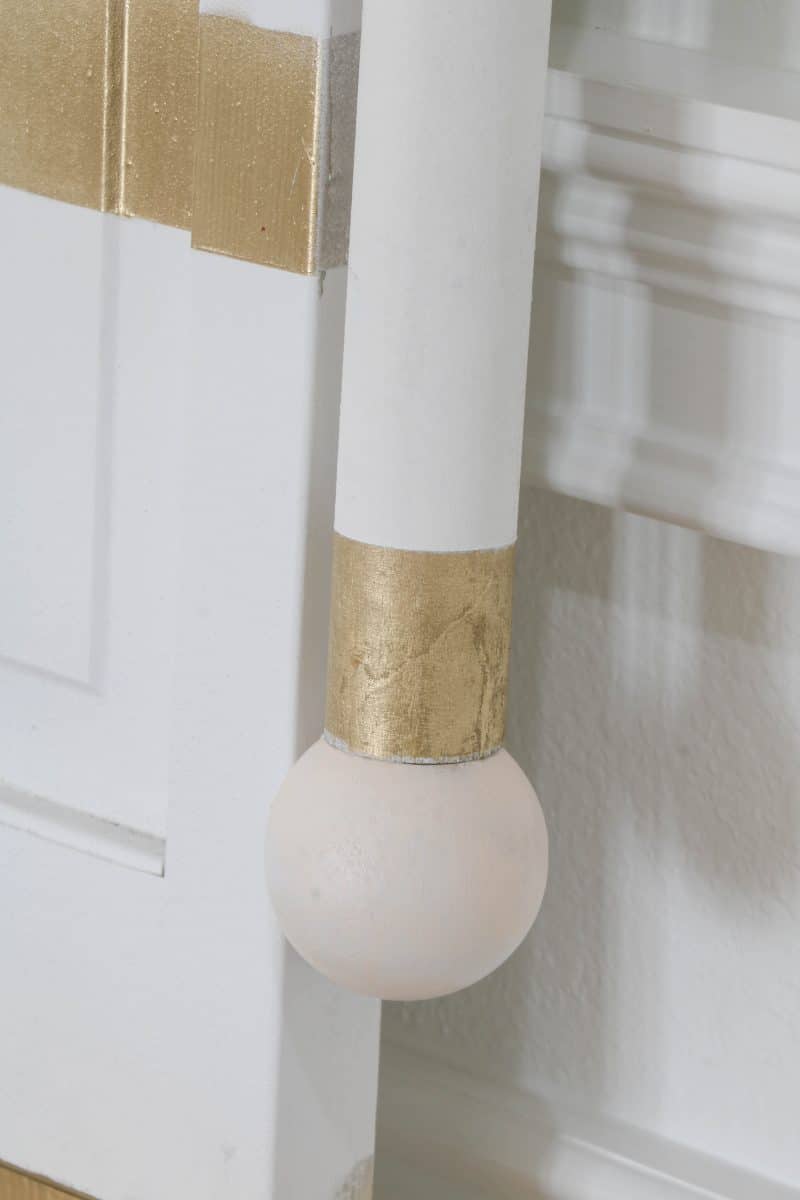
It is time to attach this giant nutcracker soldier’s arms. First, put some glue on one end of the dowel and on the flat part of the round wooden ball. Place then together and stick a heavy book on each end. This will hold them tight for 30 minutes while it drys.
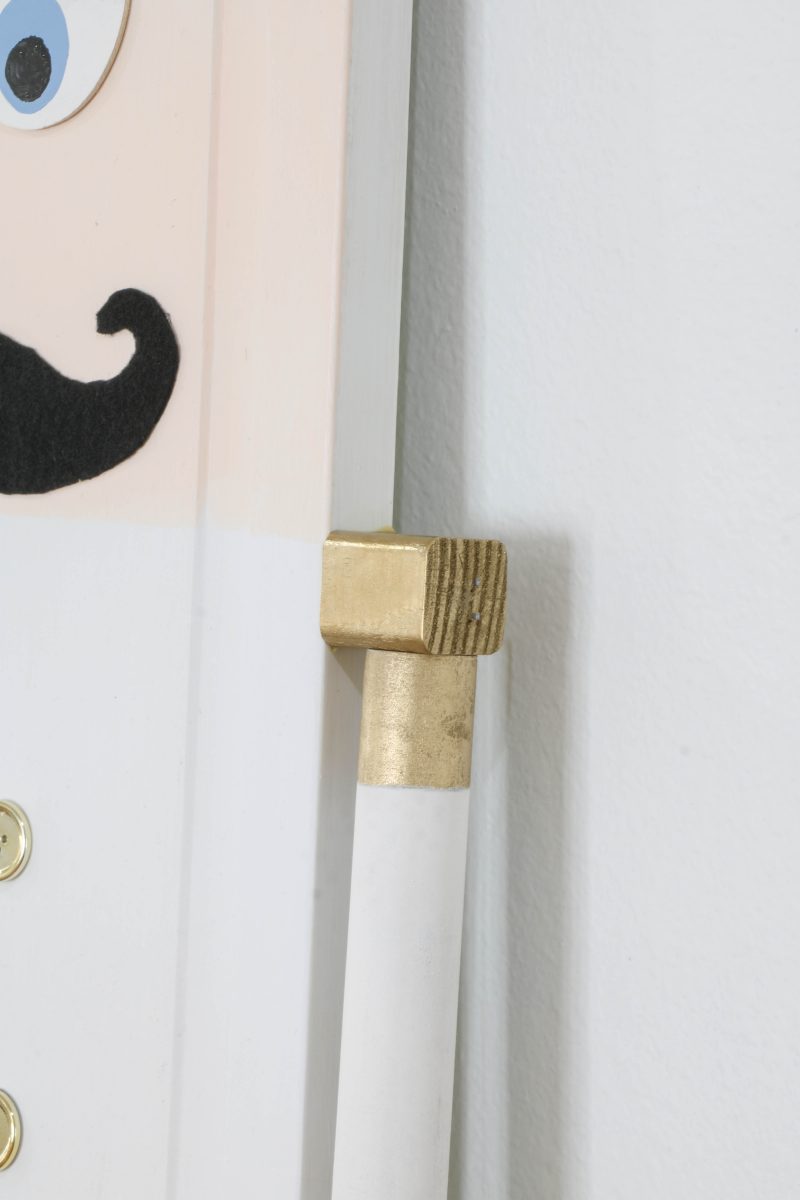
Next, repeat the process but with the shoulder. The nice thing about the should is that you can put a nail down through the shoulder into the dowel with the nail gun. This will really secure it into place.
After another 30 minutes place some wood glue on the shoulder and the hand and then again on the closet door side and push them together. Make sure to place the shoulder just under the face.
Shoot a nail into the shoulders and sit a heavy book up again the hand so the wood glue will harden the hand and door together. Let it sit for 30 minutes and you are almost finished.
This may seem like a large project this DIY life size nutcracker is pretty easy if you look at it in smaller steps.
Paint between the Legs and Boots
This next step is fairly easy. Find the center and run two rows of painters tap about 1/4″ apart. Make sure to score the tape and then paint the white acrylic paint all the way down.
You might need to do two coats. To make the paint dry faster I used a blow dryer in between and at the end. This way I could go ahead and remove the tape and start on other projects near this paint.
Paint the Laces
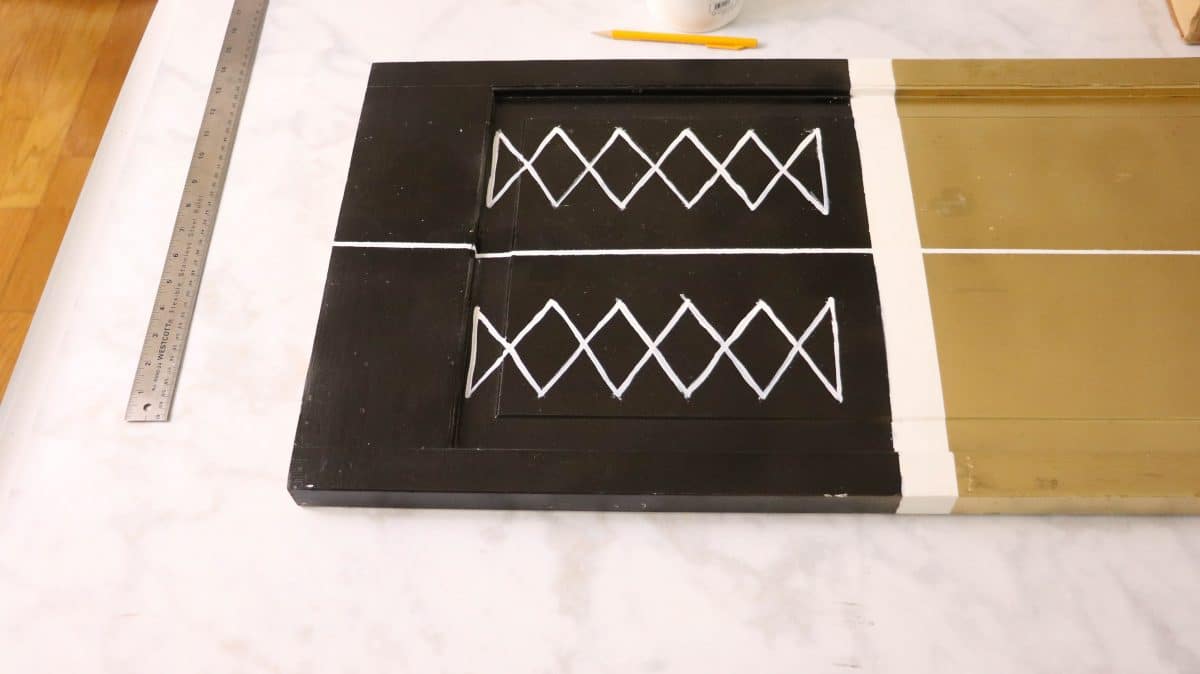
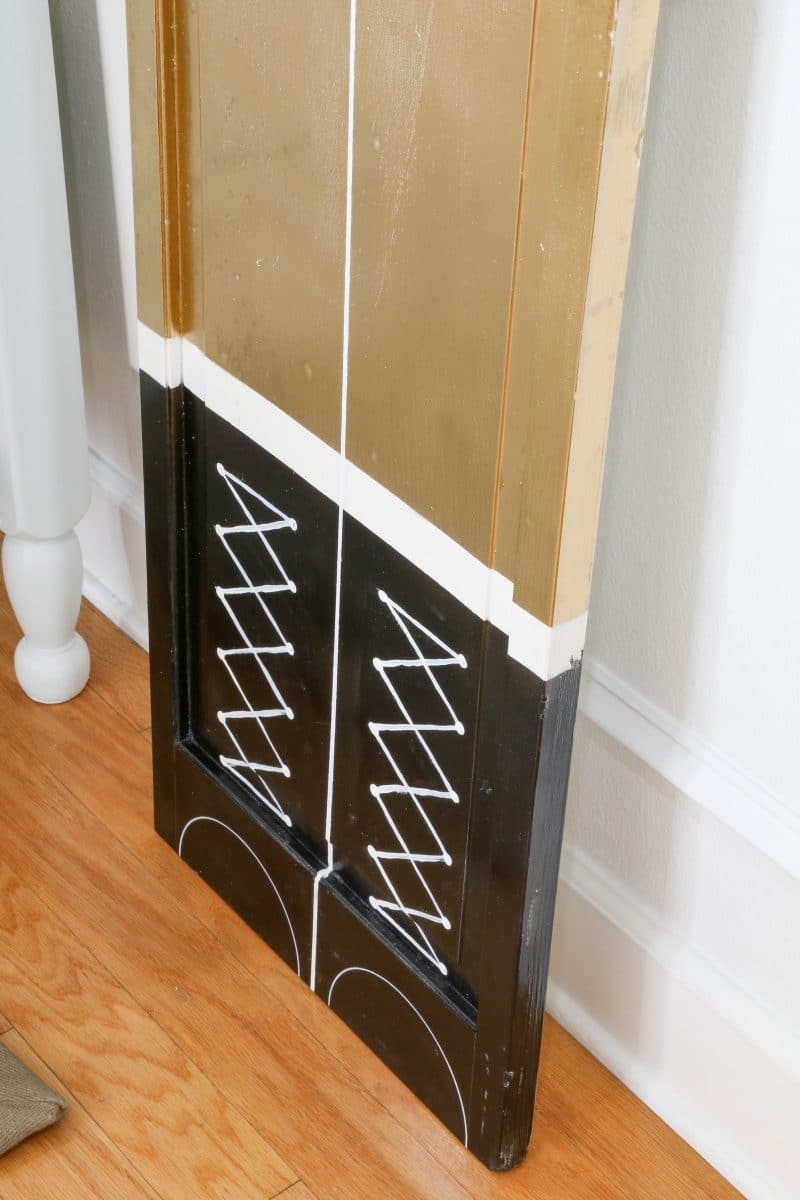
Next, it is time to draw the laces onto the boots. I started to use the paint pen but it seems to be to thin so I went with a thin artist brush and some white acrylic paint. So it is up to you but I recommend a paintbrush a white acrylic paint.
However, I have to warn you that it is not going to come out perfect. You are basically freehanding but it still looks good. If you are not confident try doing the paint pen in three rows to get the look.
Okay now, about 2″ up from the feet you just drew and about 3″ wide make two marks with a pencil. Then go up about two inches and make two more marks. Repeat this process four more times.
Next, take a ruler and either draw the laces or if you are using the paint pin go ahead and paint. But if you are going to do a paintbrush and paint go ahead and draw all the laces.
Make sure you draw a line across the top dots and the bottom dots too.
After you have painted all the laces it is time to make some dots on the points. Use the new pencil with a fresh new eraser and drop a little white paint onto a paper plate. Dip the pencil into the paint, just a tiny bit, not too much, and then dab the paint onto the point where the laces meet.
Draw the Feet
This is probably the easiest part. Take a berry bowl or anything round that is about 6″ in diameter and place half of it at the bottom of the boots. Then take a white paint pin and draw around the bowl.
This will make the front of the boots where the toes go.
Guess what? You are finished. Yay.
Now all you need is a great place to stand your life size nutcrackers.
Products from Amazon.com
Conclusion
You are finished with your DIY life size nutcracker soldiers! You can personalize your nutcracker by adding a belt buckle, a red jacket, different designs, or even fairy lights to light up your front porch display. Here are some other styling ideas for the easiest way to add the holiday spirit to your home. You can put them in your entryway as I did. I placed mine by the bench.
Another fun place would be on a small front porch by your front door. Just like the soldiers at Buckingham Palace. Wouldn’t that be cute!
Another great place to position the toy soldiers would be on each side of your fireplace. How cute would that be?
But my favorite of all places would be in a children’s playroom. Wouldn’t it be adorable to have these oversized toy soldiers watching out for the children while they play? You can also add Christmas lights to the back of the display to be used as a night light in the playroom.
Once I finished these nutcrackers I decided they needed a name so I asked on my Instagram for suggestions. After collecting some fabulous names I did a vote and everyone pics Ben and Gerry.
Aren’t those fitting names? Ben and Gerry have been keeping watch on our home ever since.
What would you name your nutcracker toy soldiers if you made some?
If you enjoyed this post, sign up to receive new decor ideas each week. FREE EMAIL SUBSCRIPTION
DIY Life Size Nutcracker
Life size nutcracker soldier made from an old or new closet door.
HOW TO ASSEMBLE A LAYERED NUTCRACKER
This post may contain affiliate links. Please see my Privacy Policy for full details.
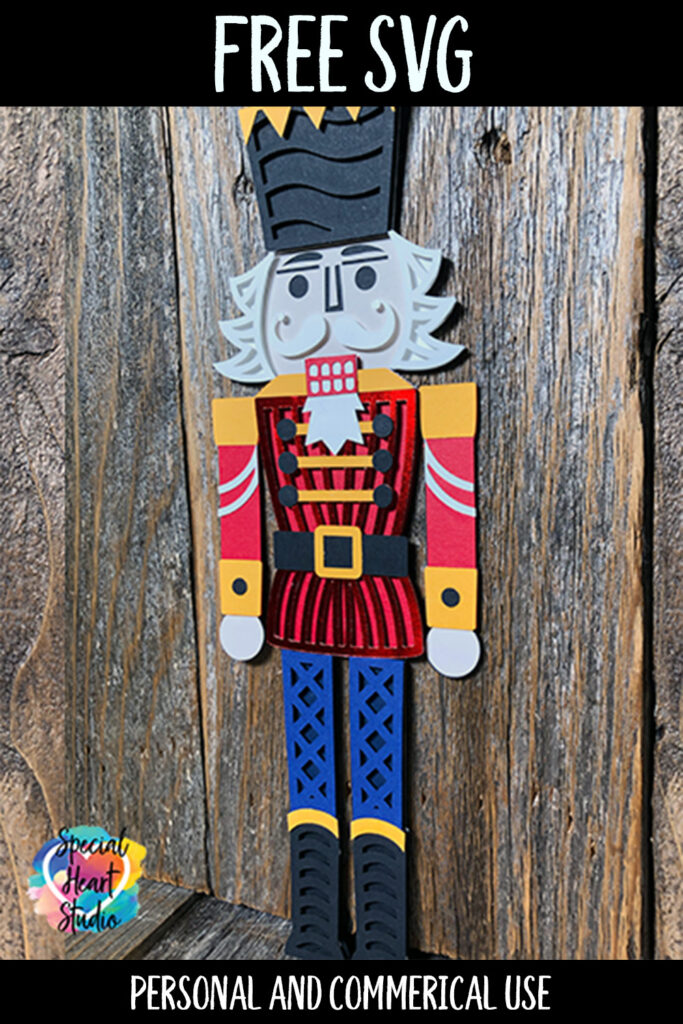
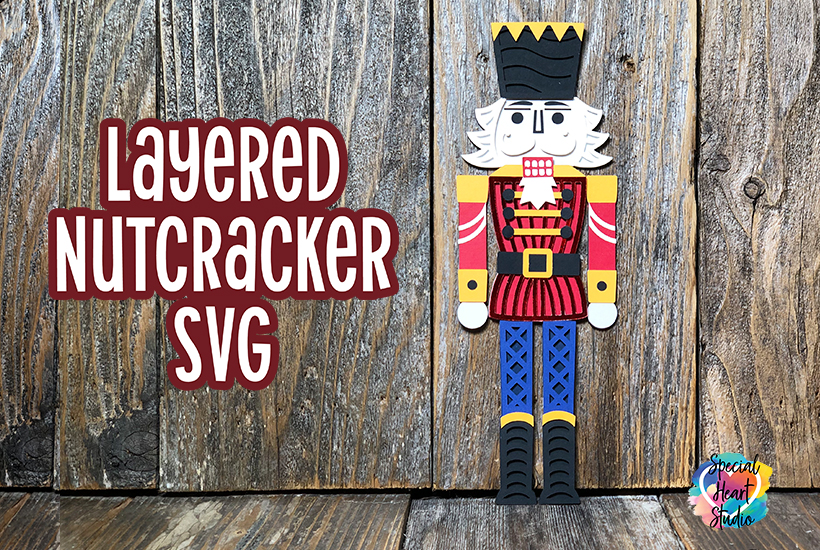
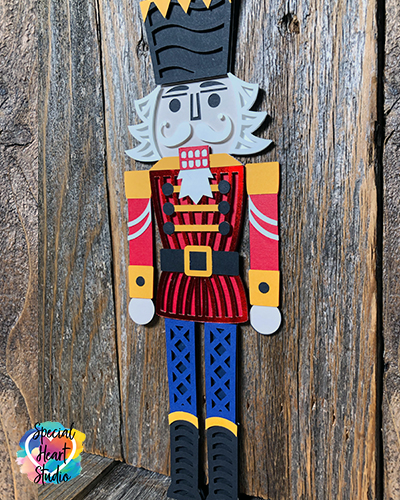
When I think if Christmas and traditions, one of my favorite is going to the Nutcracker Ballet. Unfortunately, it won’t be happening this year. Nutcrackers also make great Christmas decorations, so just had to add one to my growing collection of free layered designs.
I don’t mind if you use these designs for personal or small business commercial use up to 200 items, but please do not re-sell or re-distribute the files. I’d ask that you direct your crafty friends here to download the files themselves. Also, I don’t allow my designs to be used in print-on-demand shops or on transfers that will be sold. Click HERE for complete Terms of Service.
HOW TO CUT AND ASSEMBLE A LAYERED NUTCRACKER
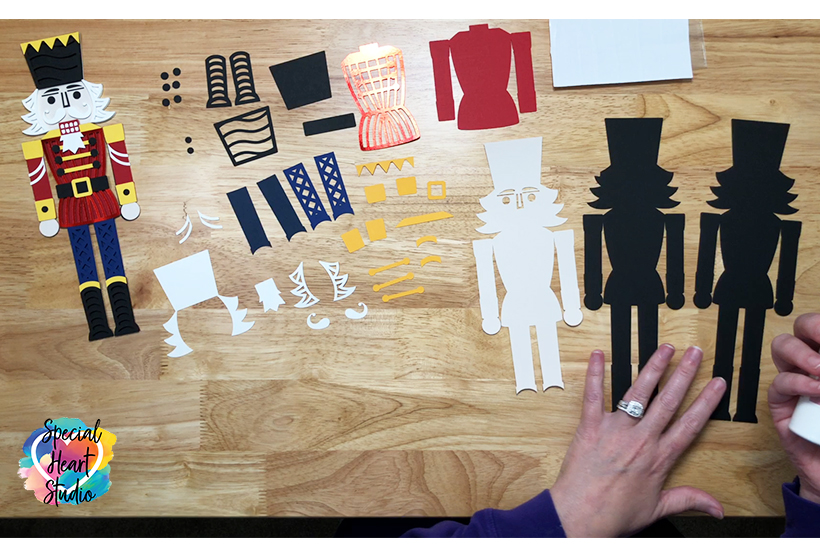
This project requires many small pieces, so grab your stash of card stock scraps and get creative! I’ve included a video showing exactly how I assembled my Nutcracker. I tried to keep the video as short as possible, but yet show all the steps of how I assembled the project. ❤️
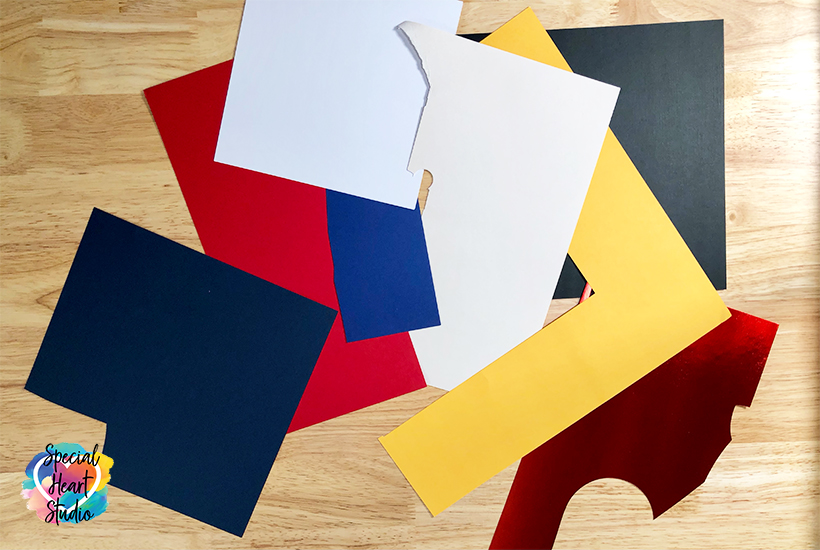
MATERIALS NEEDED FOR LAYERED NUTCRACKER
Grab your smaller scraps, they’re perfect for the majority of this project!
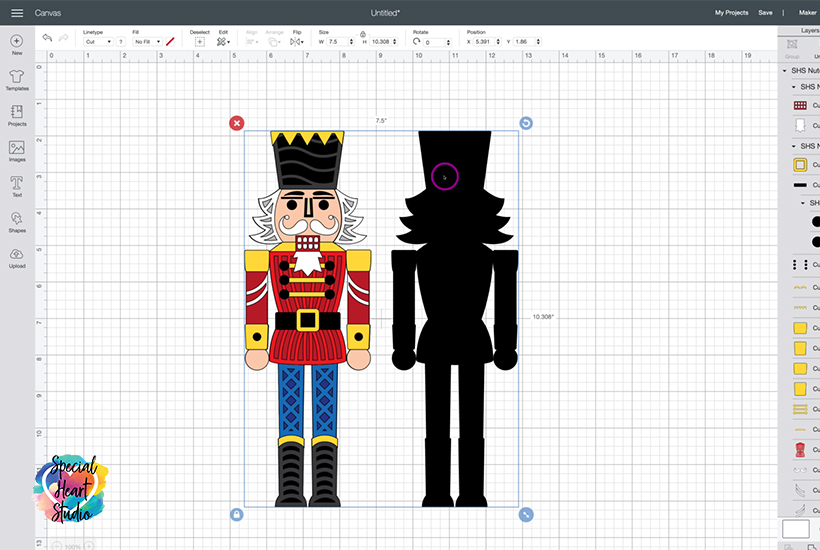
The bottom layer is duplicated. If you plan to have your Nutcracker stand on a display and are using a lighter weight cardstock, I’d recommend cutting two bottom layers for stability. Heavier weight paper could also be used on the bottom layer.
If you need to resize the design for your project, it’s recommended to do that while the entire project is still grouped. This will ensure all proportions are maintained.
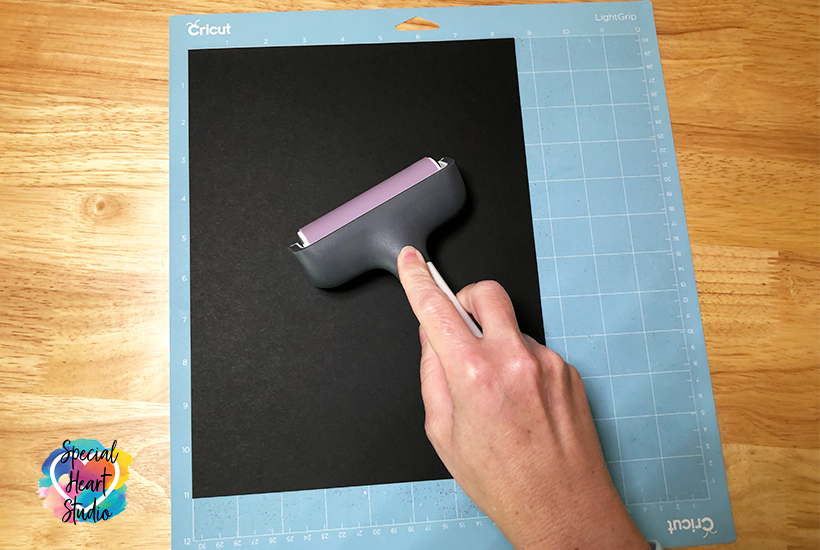
Using a Brayer will keep your paper securely attached to your mat reducing tearing. I cut the Nutcracker pictured with 65lb weight cardstock from Michaels.
Once all layers have been cut and carefully removed from the mat, you’re ready to assemble. Refer to my video above for detailed assembly instructions.
PLEASE SHARE PRIOR TO DOWNLOADING
Please share! If you enjoy this project/design, would you please share it on your social media platform or on your favorite Pinterest board? I greatly appreciate it!! That helps my blog continue to grow and enables me to continue to provide free designs. 💕 Thank you!
Giant Wooden Nutcracker
Introduction: Giant Wooden Nutcracker
How to build a 9 foot tall turned wooden nutcracker.
Step 1: Concept, Planning and Materials
So I really wanted a giant (9 ft. tall) genuine wooden working nutcracker: (Who doesn’t?) But since I’ve never actually seen one, I had no choice but to make my own. If you want one too, here’s how:
The first image is the one that I chose for inspiration. I did a Google image search for «Nutcracker» and chose what I thought was the most stereotypical Christmas nutcracker, and one that had a nice straight-on view.
Then I chose how it would all assemble. I wanted it to be absolutely safe, so I decided to make the base a little larger than scale. And I chose to use steel pipe coming out of the base to provide the rigidity, all the way up the the waistline. And it has turned out to be rock-solid. It’s not tippy or wiggly at all. The chest and waist sit on top of the PVC legs and bolt down to the steel pipes. The hat and head bolt down to the»neck» with 1/4″ all-thread.
Attachments
Step 2: The Base
For the base, make a frame of 2×4’s in a 27 wide by 29 deep rectangle. Then glued/screw 3/4″ cdx plywood onto it. I guesstimated the size, but try to be generous as you want this to be extra stable. As a general rule I’d recommend the base be about 3″ wide for every foot tall, and just a little deeper than that in order to accommodate the working of the lever. The feet are a 2-high stack of 2x10s cut to shape, rounded over with a router, and then screwed/glued to the plywood. For this scale the feet are 7.5″ wide, 17.5″ long, and the toes narrow down to 5.5″. Scale yours accordingly. Drill holes into the feet as a snug fit for the steel pipe, so that the pipe can’t wiggle around in the hole. For 1″ sched 40 pipe, the hole is 1.315″. I used a fly cutter to get the hole size just right. Directly beneath the pipe holes will be a 6″ square 3/16″ steel plate.(1/8″ plate would have sufficed.) Weld a 2″ long piece of 1/2″ all-thread to each plate to stick straight up from the plate. (I drilled and tapped the plate, screwed the all-thread in, and then welded.) Recess the 2×4’s to make room for the plate thickness and attach it with screws. Carefully align it so that the all-thread is sticking straight up, aligned exactly in the center of the pipe holes.
We’re preparing the way to attach the steel pipes and pvc legs later on, but it’s not time to make them just yet.
Now take a short piece of pvc pipe and hold it in place on top of each foot then draw the inner outline of the pipe. Then attach 3 wooden blocks to the top surface of each foot in order to register the pvc pipe into position.
Step 3: Drum Construction
The nutcracker consists of 4 turned «segmented drums».
First a discussion of the overall approach and technique:
The segmented drums are made basically of 2×4’s, that are cut to a keystone shape such that when you put the proper number of them in a circle the keystone faces all mate and glue together. It’s a lot like how a barrel is made, except we arent’ using steel hoops, and barrels aren’t glued. It also has a lot in common with how round wooden drums are made, except these are cone-shaped not cylindrical. I found an excellent online resource here for calculating the necessary size and angle to cut the staves. So we’ll calculate two different circles, one for each end of the cone we want. The result will be a tapered stave, the same angle on both sides, but wider at one end than the other. (I gave a lot of thought to whether the angle changes a bit due to the two ends being a different angle. I’m pretty sure it does, in theory. But in practice, since the taper of our cone is fairly small, it doesn’t seem to matter. So I started just ignoring it.) I created a tablesaw sled to hold the pieces to get accurate reproducible pieces. See the pictures for details.
These segments are all glued in a circle, with size-matched plywood discs «plugging» both ends. The circles help during glue-up to make sure the circle isn’t egg-shaped, and they provide the necessary end planes in order to mount the drum in a lathe. Dowels are glued in place drilled through the face of every other segment into the plywood disc. The dowels help bond the whole thing into one piece, and transmit the lathe’s turning force to the outer shell.
Finally, there are three support struts running longitudinally between the two end disc’s to take the compression load when the end discs are squeezed between the lathe headstock and tailstock. That avoids applying pressure to the joint where the disk meets the shell. See the first few pictures and drawings to get the overall idea.
These pictures are all taken during the last section I made, the hat. But the process is the same for all of them:
Step 4: Hips Section
Create and turn the hips section first. Getting the scale from the dimensioned picture, the hips section should be 15″ high, 17″ diameter at the belt, and 20.25″ diameter at the bottom.
Then drill 1.315″ holes in the bottom disc the same distance apart as the pipe holes in the base. Attach 2 sets of 3 wooden blocks to register the top end of the pvc legs.
How to Make Nutcracker Cookies
Written by Mike Tamplin • Nov 10, 2019
Take your cookie decorating to the next level!
Nutcracker cookies have always been on my «to do» list, but I often feared they were too intricate or too detailed to decorate. However, I think I created a new nutcracker cookie cutter design that helps remove some of that fear.
These nutcracker cookies are just of the bust area (from the shoulders up) instead of a full body design. With only the head and shoulders, it gives the sense of a full-bodied nutcracker only with half the work.
Additionally, I also opted for a friendlier-looking nutcracker by not showing any teeth or gums, like you would typically see on a real one. Those teeth on those figures are just fuel for nightmares. And I scare easily.
Here’s how I made friendlier, less-intimidating, nutcracker cookies.
Nutcracker Cookie Cutter
Recently added to the shop is this new Nutcracker cookie cutter design.
Template for the Nutcracker Cookies
To help with the decorating process, I made a PDF template of all the designs of my 2019 Christmas cookie collection, including this Nutcracker cookie design.
Click the link below for the downloadable template PDF file.
This file is 3 pages long and is rather large in data size. Just a warning, it might take a moment before the file opens in your browser.
If you have a Kopykake or Pico projector, just print it out (or pull it up on your mobile device) and you are good to go. For those without a projector, follow the suggested steps below by tracing the design onto the cookie with an edible food marker.
The Decorating Process
For these Nutcracker Cookies, feel free to color them as you wish. For the specific colors IВ used, I listed them below:
Step 1
For those without a projector, begin by making a guideline for where the face and arms sections should be. I made a template with template plastic from the PDF file above and used a food marker to draw the guideline on the cookie.
Step 2
Start by first filling in the face with flesh-colored icing and the arms with pink icing. Let this icing set. (about 15 minutes)
Then fill the hat area with black icing and the chest area with pink icing, as shown. Let this icing dry for about 1-2 hours.
Step 3
Next, with white icing, fill in the hair sections and add a beard. Also add a white dot on the hat, as shown.
Then, with gold icing, add the brim of the hat and shoulder pads.
Step 4
Once the previous icings had time to dry, add the eyebrows and one side of the mustache with white icing. Also, add the feather to the top of the dot on the hat with pink icing.
Let that icing set again, then add the wet-on-wet eyes and the other side of the mustache.
Step 5
Lastly, add the finishing touches like the nose and outlining the hair and beard areas, as shown.
Video Tutorial
The steps above are summarized in the time-lapsed video below.
For gift box ideas, I thought a trio of these nutcracker cookies would look perfect together.
Here’s a set of three cookies in a box from BRP Box Shop.
The dimensions of the box above is 12″ x 5″ x 1.5″. It holds 3 regular-sized cookies with plenty of wiggle room for the cellophane bags around them.
I made these nutcracker cookies into 3 different colors. However if you wanted to go an even simpler route, I think three nutcrackers of the same color scheme would still look great. Like a little army in a box!


