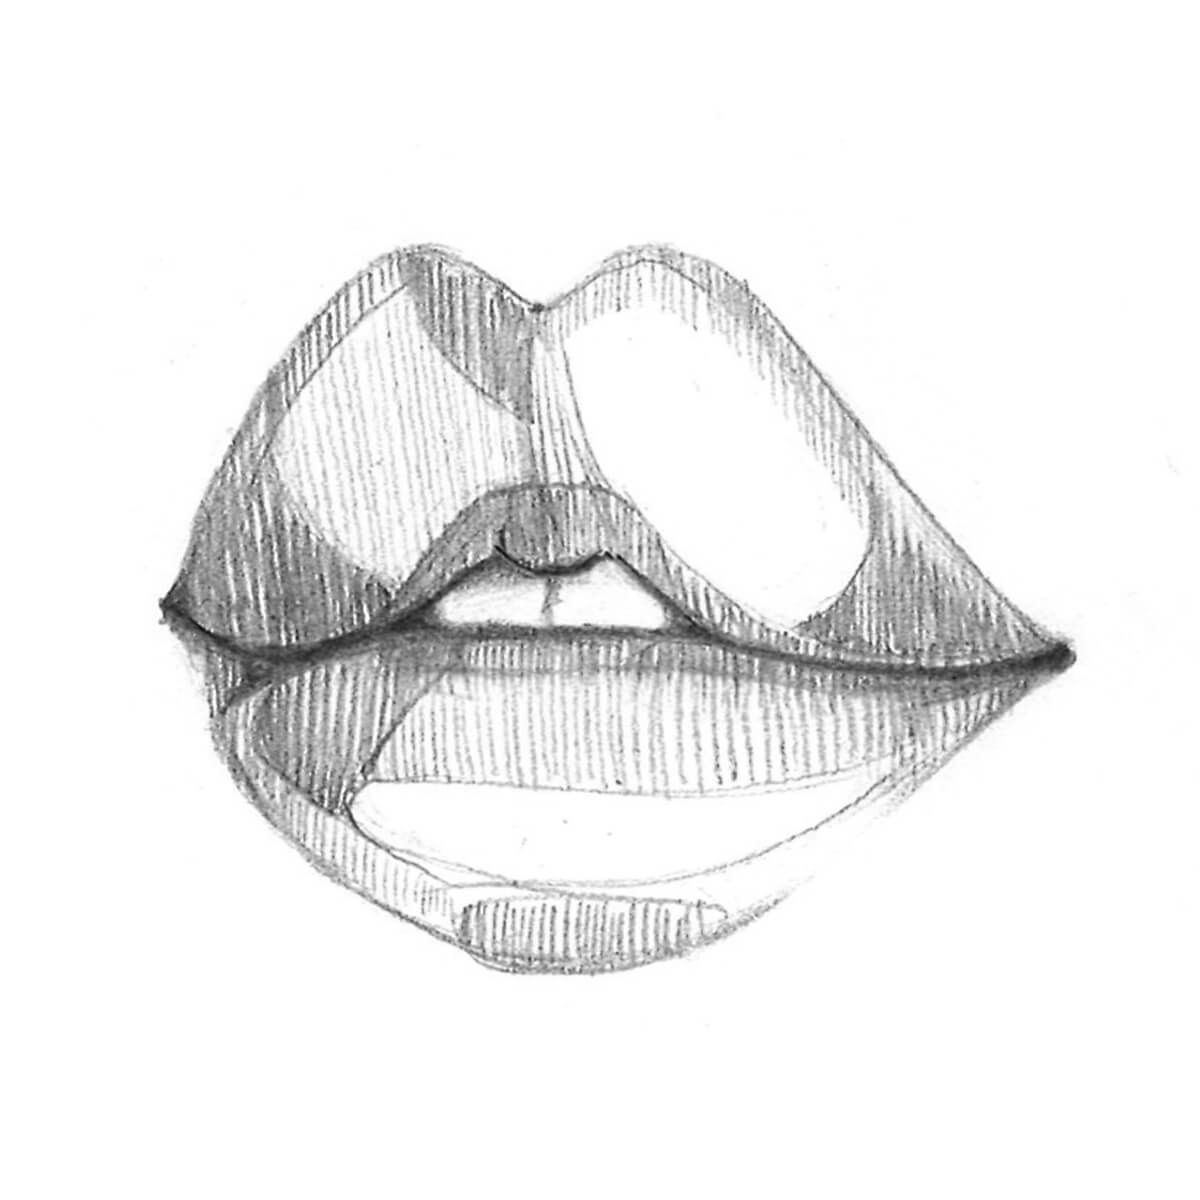
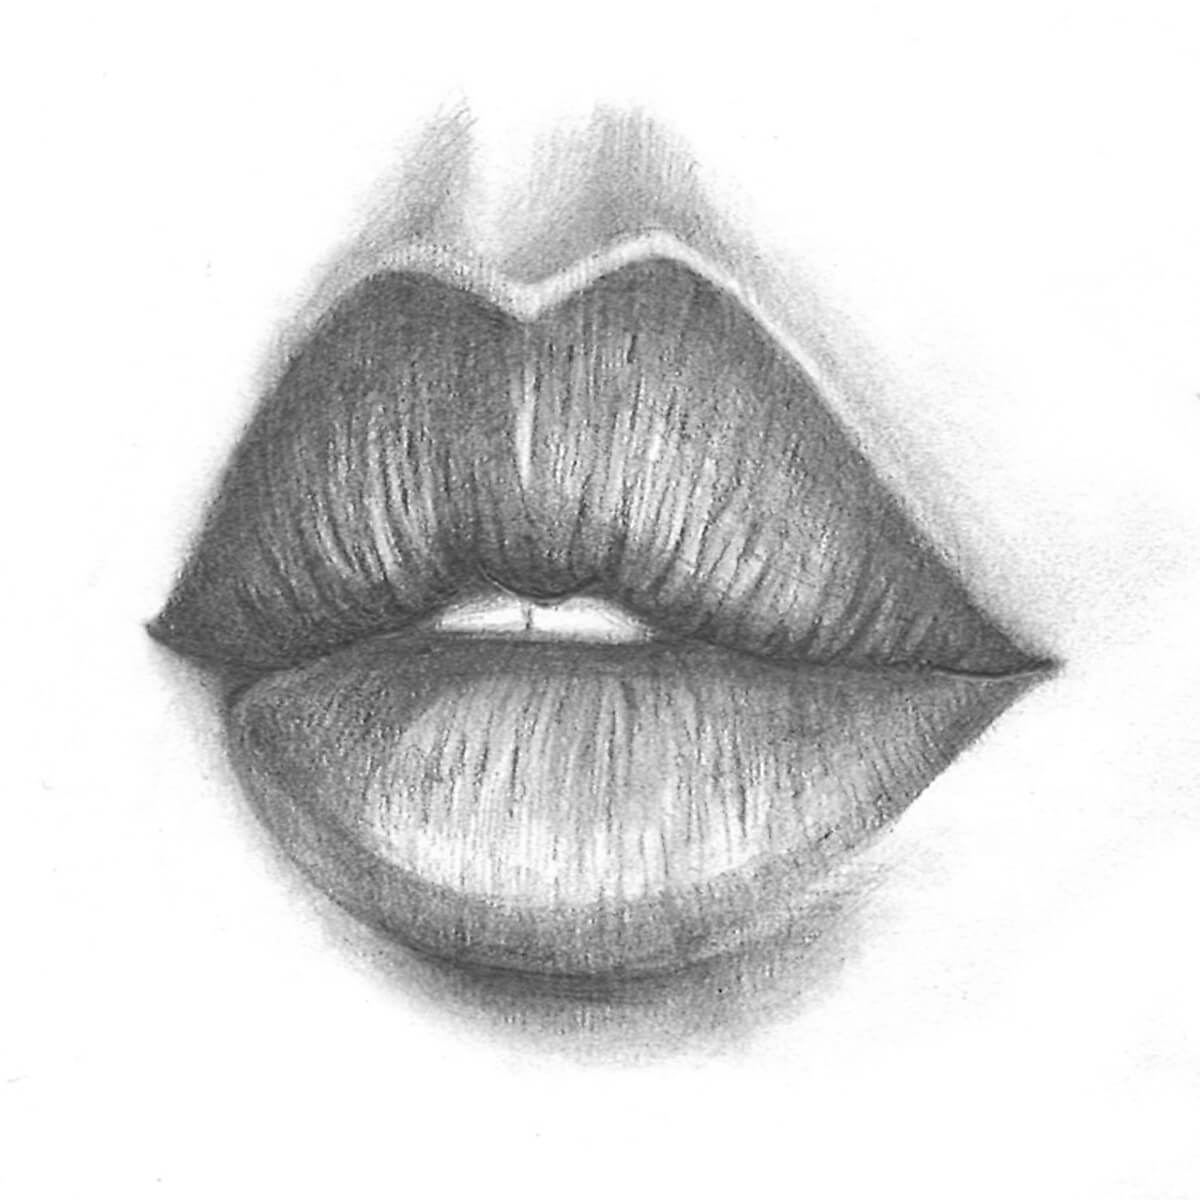
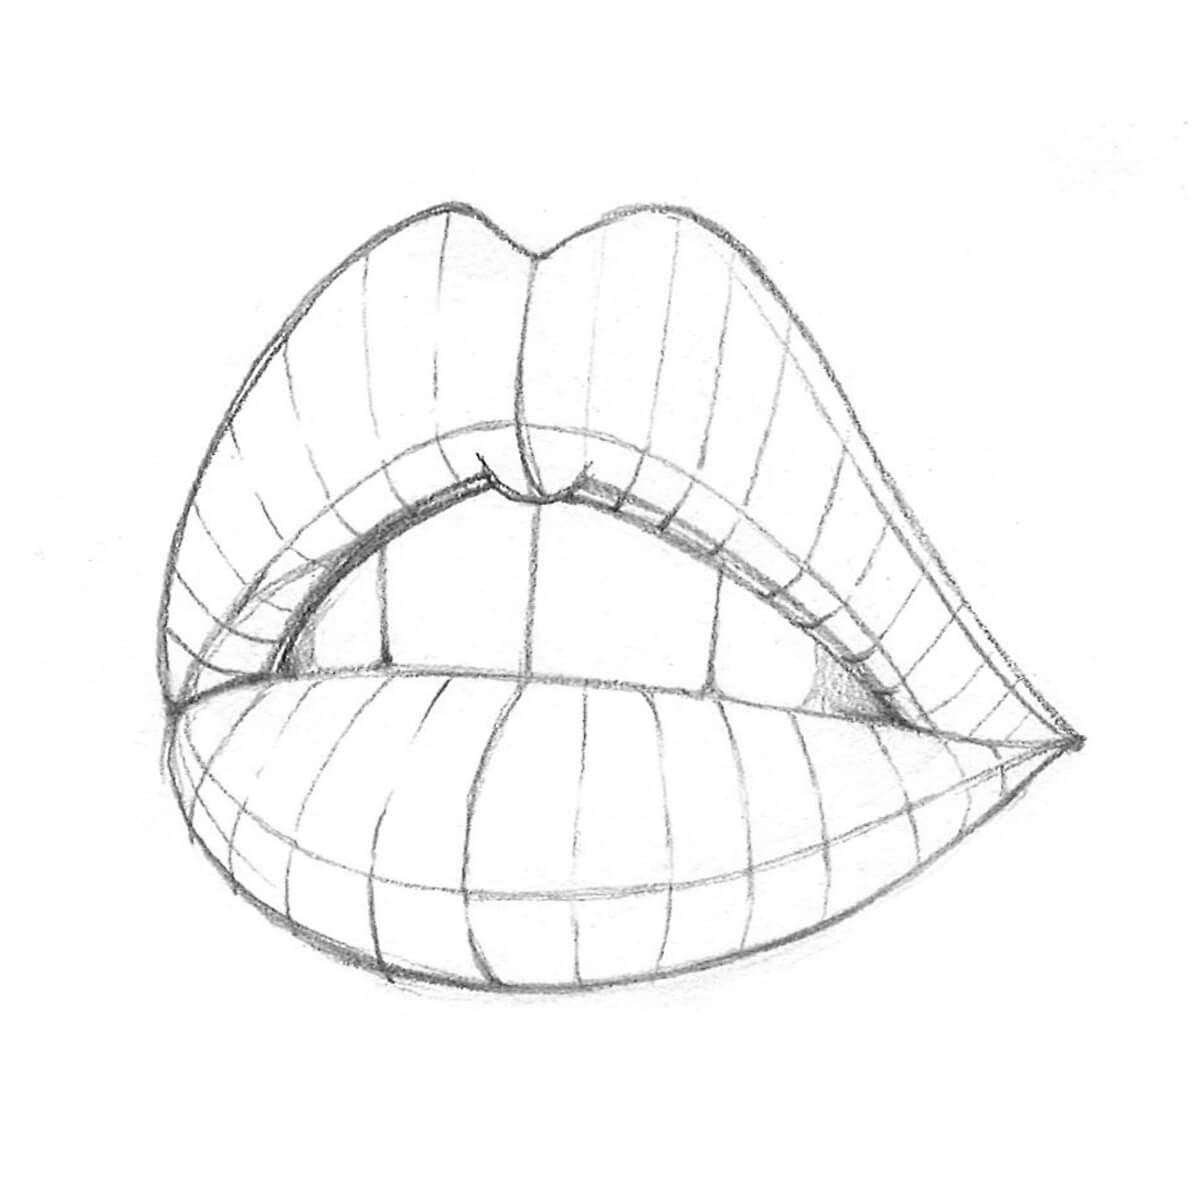
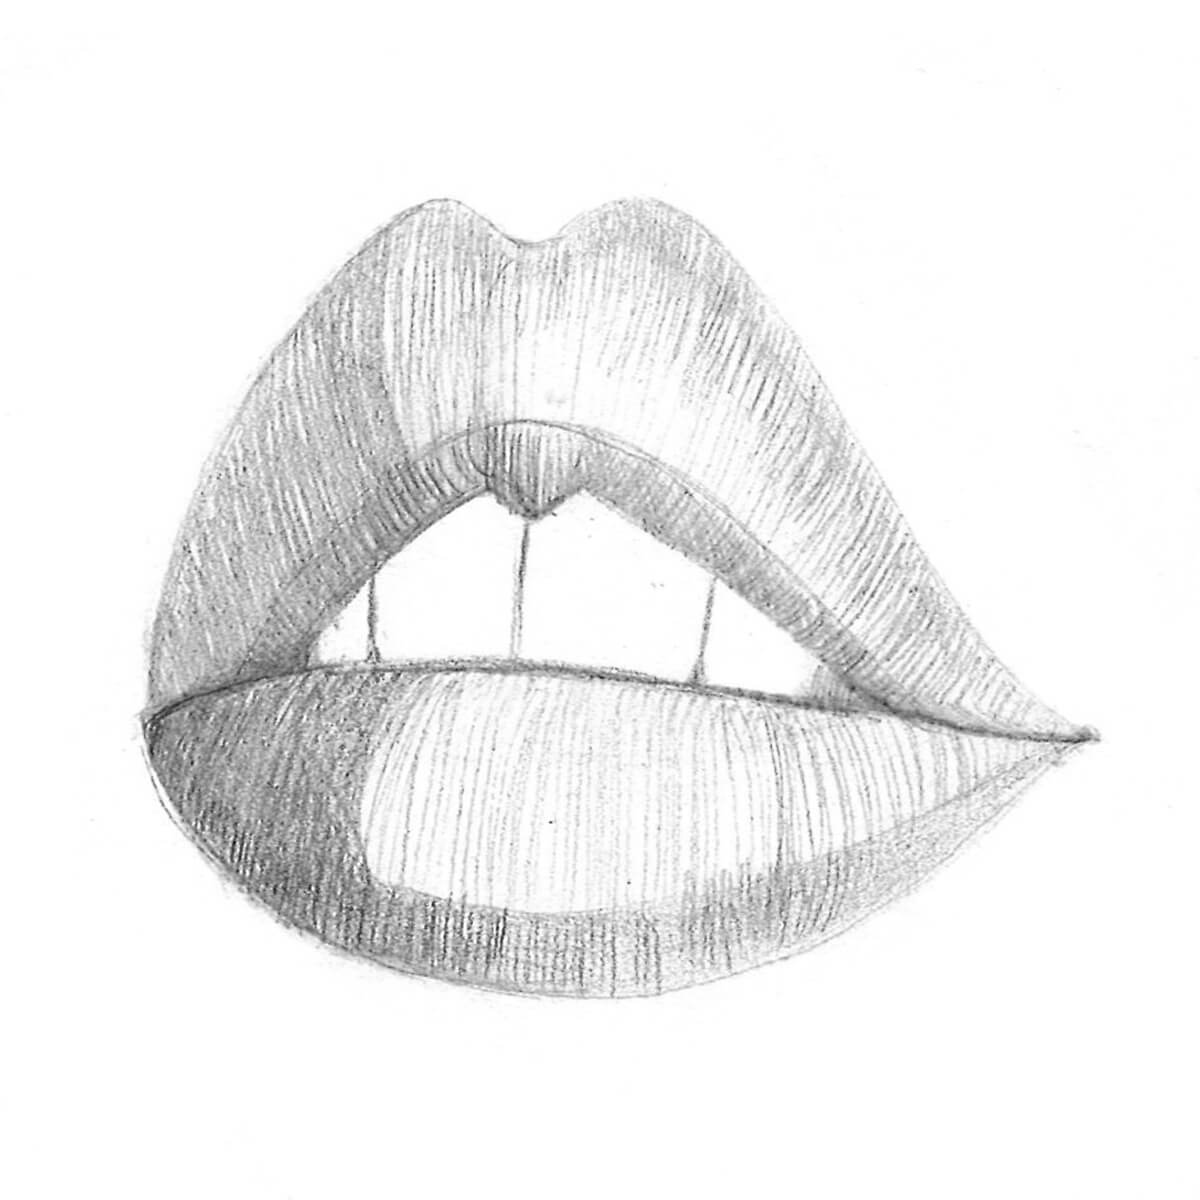
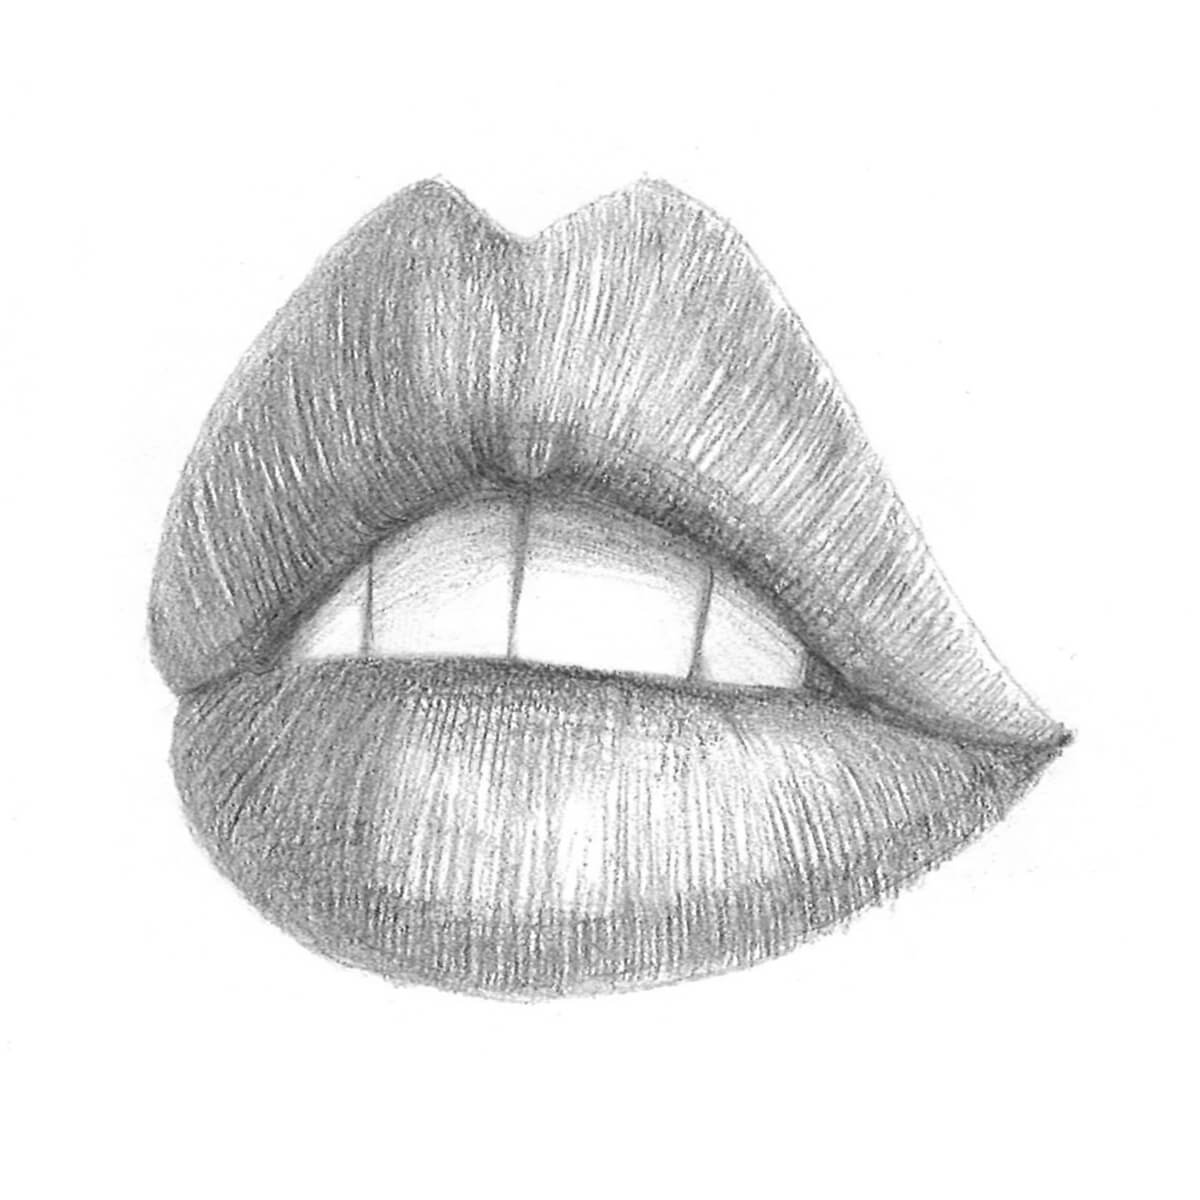
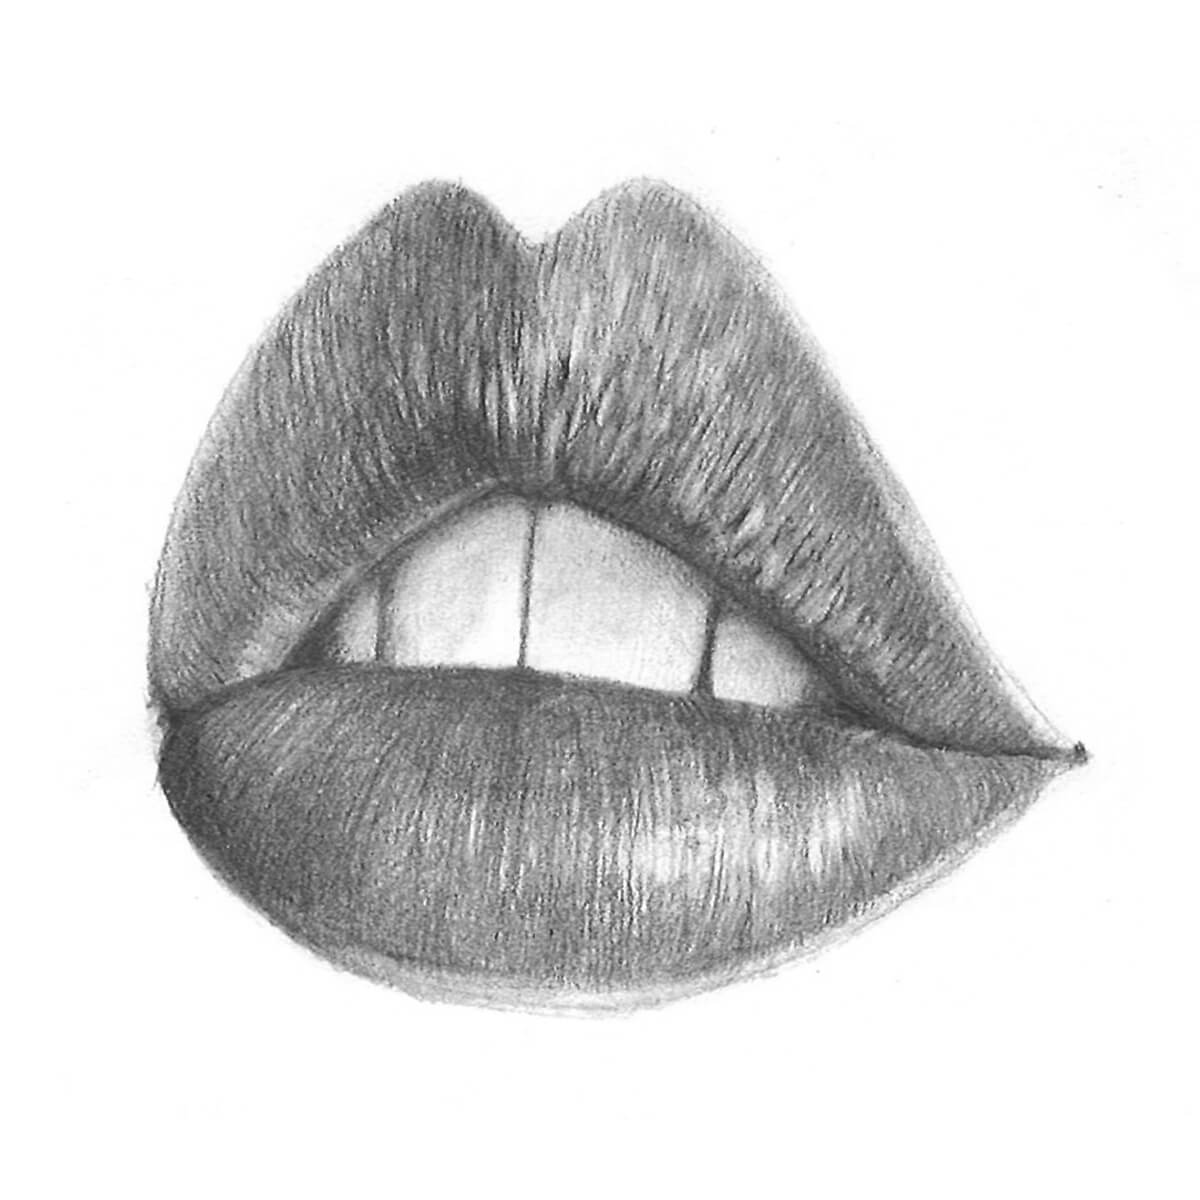
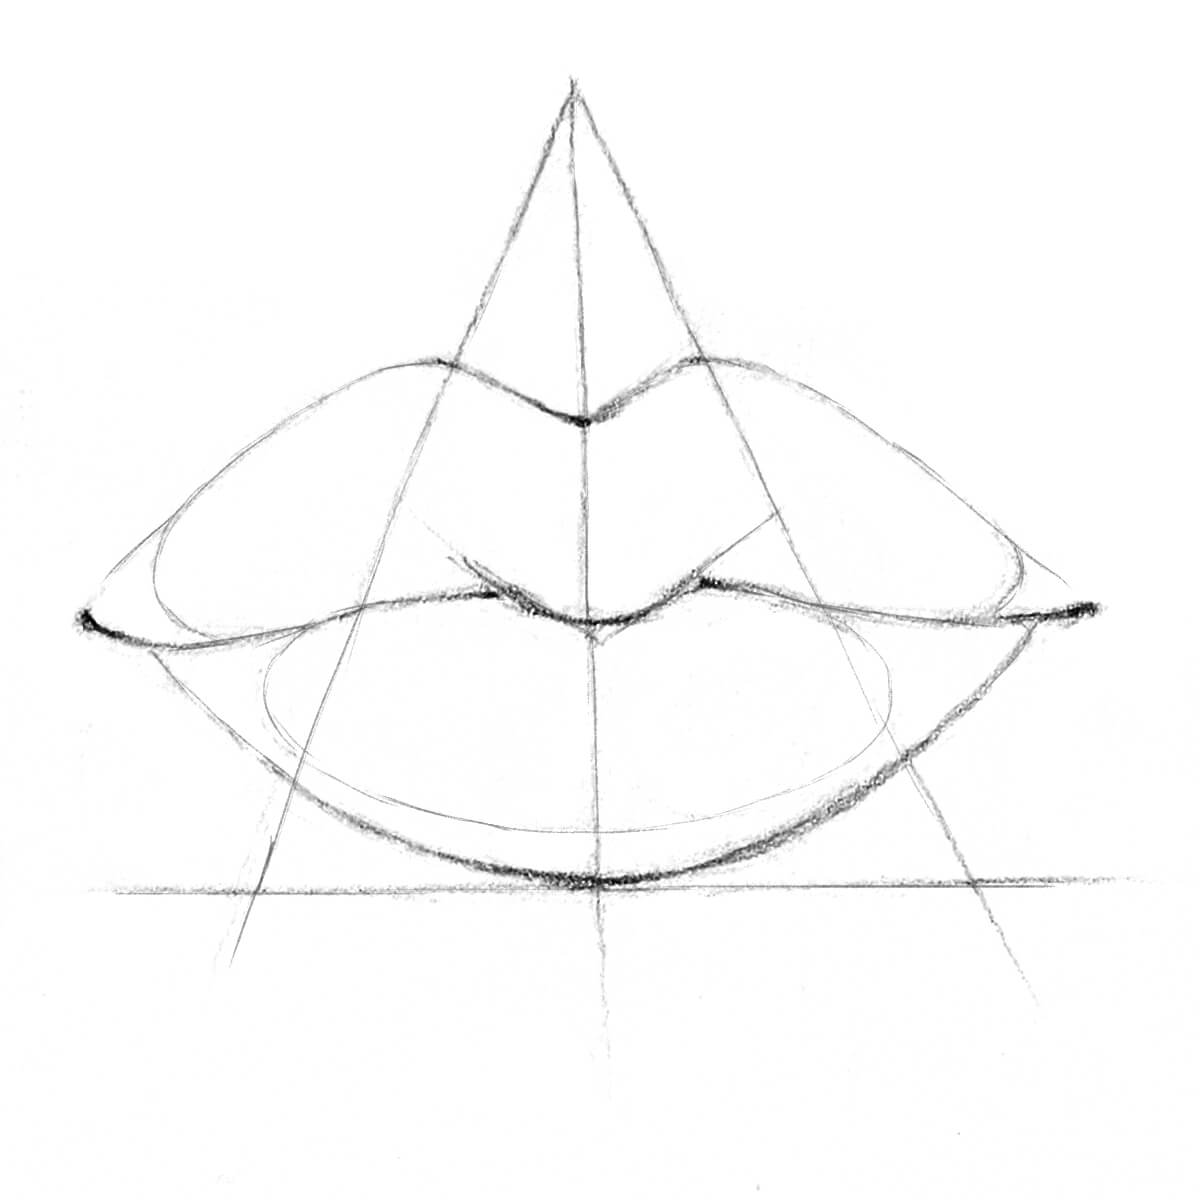
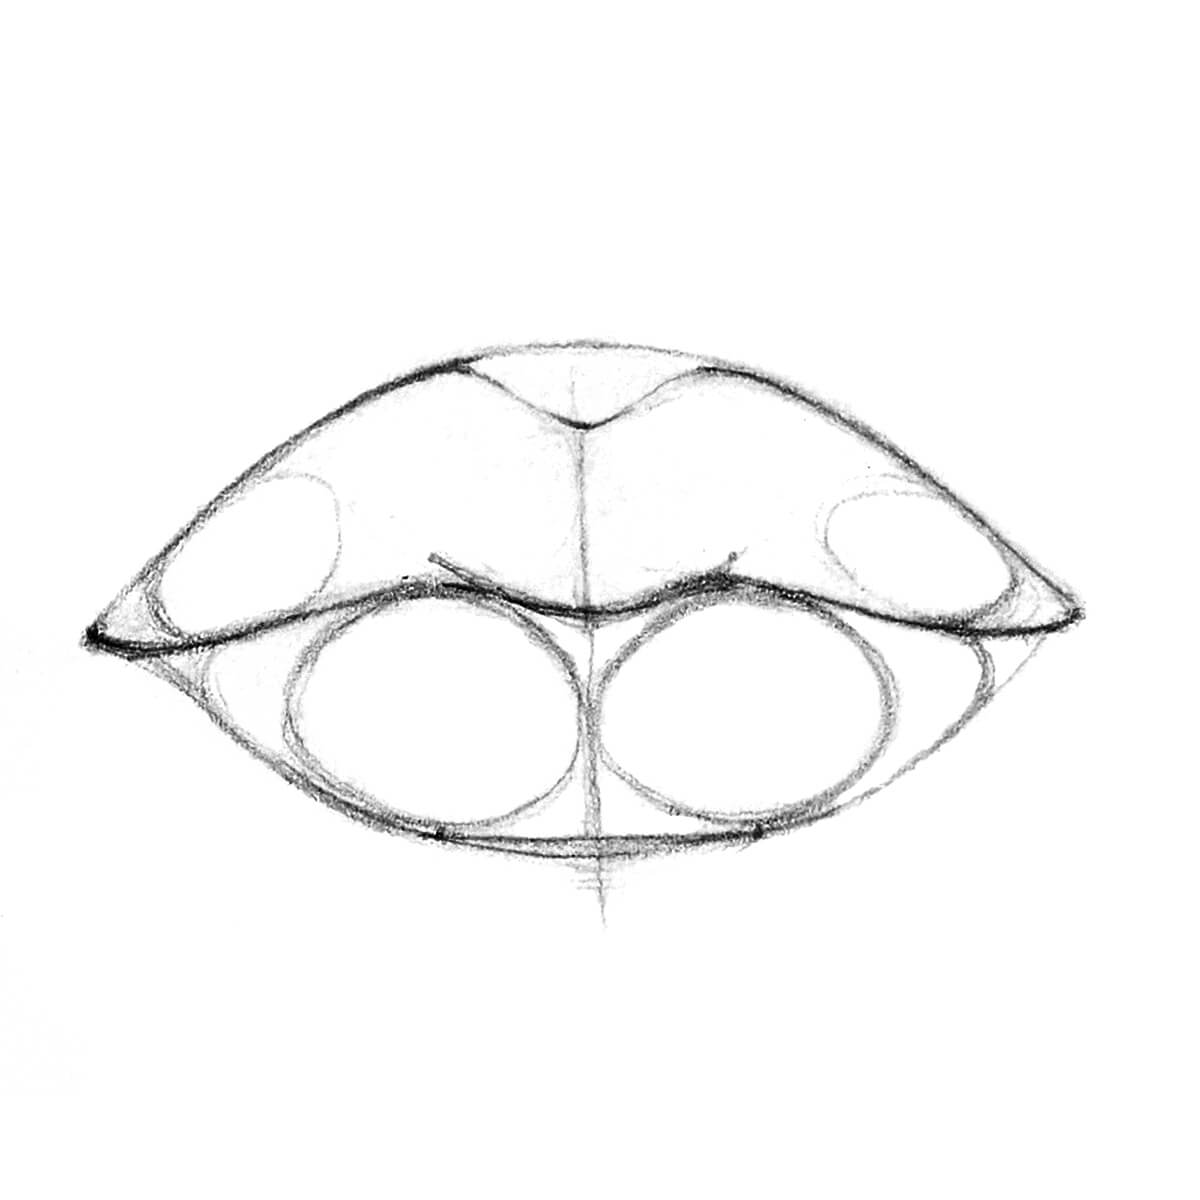
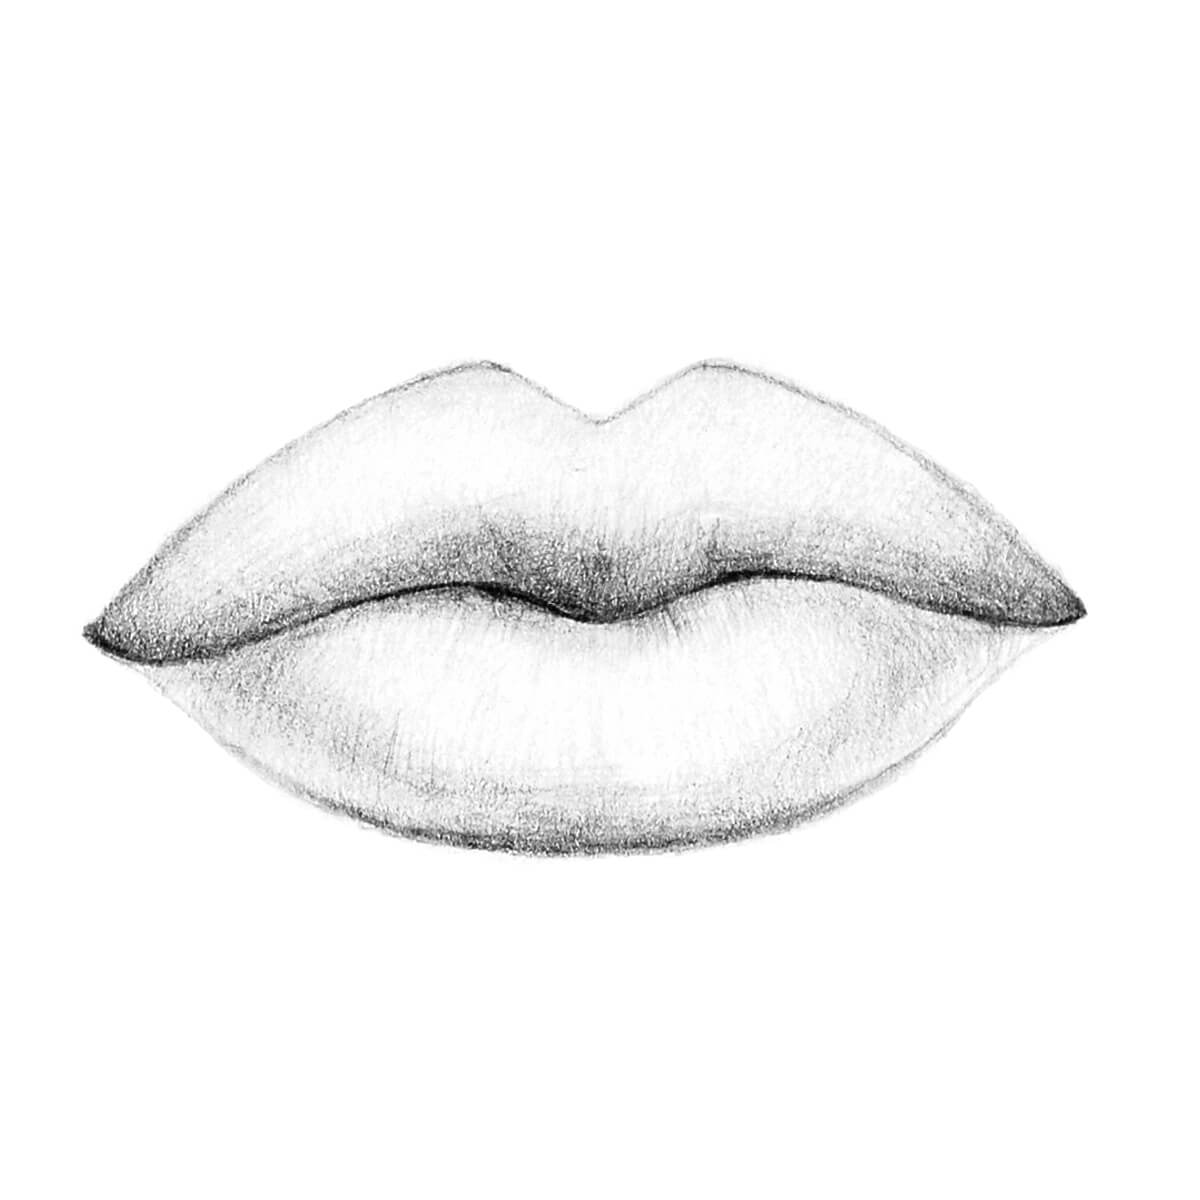
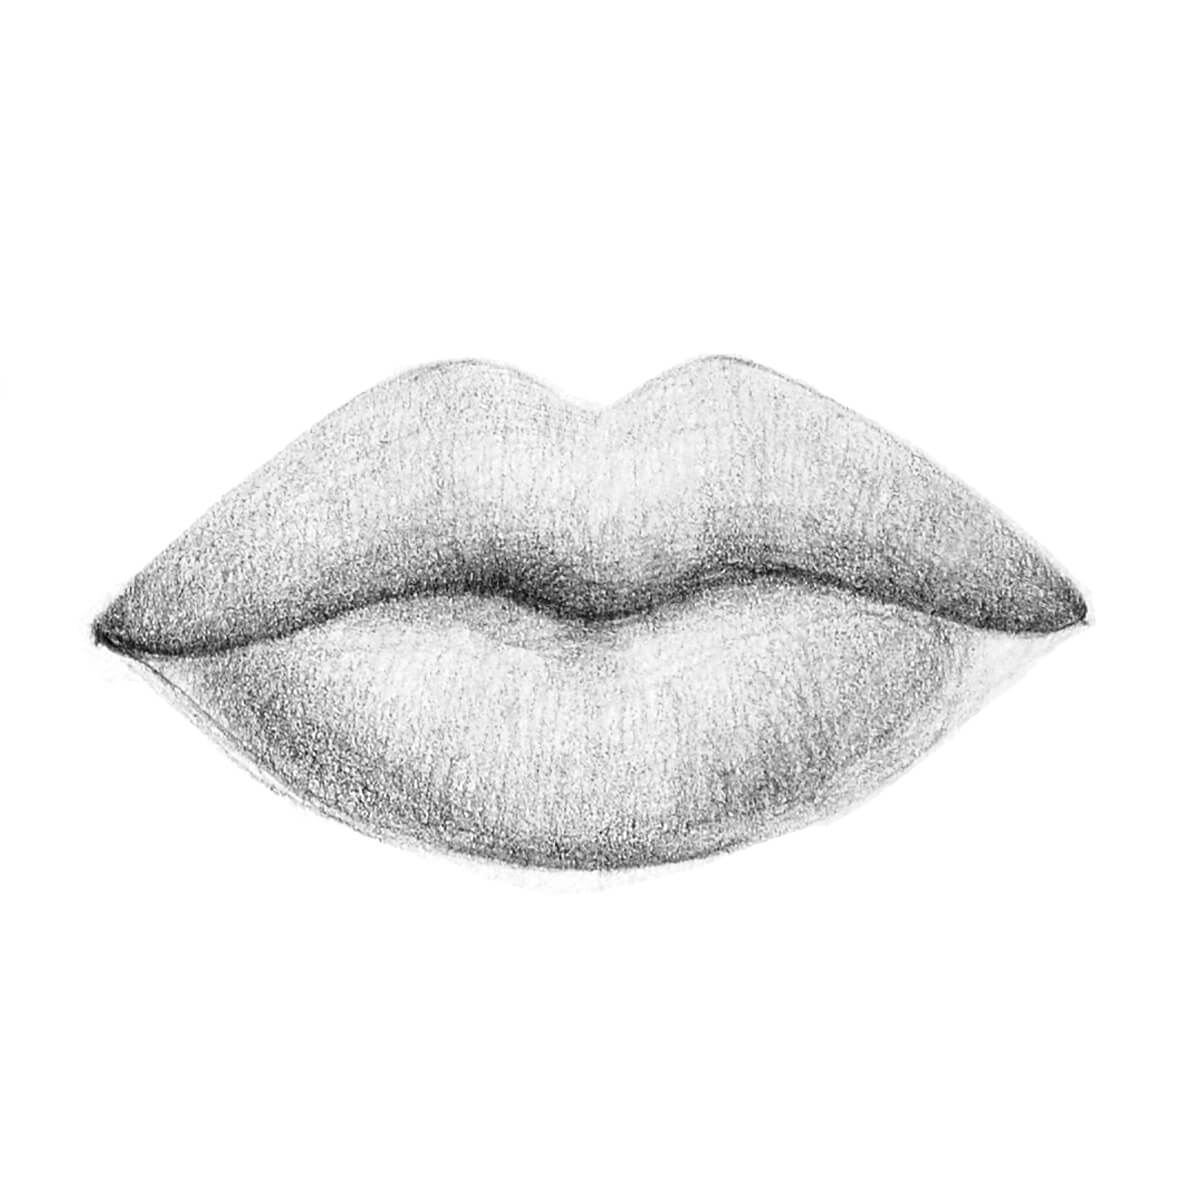
How to draw lips
How to draw lips
How to Draw Lips and a Mouth
If you want to learn how to draw lips and a mouth without a reference, you need to understand their anatomical structure first. In this tutorial I will show you where the form of the mouth comes from, and how to draw lips in various shapes and views. After this, you’ll be able to draw realistic lips from scratch!
Because the mouth is not a separate element of the face, and it’s closely tied to the nose, I recommend you take a look at my How to Draw a Nose tutorial first.
1. Anatomy of the Lips and Mouth
To understand the construction of the lips and mouth, you need to understand their function first. Each row of teeth is covered with soft, muscular tissue. In the front, that tissue is curled out to better grasp food. This works for both lips. If you imagine it this way, you’ll have no problems with seeing the 3D form of the mouth!

Of course, this is just the basic shape of the mouth. Fortunately, the other details can be easily derived from it. Keep in mind that the roundness of the teeth is covered with the cheek and jaw muscles, so the mouth looks only slightly rounded in the front.


To get a better idea of all these forms, take a look in the mirror and try to identify them on your face. Don’t be afraid to be your own reference!


Here’s a quick cheat-sheet of the lips and mouth forms in all the basic views:

Interestingly, lips are usually pigmented differently than the rest of the mouth. They’re more pinkish, often much darker than white skin. The border of pigmentation follows the form of the upper lip, but the lower lip sometimes curls in such a way that the unpigmented part is included in its form.

For drawing, we can simplify all these forms into a few easily identifiable parts:

2. Different Lip Shapes
This simple structure is not set in stone, though. The lips have many different shapes, created just by changing the proportions of the elements slightly.

There are no «perfect lips», default for all humans. Feel free to experiment with the proportions of the «three ovals» to make each of your characters unique.

In the profile view, you can see more differences than simply the size and width of the lips. Notice how they can curl and protrude differently.

3. Lips and Facial Expressions
Lips are very mobile—there are so many muscles in and around them that they’re able to change their shape in hundreds of ways. This makes them extremely expressive! Experiment with the position of the «nodes» (the balls in the corners of the mouth) to drag the corners of the lips up, down, and to the sides.
You can learn a lot about the mobility of your lips just by observing yourself in the mirror!


You can learn all about facial expressions from this tutorial:
How to Draw Realistic Lips Step by Step
Here is an easy step by step tutorial on how to draw realistic lips.
Lips are fairly simple to draw, but the key part that makes them look realistic or not is how well shaded they are and the values (degrees of shading from white to black) you add to your drawing.
That is why the most important tool you need is a soft pencil.
In this tutorial, I used a mechanical pencil (0.7 mm), but the lead is quite soft so it works. As long as I maintain a soft hold on the pencil, I can create soft strokes that blend well.
If I need to smudge, I just use my finger – But a rolled up tissue or a smudger tool works well too.
I also used cardstock printer paper and the small eraser at the end of my mechanical pencil. It helps to have an eraser that can erase in small details (one that is relatively pointed or can be kneaded).
The great thing about drawing is that you don’t need professional art materials to create beautiful drawings. It is all about the work you put into it.
Spend time with your drawing, if you work with your drawing for 10 minutes, it’s going to look multiple times better than a drawing you spent only 1 minute with.
How to Draw Realistic Lips: Easy Step by Step
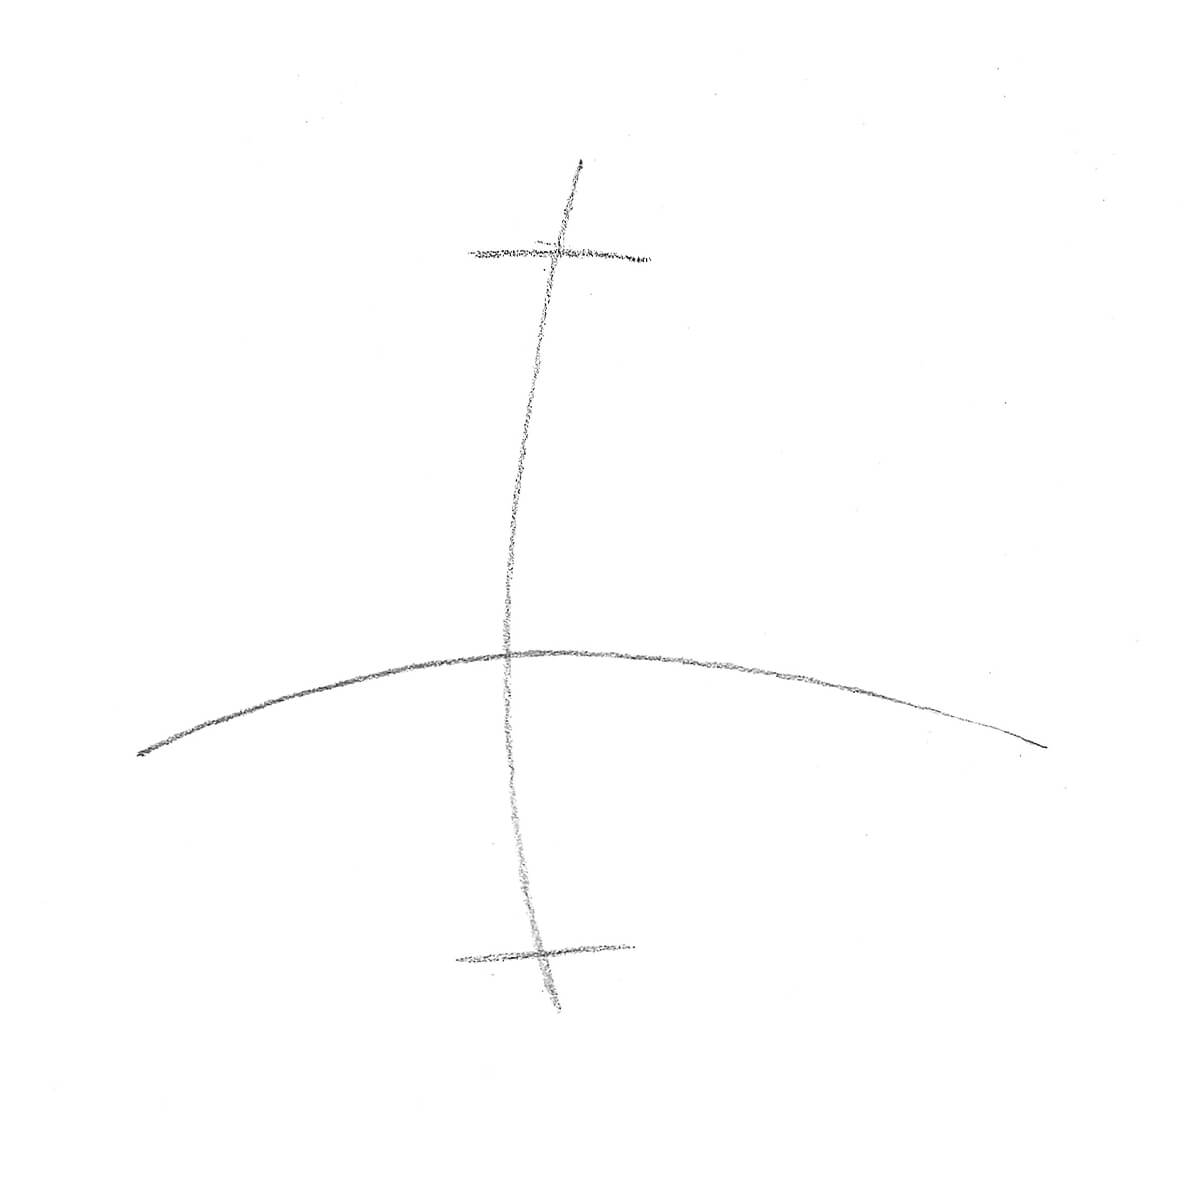
Step 1: Draw a horizontal line lightly with your pencil.
Step 2: Draw a short vertical line down the middle of the first line. Draw this line lightly because we’re going to erase it later.
Step 3: Draw a “v” shape just above the short vertical line we made. This will be the top of the lip, or what they call the Cupid’s Bow.
Step 4: Draw lightly lines that extend from the “v” to the ends of the first line.
This will create the shape of the upper lip, so you can change up the ship according to the lip you are drawing.
TIP: Draw the outer lines of upper lip very lightly and softly. Creating a very dark, bold singular line for the upper lip can make it look less realistic.
Step 5: Draw a curve for the bottom lip.
Step 6: Draw a dip in the middle of the lips where the upper and bottom lips meet.
Step 7: Softly darken the line where upper and bottom lip meet, along the horizontal line that we first drew in step 1.
For this tutorial, we will keep this line fairly straight for the purpose of simplicity, but every lip has a different curve or shape to this line.
Step 8: Erase the short vertical line at the center of the lips.
Step 9: We are going to start shading the bottom lip now.
The lips have wrinkles that extend vertically. That is why when you shade, shade in up-and-down strokes.
With shading, I like to start off lightly, and as I develop the drawing, I add more darker values little by little.
Also, smudging helps a lot when you are initially shading in a drawing. I just used my finger, but you can use a rolled up bit of tissue or a smudger tool.
Step 10: Shade the upper lip in the same way: Make soft, light strokes going in an up-and-down direction. And smudge to create that soft blended gradation.
TIP: My drawing might look messy right now, but I will be adding more layers so I don’t worry too much about it. Drawings always go through this phase and it’s important to keep moving forward and not end it here. The more time you spend with a drawing, the more dimensional it becomes.
Step 11: In this step, I accentuated the center of the lips near the dip and darkened the horizontal line of the mouth.
This horizontal line will be one of the darkest parts of the lips, so we will gradually darken it more and more as we go along.
Step 12: For this step, I darkened the corners of the lips, as this will be another dark area of the lips.
I also darkened the bottom of the lips, where the bottom lip meets the chin. This area dips down and usually has a lot of shadow in it.
Step 13: I shaded in the lips more to make it darker. I also added more lines (wrinkles) to the lips in an up-and-down direction.
Step 14: I added much more darker values to the center of the lips.
Step 15: In this step, I did some shading for the philtrum (the cleft right above the lip) and more shading near the chin (although it’s not necessary since we are focusing on the lips).
For the lips, I erased the outer line of the upper lips because it was becoming too bold. It’s important that shading be the start of the lips and not a distinct line.
I also created a highlight spot at the center of the upper and bottom lips. You can create this highlight area using your eraser and just erasing a tiny dot from your shaded area.
Step 16: Keep shading and making the lips darker little by little. As I made the lips more darker, I also kept erasing the highlight spots at the center of the bottom and upper lips.
The highlights are thus more visible in this step than in the previous step.
Step 17: The last step is to truly accentuate the really dark areas of the lips. These areas include the horizontal line of the mouth, the sides near the corner of the lips, and below the lips where the chin starts.
Scroll down for guidelines on how to shade more and where to put your highlights.
For the really dark areas of the mouth, like the center horizontal line, the corners of the lips, or right below the bottom lip – Make sure these areas area as dark as possible.
Don’t be afraid at this point to make these areas as black as you can. This will make it more realistic.
Tips for Drawing Lips: Highlights and Shading
Here are some extra guidelines for your lip drawings so you can draw them as realistic as possible.
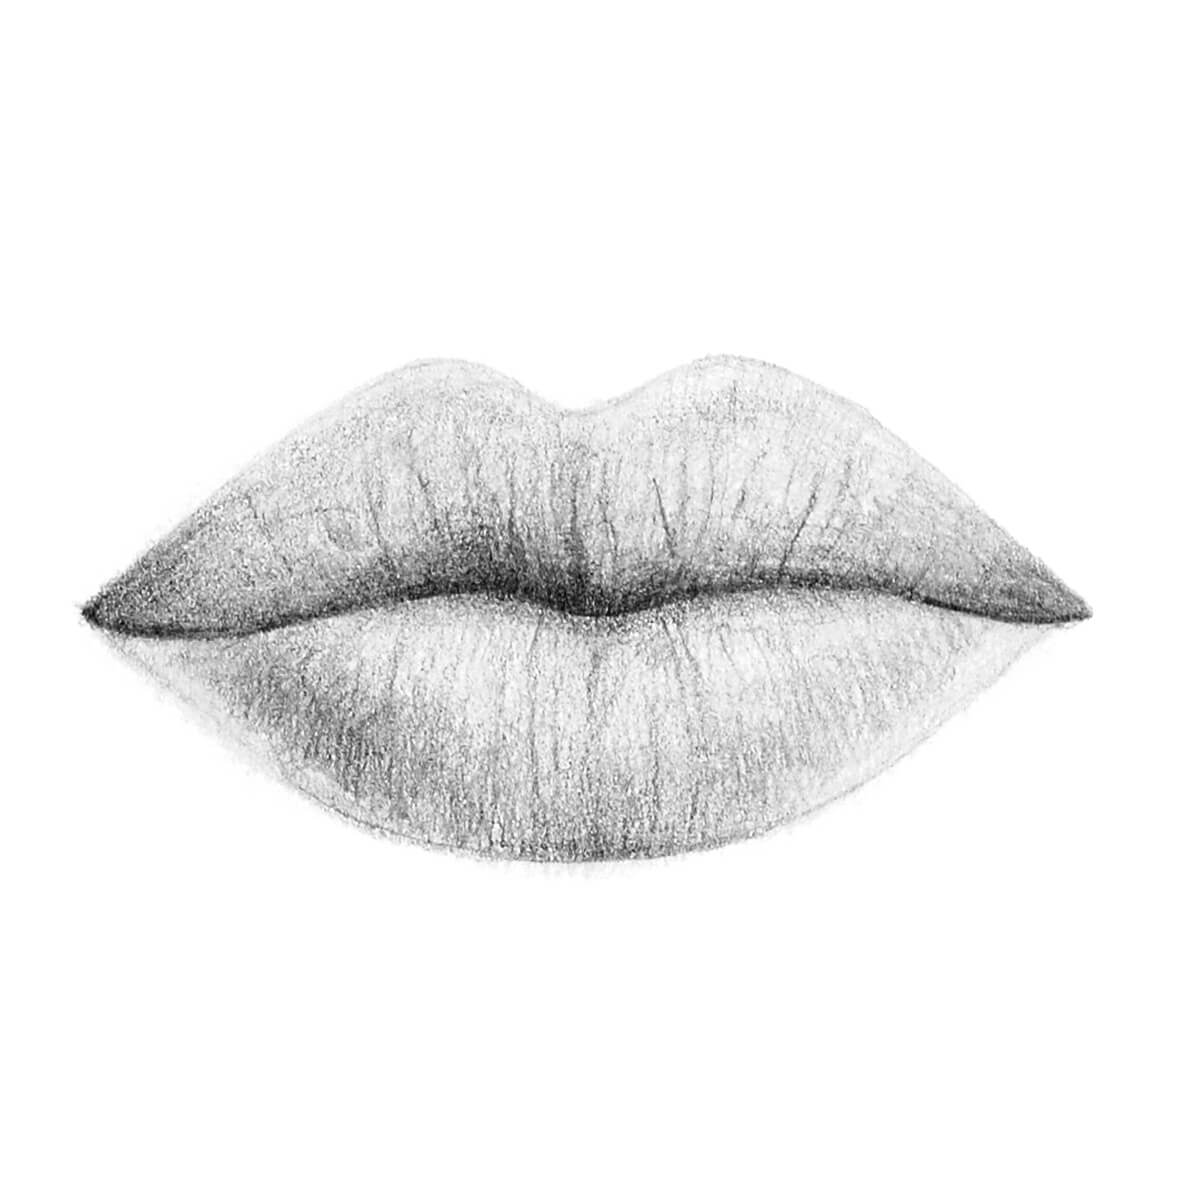
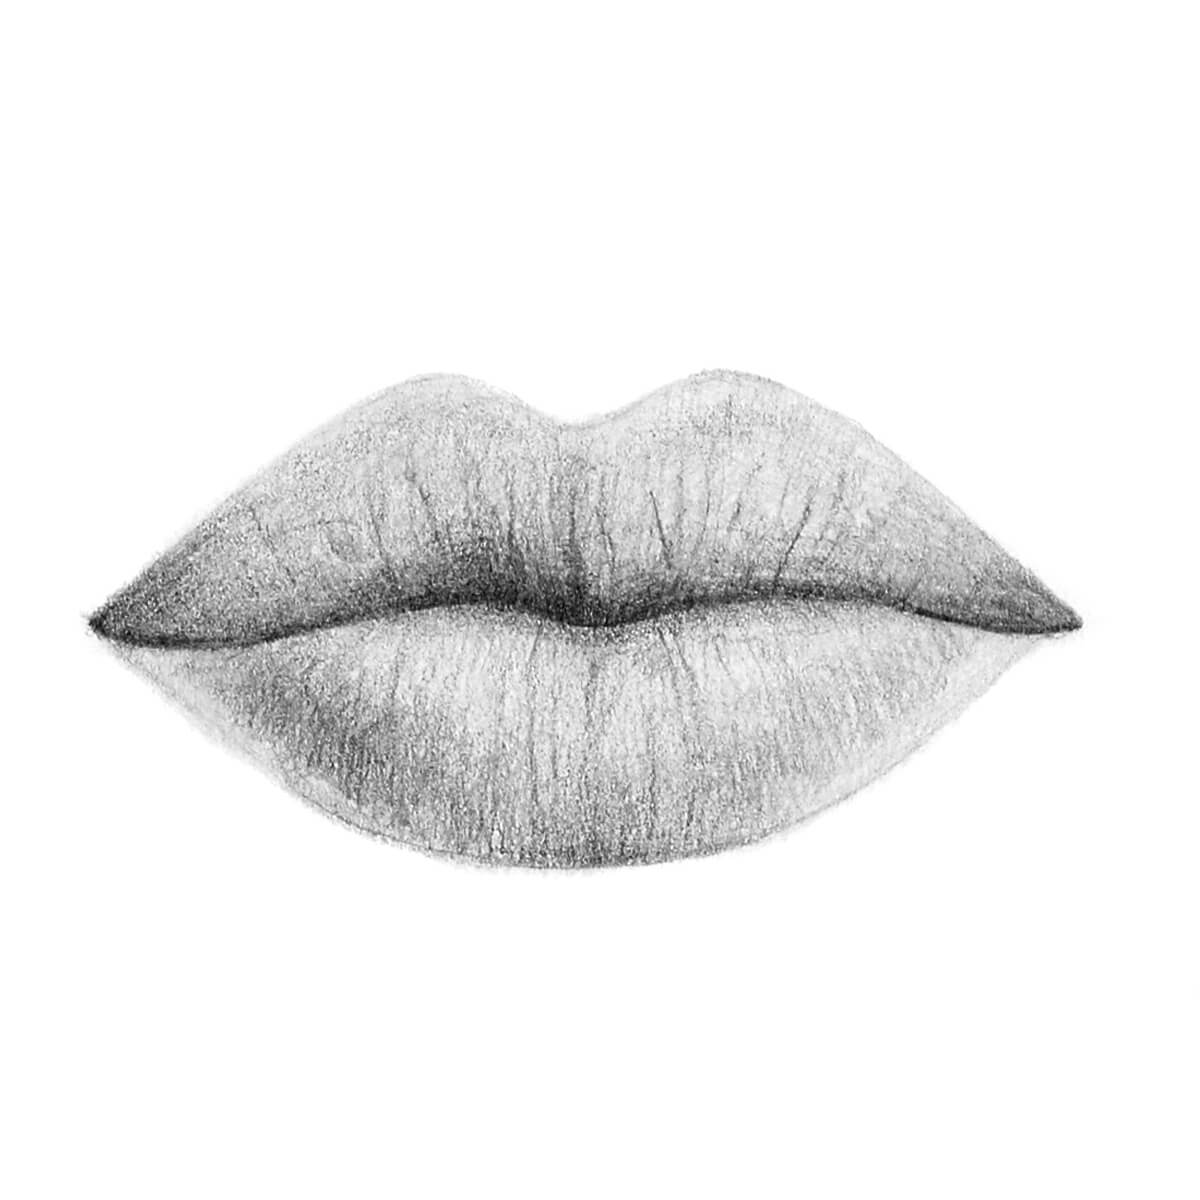
The Finished Lips Drawing
Thank you for stopping by this blog post!
I hope you were able to find these steps and tips helpful to make drawing lips a little more easier.
Like all things in takes practice, but with this knowledge, I hope you have everything you need to draw realistic lips.
I hope you have a wonderful day or night wherever you are and take care!
Related
Leave a Comment Cancel reply
Hello There, I’m Shihori – and welcome to my little corner here on the internet.
I’m an artist and blogger. I’m shy and quiet, and I need to connect with others. This is how I find fulfillment for my life’s journey and I hope to inspire an infinite amount of people in their own self discoveries.
How to Draw Realistic Lips Step-by-Step in 3 Different Ways
Realistic Lips Drawing in Pencil
Whenever you’re creating a realistic portrait, one of the most important features will be the lips outline. They’re an interesting part of the face because they are a huge part of our expressions and can help define how a portrait looks. You always want to make sure that while you’re drawing your portrait that your lips are at the proper angle. For example, if you’re drawing a portrait at a ¾ view, you’ll need to make sure your lips are at the appropriate angle as well. We’ll show you how to draw 3 different pairs of lips step-by-step so you can follow along and use this guide to help you with your next portrait. Grab some sketching supplies, get comfortable and keep reading to see how we draw realistic lips.
How to Draw Lips in a ¾ View
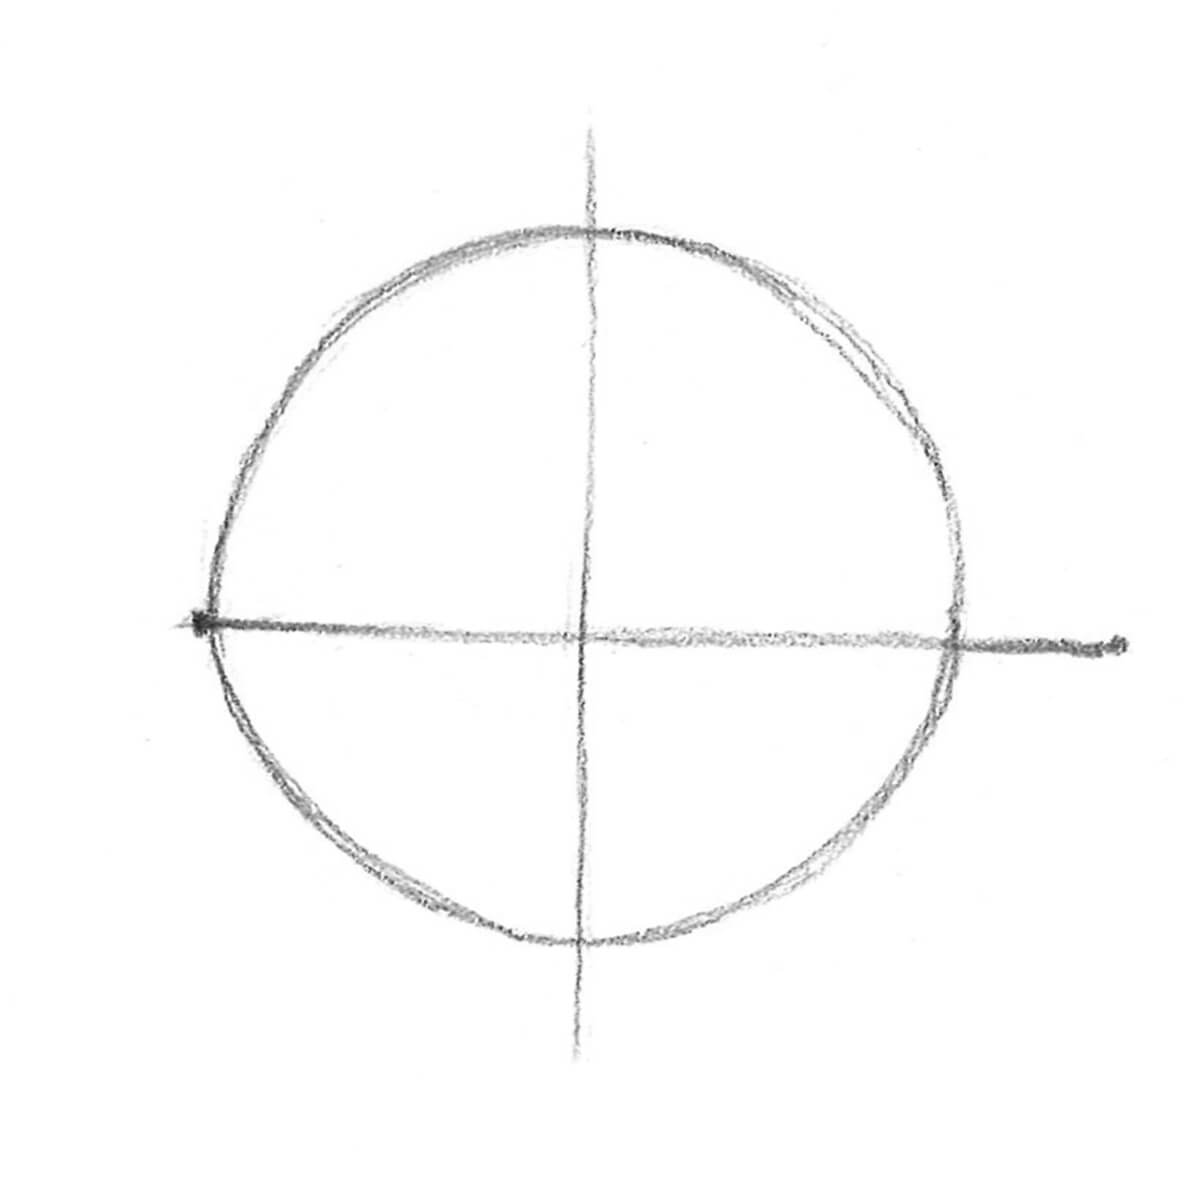
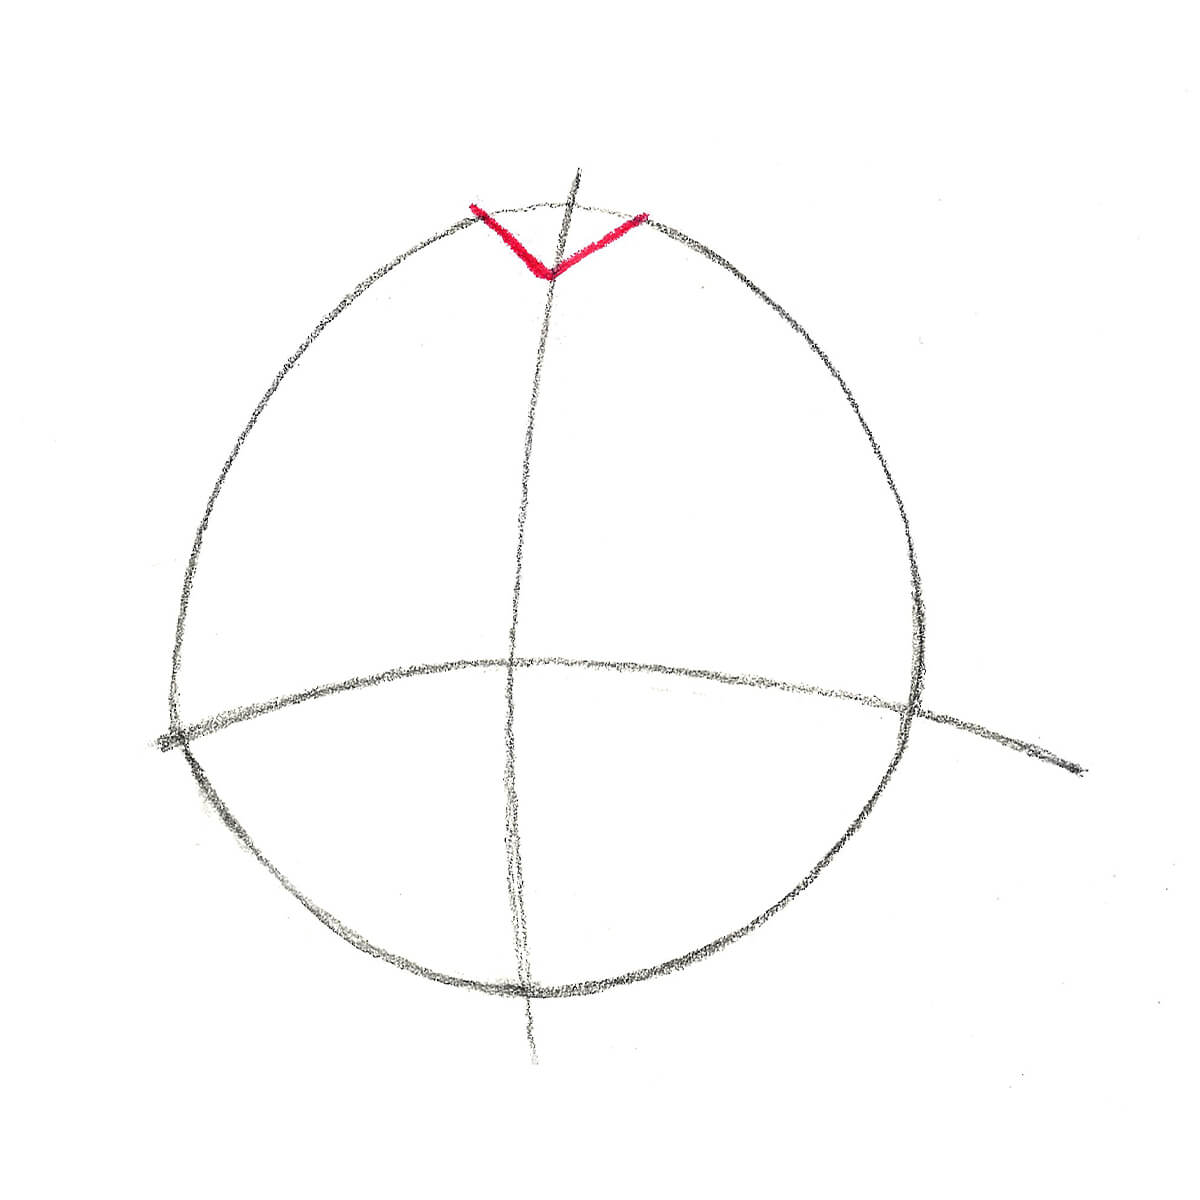
Step 1
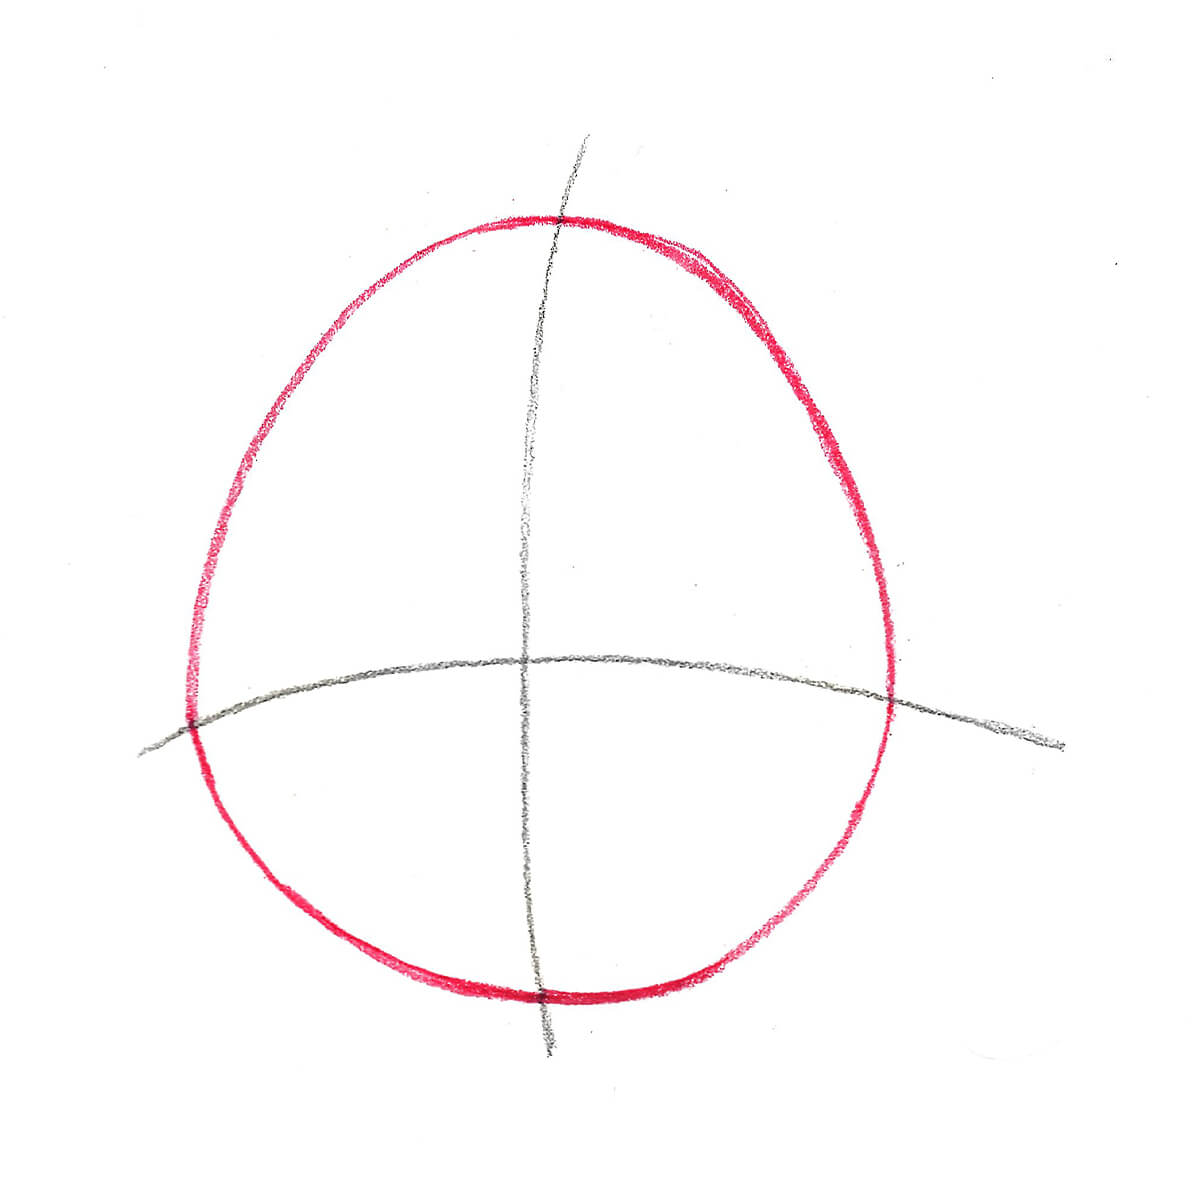
Sketch a circle with a vertical line in the middle. Add another perpendicular line just below the middle and extend it slightly beyond the circle.
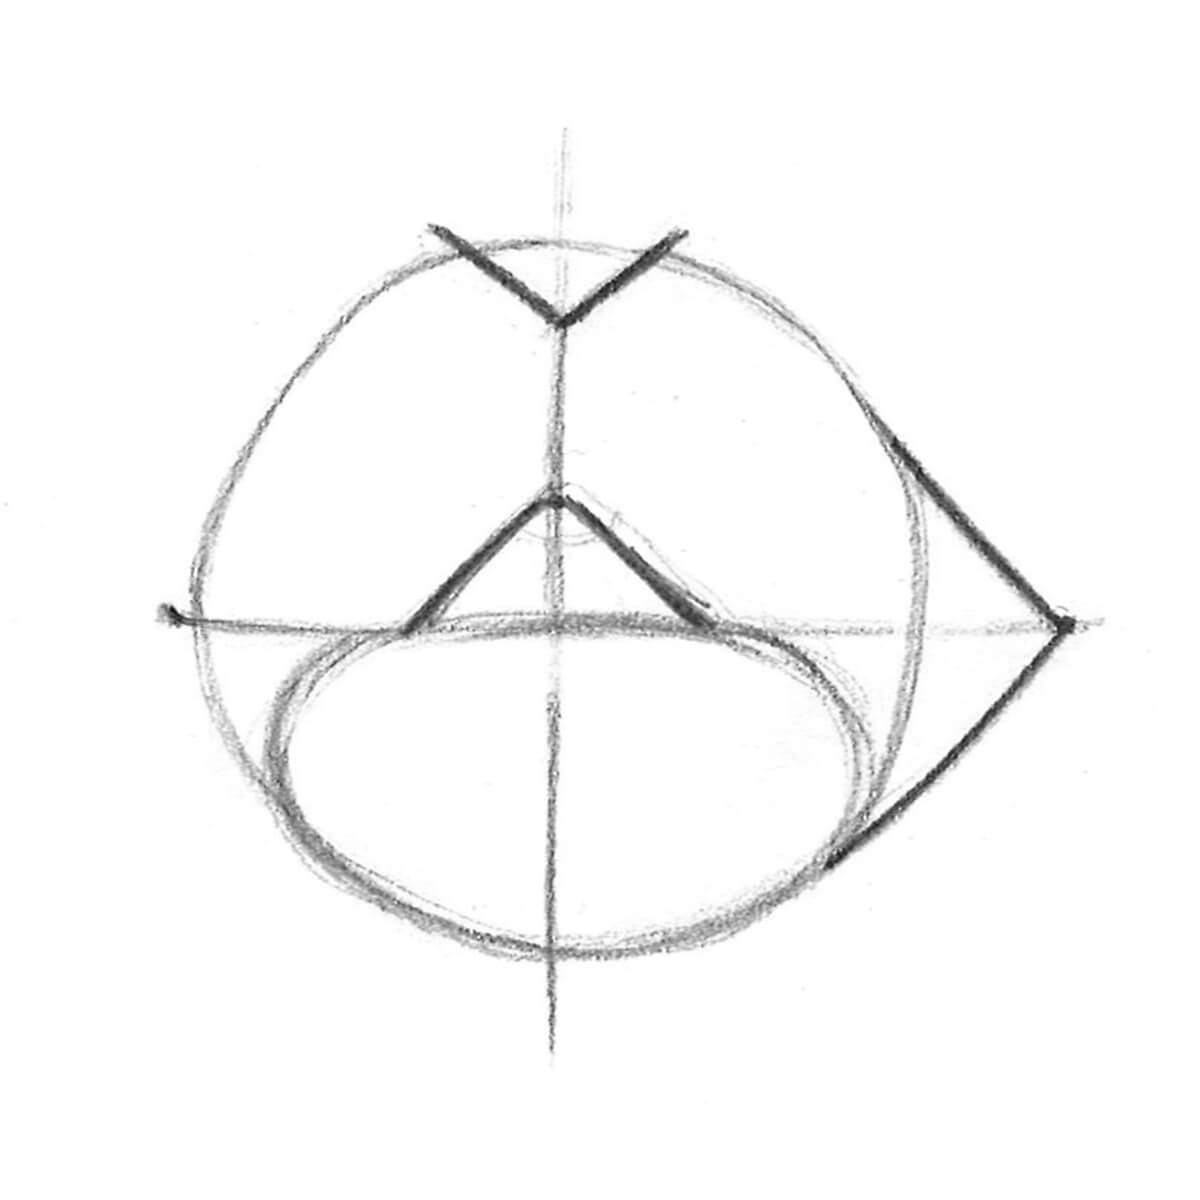
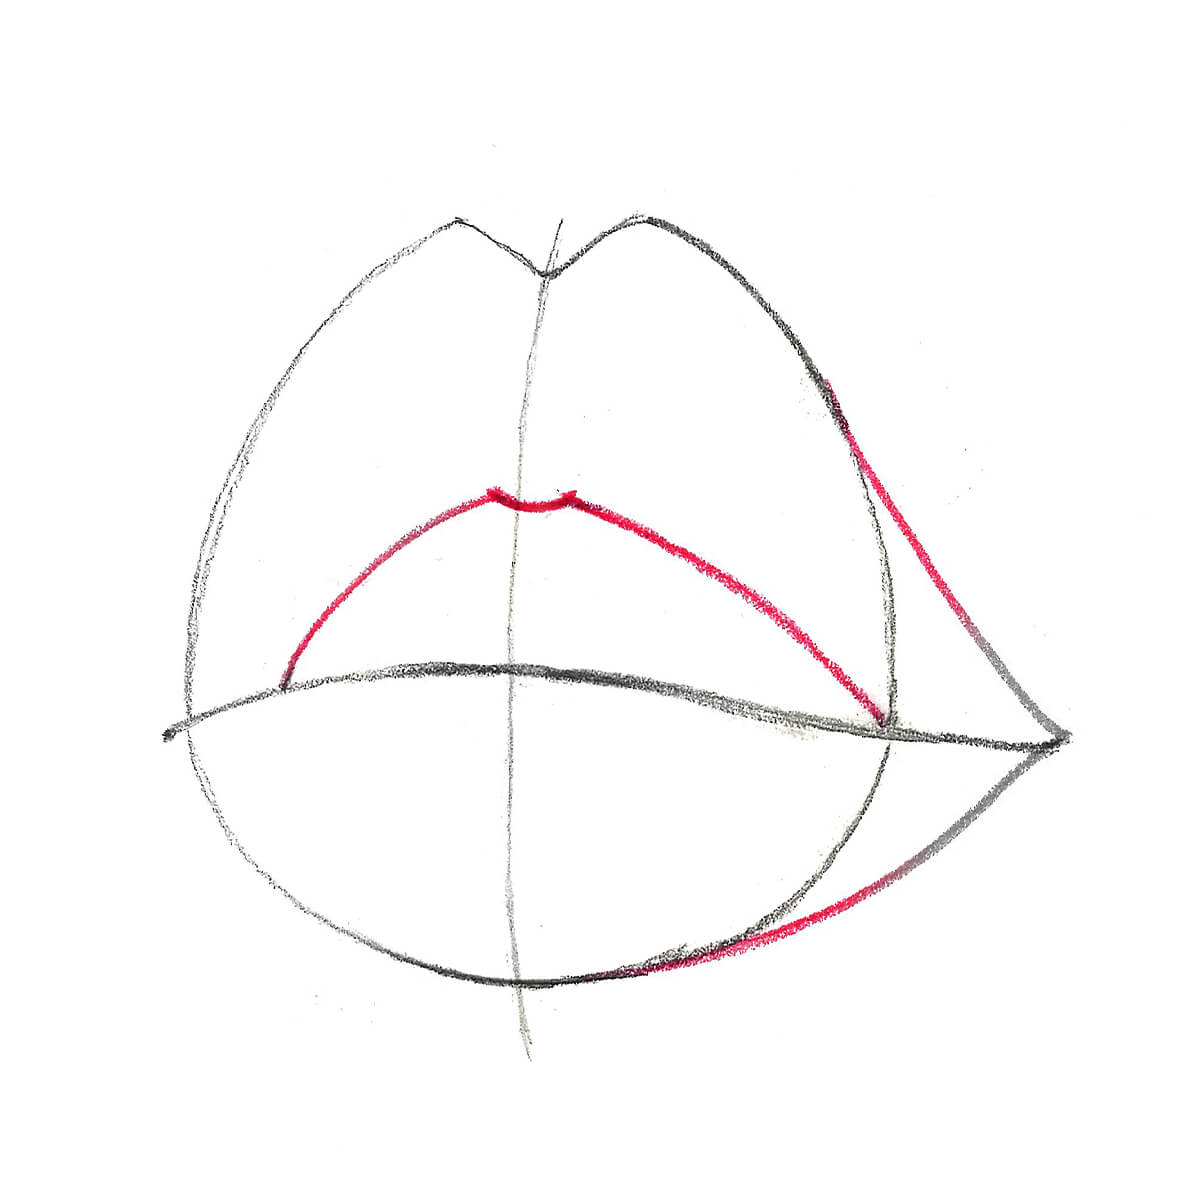
Step 2
Use triangular shapes to create the general shape of the lips as shown. Add an ellipse in the bottom half of the circle.
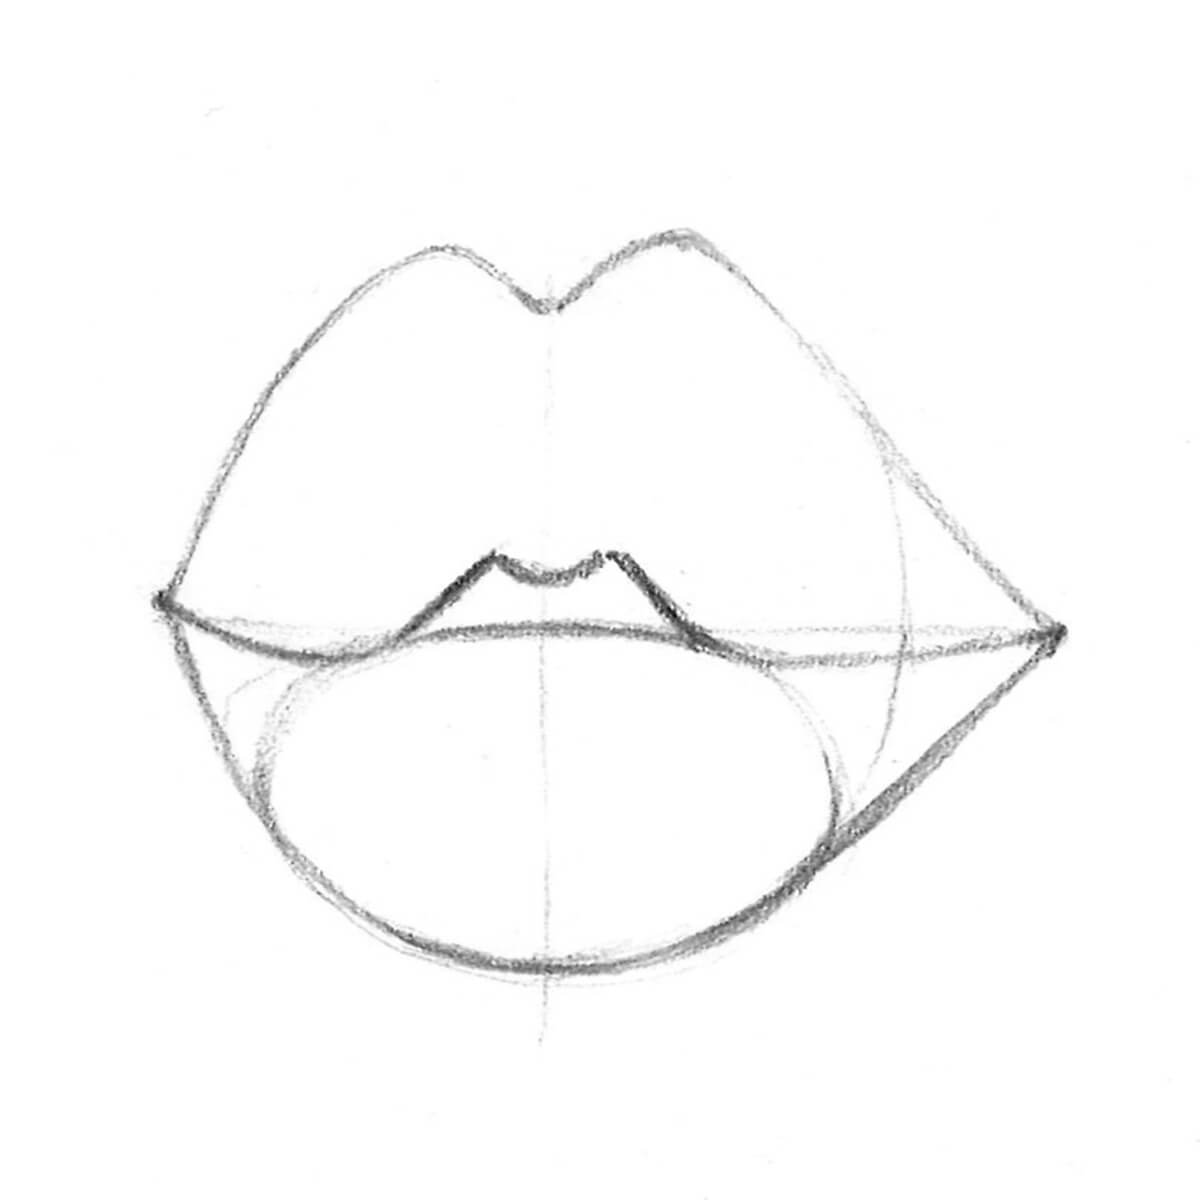
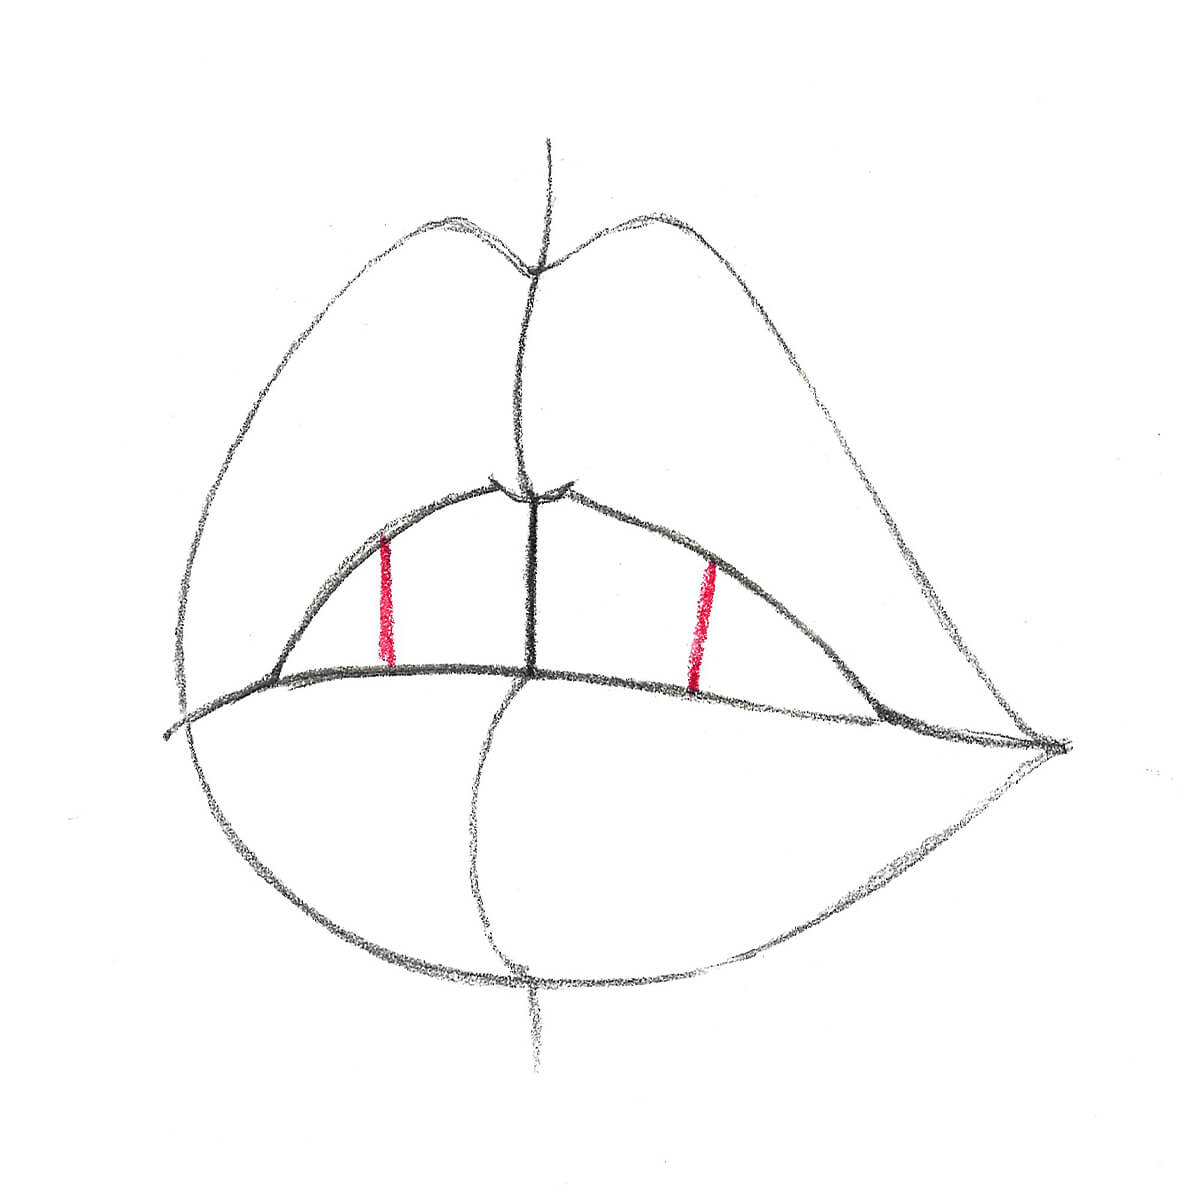
Step 3
Outline the sketch. Smooth out the lines and round the corners. Add a small protrusion at the bottom of the upper lip.
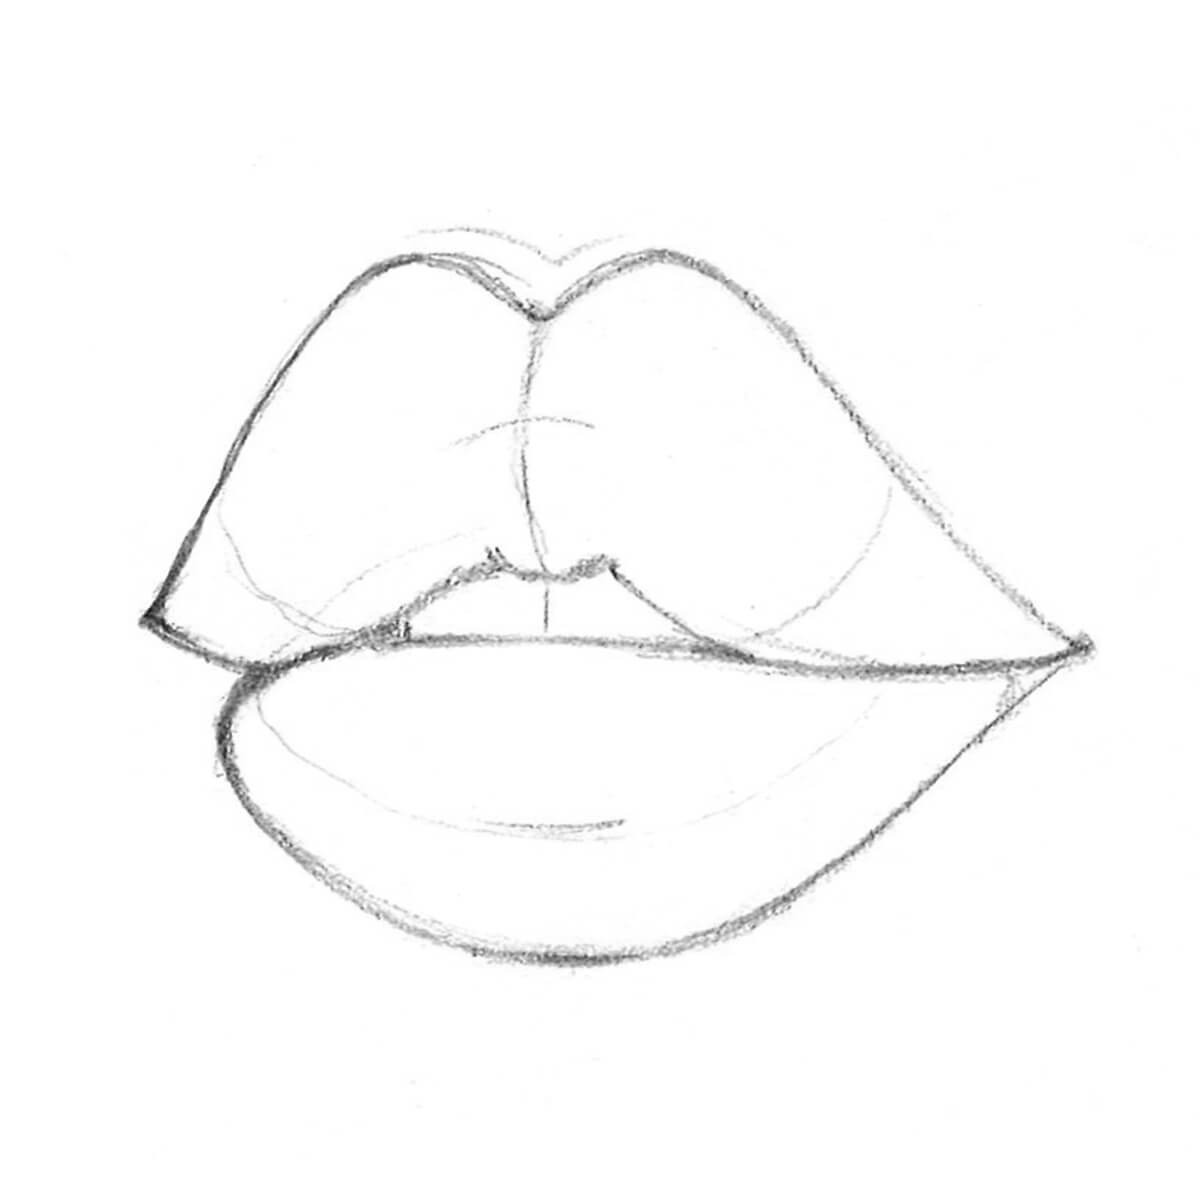
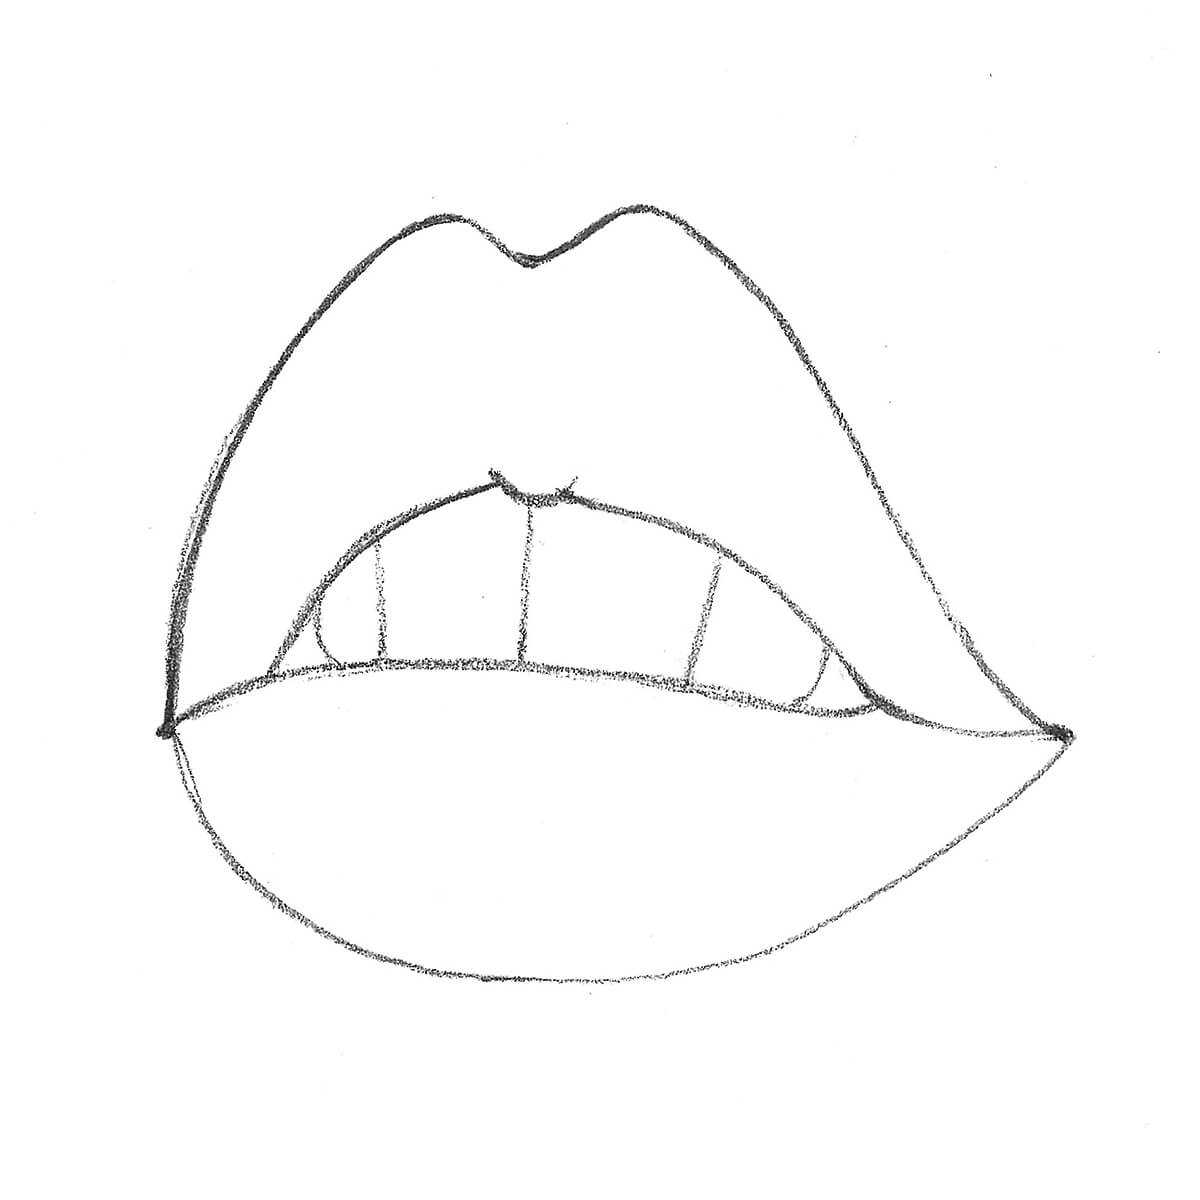
Step 4
Erase the extra construction lines and add visible teeth.
Step 5
The lips will be shaded according to their shape to show their volume and how the light falls. The light source is coming from the top right. The corners of the lips will be the darkest part.
Step 6
How to Draw Lips with Visible Teeth
Step 1
Draw a vertical arc and mark the top and bottom. Draw a horizontal arc perpendicular to the vertical arc and make sure that the top is larger than the bottom.
Step 2
Draw an oval along the top marks. The left and right sides of the oval will be about the same distance.
Step 3
Draw the cupid’s bow of the lips at the top of the oval.
Step 4
Draw a semi-circle to represent the top lip. Connect the top and bottom of the oval with a triangular shape on the right.
Step 5
Add in the teeth.
Step 6
Now that we’ve finished the line drawing of the lips, we’re ready to move on to shading. Lighten the construction lines and get ready to add tones to your drawing.
Step 7
To help you see the volume of the lips, add some vertical semi-circular lines and arcs on the lips.
Step 8
Start shading. Use an HB pencil to work around the lips. Next, start shading the bottom lip, along the separated arc. Darken the left side to add more expressive shading.
Step 9
Add darker shading and mid-tones. Add a shadow on the teeth from the upper lip.
Step 10
Increase the contrast and add the lines on the upper lip.
How to Draw Lips in the Frontal View
Step 1
Step 2
Refine the outline and show the volume in the lower lip with two ovals.
Step 3
Add a shadow for the upper and lower lips with the HB pencil.
Step 4
Add some shading and tone to the whole drawing.
Step 5
Add the lines on the lips.
Step 6
Add the final touch, work on the subtlety of the tone, softening the shading lines and defining the accents of the lip’s outline.
Your Finished Pencil Drawings of Lips
Now you know three different ways to draw lips! You can use these steps to add lips to a variety of portraits or you can even practice drawing them on their own. Some artists really enjoy just focusing on one facial feature, like the lips, and adding a unique twist. Once you’re feeling comfortable with the shape and shading of lips, you can start moving on to adding your own style and trying out other positions when drawing lips.
Have fun sketching, and check out some of the products featured in this how-to!
Comments
Hey Tiza,
We’re so glad you enjoyed this blog and found this how-to helpful. Keep creating! 🙂
Wow
I won the coemption
Thank’s
Thank you so much. Much needed info.
This wasn’t that helpful, it is very confusing. But I appreciate the effort!
Hi Ashlynn, we’re so happy you love it!
We’re happy we were able to help! We’re always here for our fellow artists!
This blog post was so helpful for me! Thanks so much Arteza!
Love, from Ashlynn!
How to Draw Lips Step by Step
Learn to draw lips step by step in this tutorial!
Though the eyes are usually considered to be the most expressive facial feature, I would argue that the lips are a close second. (Maybe even tied for first!)
In this tutorial I demonstrate how to draw lips step by step, in a realistic and naturalistic style. Though a single tutorial can’t possibly cover this subject thoroughly enough, I hope that it provides a compelling introduction! Stay tuned for future articles that delve deeper into the structure, anatomy, and placement of the lips on the head.
Finally, don’t miss the downloadable resources at the bottom of the page, where you’ll find the reference photo for this tutorial that you can draw from, as well as an infographic to remind you of the steps.
For related articles on drawing other facial features, check out:
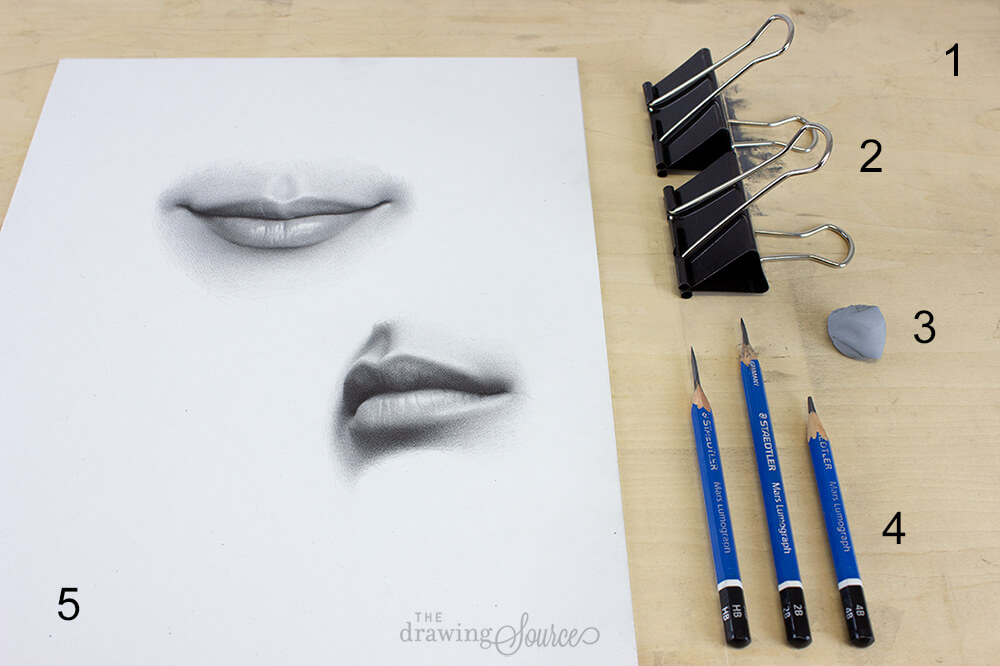
Materials Used in this Tutorial
1. Drawing Board: This is a sturdy but lightweight drawing board made by Helix.
2. Bulldog Clips: For attaching my paper to my drawing board (fabulously easy to remove for taking tutorial photos!)
4. Drawing Pencils: I am using HB, 2B and 4B Staedtler Mars Lumograph graphite pencils for this drawing.
5. Drawing Paper: I’m drawing on a sheet of Canson Recycled Bristol paper.
The Basic Structure of the Lips
Though I’ll cover the anatomy of the lips in depth in a future lesson, I want to point out the basic structure and features that are important in this particular drawing scenario.
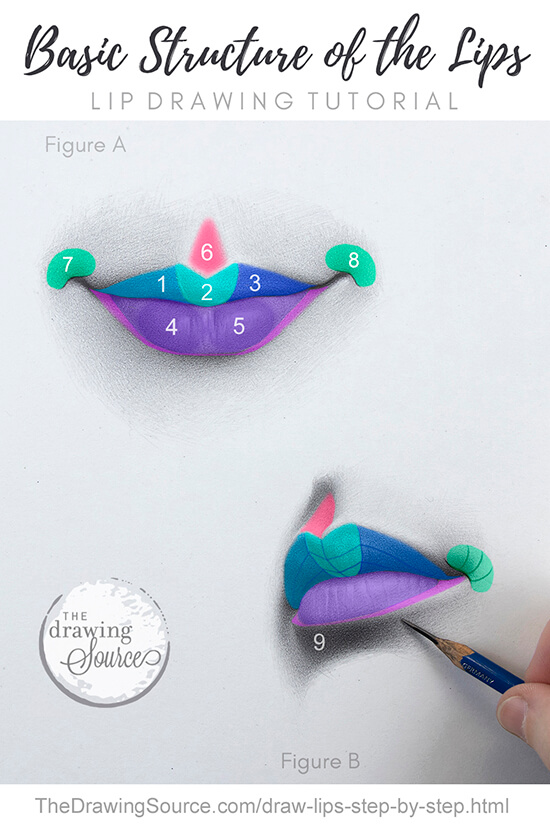
The upper lip consists of three major forms: the central portion (the heart-shaped tubercle) pictured at 2, and the two sides that slope downwards from the tubercle (1 and 3 in the image above).
Above the tubercle and just below the nose is a groove called the philtrum (6).
The lower lip has two bulbous, pillowy forms, indicated at 4 and 5. Enveloping them is a ridge around the bottom of the lip, that reaches from one corner of the mouth to the other.
At each corner of the mouth is a node, or mediolus (pictured at 7 and 8). Several muscles attach in this area, creating a fleshy protrusion that is subtly peanut-shaped.
Between the lower lip and the chin is a furrow called the mentolabial sulcus (pictured at 9). Notice the angle change here: there is a вЂstep down’ from the plane of the lower lip to the plane of this furrow. Because of this plane change, this furrow is often in shadow (though it really depends on the lighting).
How prominent these features are depends on the person (each set of lips is unique), how the lips are lit (different lighting can accentuate or diminish certain features), and the position of the head. For example, in the image above, notice that as soon as the head turns from a front view (Figure A) to a three-quarter view (Figure B), we see the forms of the lips start to overlap and change shape.
Free Video Course on Essential Drawing Concepts
Throughout this lesson I refer to essential drawing concepts and stages of the drawing process. Learn about them in my free video course to get the most out of this tutorial!
How to Draw Lips Step by Step
Step 1: Establishing Proportions and Angles
I start by establishing the basic proportions and angles of the lips.
I’m using the «guess and check method», meaning that I estimate a proportion and then check how accurate I was through some sort of measurement (some of which I mention below). This is a great way to train your eye so that you can eventually rely more on it rather than having to constantly measure.
What was I paying attention to here, and how did I check these proportions and angles? Let’s take a look:
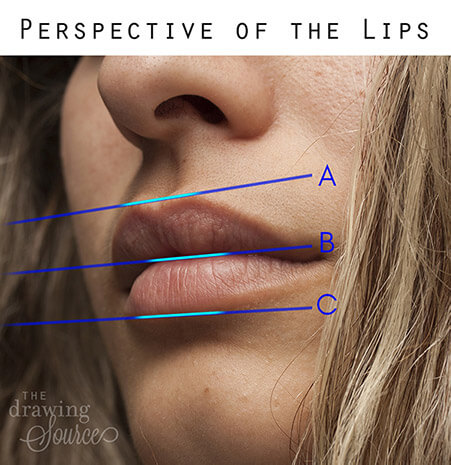
1) The Subtle Perspective of the Lips
Notice the subtle perspective of the lips. If I were to continue extending lines A, B and C to the left, they would eventually converge at a single point.
When I compare Line A to the top edge of the picture, it becomes clear that Line A is tilted down and to the left.
Next, if I extend my pencil, hold it up to Line A, and compare it to Line B, I notice that Line B is at less of an angle. To estimate the angle of Line C, I can either compare it to Line B or to the bottom edge of the picture, which I know is horizontal.
When drawing from life, you can use a similar technique to evaluate angles: extend your arm holding your pencil, line it up with a horizontal line close to your subject, and then, doing your best to keep your arm and pencil horizontal, bring it down to the angle you want to evaluate. Look to see the difference between the horizontal line of the pencil and the angle you wish to draw.
Next, I can use comparative measurement to check the height and width of the lips. (Learn how to use comparative measurement in my free mini-course.) I start by looking for similar, or equal measurements:
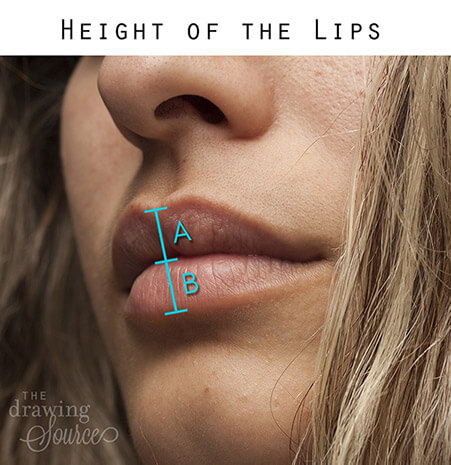
2) The Height of the Lips
Height A = Height B. The height of the upper lip (when measured from the bottom of the philtrum to the bottom of the tubercle) is equal to the height of the lower lip (when measured to the top of the shadow, or mentolabial sulcus).
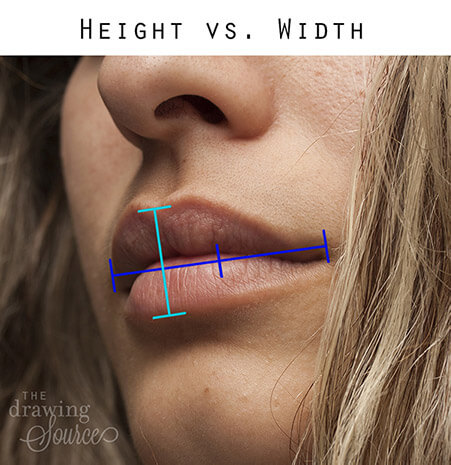
3) Height vs. Width of the Lips
The width of the lips is double their height (when the height is measured from the bottom of the philtrum to the top of the mentolabial sulcus).
Did I know that these proportions would work out so conveniently? Not at all! I look for proportions that work out nicely, so that I have an easy time indicating them accurately on my drawing.
When using this method of measurement, it’s important to remember the specific points from which you measure. For example, notice that I specify when I measure from the bottom of the philtrum, because if I were to measure from the highest point of the lip, it would skew my measurements.
How to Draw Lips Step by Step
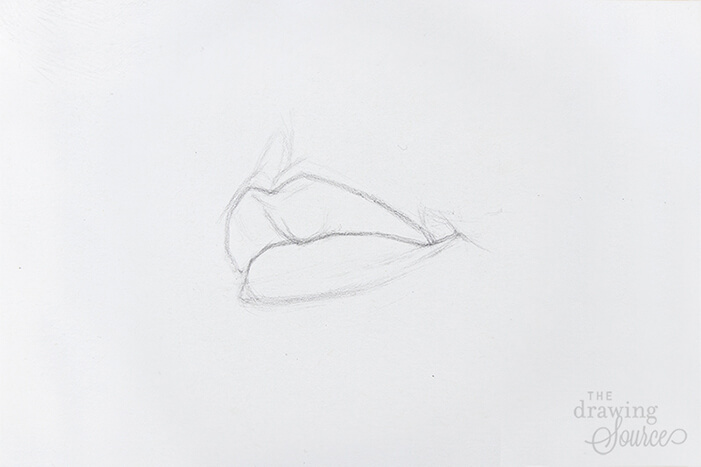
Step 2: ‘Sculpting’ the Lips using Straight Lines
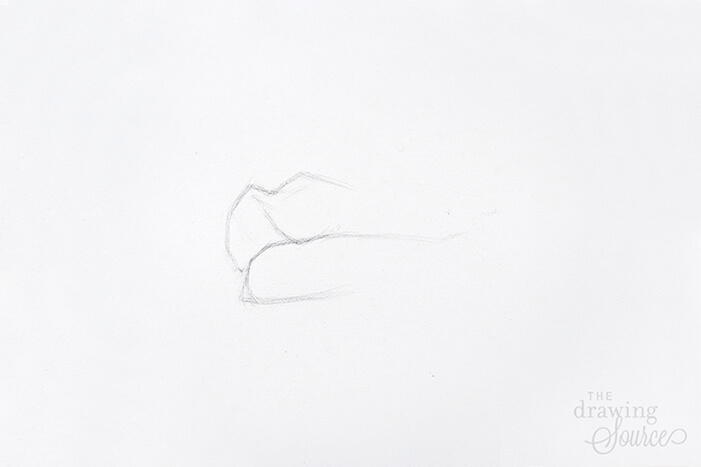
Next, I started drawing the left side of the lips using straight lines.
I often think of drawing as ‘sculpting with a pencil’: As you draw each line, imagine that you’re tracing it over the volume of the form. How steep is the form? How quickly or slowly does each angle turn?
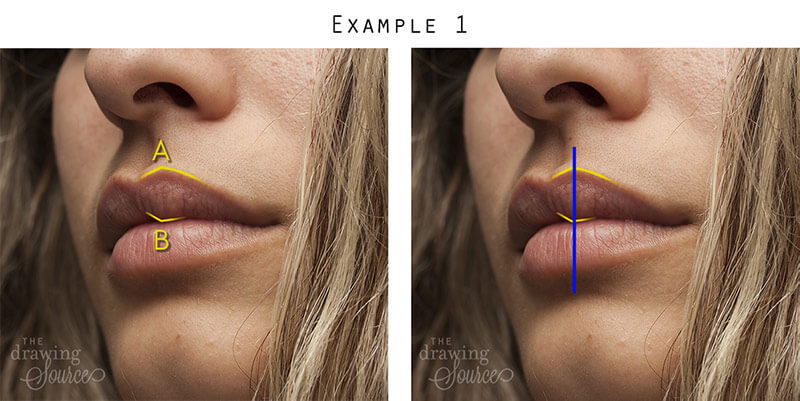
I’m looking for the most evident angle changes at this stage. Each time I add an angle change, it results in a ‘point’. As I add these ‘points’, I check their alignment using an axis line.
Example 1: If I drop a vertical axis line at Point A, where in relation to it is Point B?
Looking at the left image, I thought that Point B looked like it was further to the left. However, it’s actually in line with Point A.
‘Dropping a vertical line’ can be done using a plumb line (a weighted string), a knitting needle, or simply your pencil.
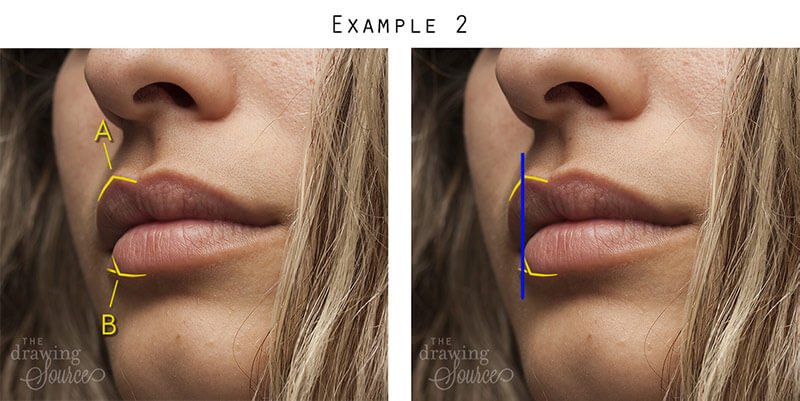
Example 2: I use the same process to check the relationships between this set of points. When I line up my pencil with Point A, I notice that it is slightly to the left of Point B.
I can now check if the distance between Points A and B is the same on my drawing, and modify it if needed.
How to Draw Lips Step by Step
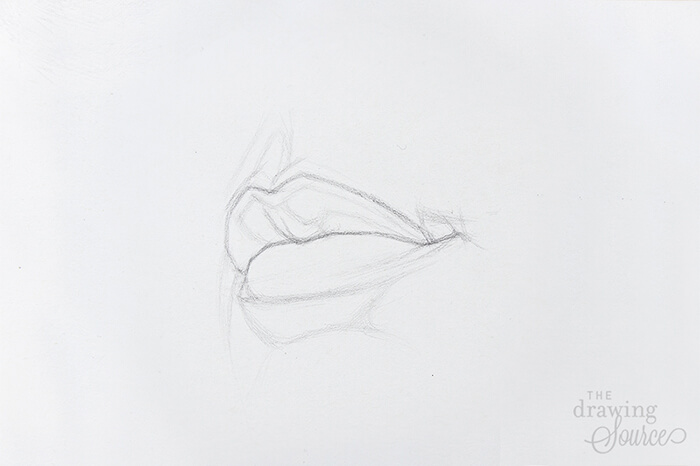
Step 3: Drawing Overlapping Lines
Overlapping lines are an essential part of a convincing block-in. They start creating depth and dimension in your drawing before you even add tone, by showing what form is in front of another form. Watch Lesson 4 of my free mini-course to learn about this essential drawing concept.
A few of the essential overlaps I’ve pointed out in the image above:
Notice that I don’t draw any sharp, dark lines where there are soft edges. (For example, the overlap in the lower lip, and the bottom edge of the lower lip, which ends in a soft value transition.) If you don’t see a sharp line, don’t draw one! You will only add work for yourself, since you will have to soften the line later on, once you start adding values to your drawing.
How to Draw Lips Step by Step
Step 4: Adding Shadow Shapes
To finish a block-in, I like to indicate the shadow shapes of my subject. Notice the simplified way that I’m viewing and drawing in the shadow shapes at this point. I’m looking for and drawing the major angle changes in the shadow shapes, just as I have been drawing the rest of the block-in.
Can these shadow shapes be drawn more specifically? Absolutely, but I’ll do so once I get to the
value stage, since some of the initial line drawing often becomes obscured once you start adding tone.
How to Draw Lips Step by Step
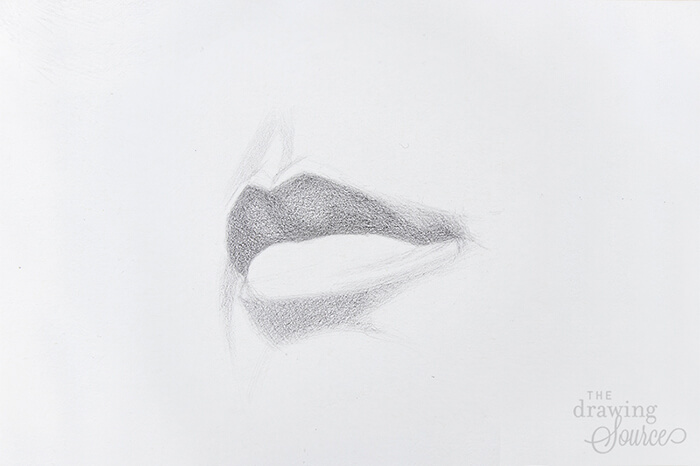
Step 5: Starting to Add Values
I begin adding values to my drawing by filling in the darkest, most obvious shadow shapes. I’m using light values so that I can check the accuracy of the shadows shapes before committing to them (it’s often easier to determine how accurately you drew a shadow shape once it’s filled in with a flat value).
Because the values in these lips are quite subtle, I’m going to build them up in layers. This gives me more time to adjust proportions and value relationships, and gain confidence in my drawing before adding any dark accents that may be difficult to erase.
How to Draw Lips Step by Step
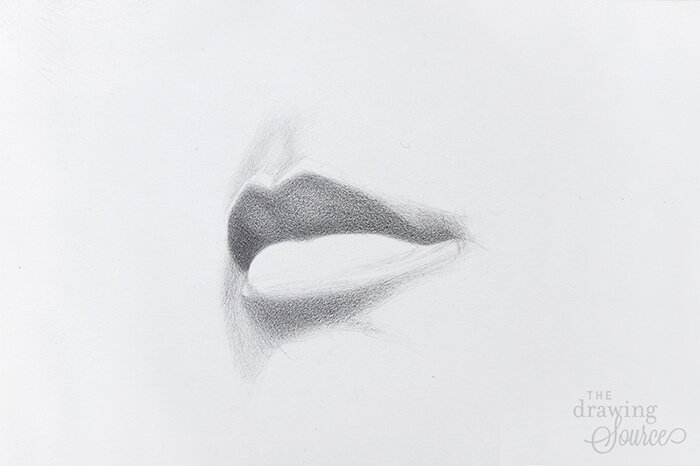
Step 6: Building up the Values
I continue building up and slowly darkening the values in the lips. I’m noticing and starting to establish some of the gradations in the upper lip and at the corners of the mouth.
How to Draw Lips Step by Step
Step 7: Analyzing the Value Range
Notice that the value range in the lips is not a full value range (so, not Values 1 through 9 on the value scale)!
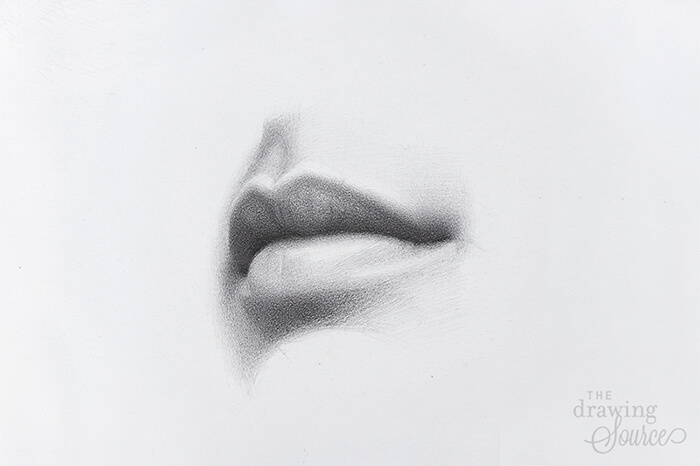
The lightest value in the lips is between a Value 3 and 4 on the value scale. How can you determine what value the highlight is? Though I made it easy to see what value the color of the lip is in the highlight area through the magic of Photoshop, you could just as easily squint at the subject and notice how much darker the highlight is than the white background of this webpage.
The darkest value in the lips isn’t quite at value 9 (the darkest possible value) either. It’s aaaalmost there, but I would still call it somewhere between Values 8 and 9.
The value range of a subject is important to determine because it gives me the clarity to cover up the white of the paper quickly. Furthermore, there are many subtle middle values in the lips. Drawing in the correct ‘value extremes’, or lightest and darkest values, will give me two distinct benchmarks to compare the rest of my values to.
Now that I know that the lightest value is between a Value 3 and 4, I could technically darken my entire drawing to a value 3/4. I didn’t go quite that far in this step. I want to maintain the correct value relationships between all the values in the lips, and because I know that my shadow shapes need further darkening, I prefer to gradually build up the entire drawing as a whole so that it looks cohesive.
However, I did darken the lower lip, drawing in a few gradations and leaving only the general highlight areas as the white of the paper (since I’m not yet confident in their exact locations).
How to Draw Lips Step by Step
Step 8: Drawing the Value Extremes
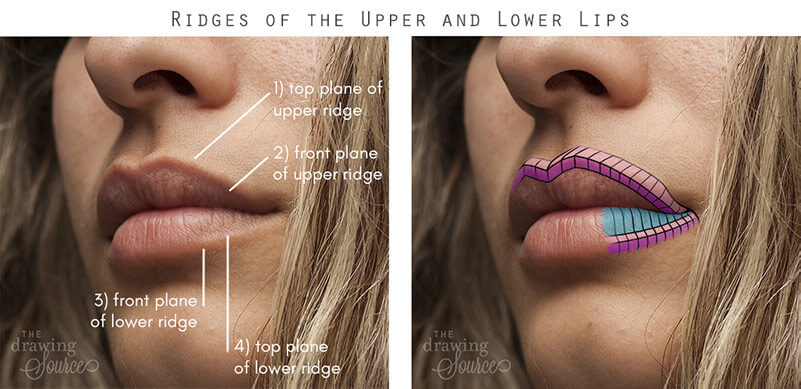
Notice that the lightest values in this subject are found in the ridge of the upper lip, the highlights in the lower lip, and the ridge of the lower lip (see the image below).
The darkest values in this subject are found where the upper and lower lips meet. However, the upper and lower lips don’t meet in a simple, dark line. Notice that there are areas where it is darkest (as shown above), and areas where it lightens slightly. These differences are important to notice and indicate in our drawings for them to ‘read’ as realistic and naturalistic.
Notice that the top planes of both ridges (at 1 and 4) are catching light, while the front planes of both ridges (that are facing us at 2 and 3) are in shadow.
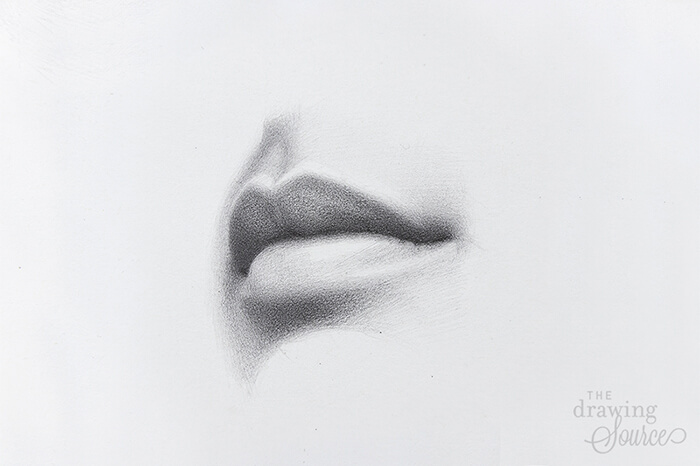
Here I have more specifically drawn the line where the lips meet. I’m paying close attention to its angle changes, value and edge shifts. I have also started defining the ridges of the upper and lower lip.
How to Draw Lips Step by Step
Step 9: Analyzing Edges
Notice that the lips consist mostly of various degrees of soft edges, which makes this a trickier drawing scenario. (Unfamiliar with the concept of edges? Watch Lesson 6 of my free mini-course!)
Fortunately, we can make out the sharpest edge quite clearly: it’s along the left side of the line where the lips meet (upper left image). Test it yourself! Squint at the image and check to see which edge remains the sharpest.
The next sharpest edge after that is perhaps the right corner of the mouth, or the overlapping line that separates the ridge of the upper lip from the philtrum (it’s light, but it’s fairly sharp!)
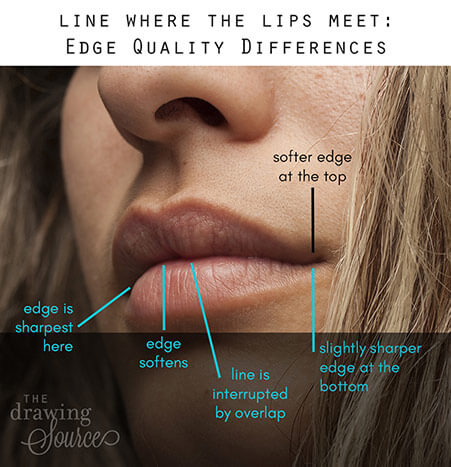
I want to point out the differences in edge quality in the line where the lips meet. This is not a simple, solid line with a single edge quality! If we travel along this line from left to right, it first begins with what we’ve identified as the sharpest edge. The edge softens as it approaches the tubercle. The line is then interrupted by the tubercle slightly overlapping the lower lip.
Notice that this line actually has two edges! This is most visible at the right corner of the mouth: do you see that the line at the corner of the mouth has a slightly softer top edge, and slightly sharper bottom edge?
Here I have clarified the sharpest edge, and am working on creating a diverse range of softer edges throughout my drawing. I’ve also started creating more subtle ‘patches’ of value along the upper lip, which is starting to create a more convincing ‘lip texture’. All texture is simply a specific pattern of values and edges. If you can learn to observe it closely, you will be able to draw it.
How to Draw Lips Step by Step
Step 10: Adding Smaller Details
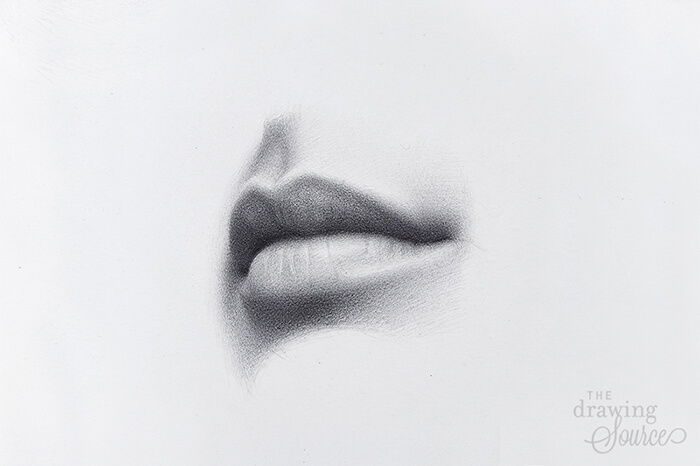
At this point I’m finding some of the minute details, such as the subtle lip lines, or lip wrinkles, particularly in the lower lip. Notice that these follow the form of the lip, like cross-contour lines. This makes them important to draw correctly, or else they may start to flatten the form.
How much detail you include in your drawing is completely up to you. From life, you probably wouldn’t see more detail than this (of course, depending how close you were sitting to your model). From a photograph, you could include tremendously more detail than this. It comes down to personal preference, and to how you approach your drawing.
Usually, even when I draw from a photo reference, I go about it as though I’m drawing from life in the sense that my drawing process is the same, and I draw approximately as much detail as I would draw from life.
If you’re struggling to figure out how much detail to include, try squinting at your reference photo (or your subject when drawing from life!). Notice how much detail is lost when you do so: this shows you how much detail you can leave out, yet still achieve a realistic drawing.
How to Draw Lips Step by Step
Step 11: The Finished Drawing
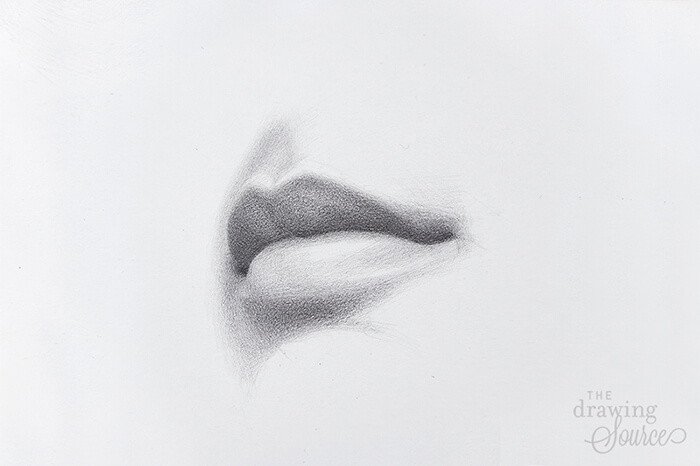
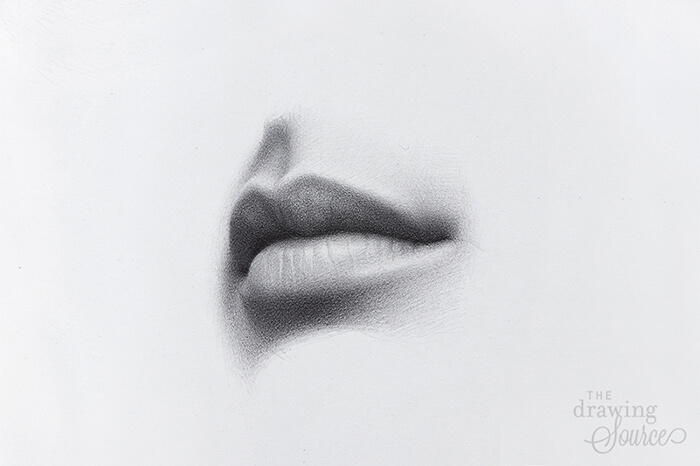
And here is the finished drawing!
The process of drawing the lip lines was slow and methodical. I used the axis-line method of measurement (from the beginning of the tutorial), checking to see what other element each wrinkle was in line with. Do they have to be exact? Not at all, and I’m sure that they aren’t.
What’s important to the realism of the drawing is that they have enough variation to look natural! Notice how different each one is in spacing, value, angle, and edge. If I had drawn them all similarly-spaced, at the same angle, and the same sharpness, my drawing would have quickly started to look generic and less convincingly believable.
I hope you enjoyed this tutorial on how to draw lips step by step!
Why not download the reference photo for this lesson, as well as an infographic to remind you of the steps, and practice drawing lips yourself! Find both downloadables below.
Happy Drawing!
Your drawing prof,
Download the reference photo of the lips here!
Download an infographic of this tutorial here!
Enjoyed this page? Please share it!
Share buttons and pinnable image below:
If you enjoyed this page on how to draw lips step by step, you may also be interested in:
How to Draw Lips, Every Angle, Know the Shapes, Step-by-Step!
In this tutorial I want to show you how to draw lips well, from any angle, and be confident about the next time you need to draw lips. Drawing lips is not an easy task, the forms are complex and they change from person to person. However, like with all drawing, drawing lips becomes easier through practice. Before we practice drawing lips, let’s make sure we understand the forms we are drawing, as they are key in getting it right.
The best way to learn to draw lips is to first understand the forms thoroughly, and then learn by looking at examples and drawing the lips yourself.
In this tutorial we will go over the form of the lips in detail to cover the first step. For the second step, I published many process videos on drawing lips on youtube, some of which are going to be linked on this page. I hope it helps you learn to draw faster. It is a difficult task, but remember that once you learn to draw lips well, it will be very rewarding!
How to Draw the Lips in Any Angle
Drawing the lips from any angle involves first understanding the shapes. This is a much better approach than blindly copying different angles from art tutorials or reference. Understand the shapes first, then get references of different angles and study them. One more time: if you want to draw lips well, understand the shapes first!
There is a few ways to do this, one could be to study your own lips in the mirror, or lips of your friends and loved ones, another way is to study from a 3D model or from sculpture. All of these ways are good exercises. I suggest that you couple them with going through the list of pointers that I put together for you below.
Drawing Lips – Understanding the Shapes
So much of your ability to draw the lips and mouth depends on understanding the shapes of the forms, that they can not be ignored here. Let’s go over the shapes you have to learn to visualize before you put them on canvas. I found that a good way to do this, is to go through a list of tips about drawing these shapes, and show you some examples. Let’s do that now:
Drawing Lips – A Cylindrical Shape
The mouth maps around the teeth – a cylindrical shape! The corners are further back than the middle of the mouth. The mouth is convex.
The mouth stands out and is raised from the mass of the face except in the corners where it dips into the cheek.
Ok, so what does this mean for us? Imagine a round building, like a cylinder with windows all around. As you walk up to the building facade on one side, you will see much less of the other side of the building then if the building was a rectangle.
Same with the lips, keep in mind that the cylindrical shape makes it difficult to see the far side of the lips at certain angles, at most angles in fact. Armed with that knowledge look at photo reference.
Drawing the Planes of Upper Lip vs Lower Lip
The Plains of the upper lip are flat and angular and the planes of the lower lip are very convex and rounded. This of course varies by person. However, generally think of lips in this way, can help draw many variations.

Upper lip usually shows sharper angles. The top of the upper lip, usually meets the skin right above it with a sharp edge.

Upper Lip Over the Lower
The upper lip usually is most forward part of the mouth, the upper lip overhangs the lower lip. Most of the time this is true. What is important for drawing, and what I see in drawings I really like, is that most aesthetically pleasing lips are drawn this way.

Below Lower Lip, Concave then Convex at the Chin.
The area below the lower lip is concave, it slopes inward. It continues to depress down all the way to the upper portion of the chin. The chin is convex and protrudes forward.
Septum Transitions into a Curve That Ends at Upper Lip
In side view where the septum of the nose is visible, the area above the upper lip comes down from the septum in a very slight curve, not a 90 degree angle.

Septum: the septum is the middle section of the nose that separates the left and right nasal cavity. For a detailed diagram, check out my tutorial on how to draw the nose.
Map Out the Masses of the Lips
Is easier to draw the mouth by mapping out the masses of the lips. We can map out 5 masses three of the upper lip and two of the lower lip.

Important note here: you will often see the upper lip grouped into just two masses without the middle section, in examples I found on the internet and in some art books. Usually this does not work as well, unless the image is head on like the drawing above. In most cases, I have a much easier time drawing the lips mapping three sections for the upper lip and two for the lower.
Pillars of the Mouth: this area is found between the end of the lower lip, and the top of the protruding chin. It usually it has a dip in the middle with two pillars on each side that go up to the lower lip as if they are holding the mouth up.
Ridge of the Lower Lip
The side ridge of the lower lip on each side tapers off into the surface of the check. There is not usually a sharp edge there. Let’s look at Da Vinci’s Mona Lisa for this:

Understand the Planes Around the Mouth
To draw the mouth well, it is helpful to understand the planes around the mouth, make a note of each as you study references – which points protrude forward, which points recede back.
Drawing Lips – Examples
Now that we have a better understanding of the shapes involved in drawing the lips, let’s take a look at some examples:
Drawing lips demo by Gvaat
Drawing lips demo by Gvaat
Drawing lips demo by Gvaat
Step-by-Step, Drawing of the Lips
Now that we looked over the features and shapes to keep in mind when drawing the lips. Let’s look at a step-by-step process of drawing.


Ok, now it’s your turn! Try drawing the lips from this page or from reference, feel free to tag @gvaatsworkshop on instragram!
Would you like to see additional step-by-step section of the drawings of the lips in this tutorial? Contact me here and let me know.
Here are more examples to look over, hopefully they will helps you!
Understanding the shapes involved in drawing the lips will help you draw them in any angle. Remember to start with good reference, and have patience!


